What To Do
1. Collect materials for molding and casting.
1a. Mold and cast an object.
2. Work on final project.
What I Did
I molded and casted a Creeper from the videogame Minecraft. This was a fun last assignment, because I was able to successfully create a mold of a Creeper and cast it using water, which I then put in the freezer to turn into Creeper ice cubes.
The mold material I used was SORTA-Clear™ 37, which is a food-safe, clear molding silicone. For casting, I just mixed red and blue food coloring with the water to make colored ice cubes.
I followed this guide by the professor that shows the steps of molding and casting using the SORTA-Clear 37 silicone and chocolate, but other types of materials can be used too.
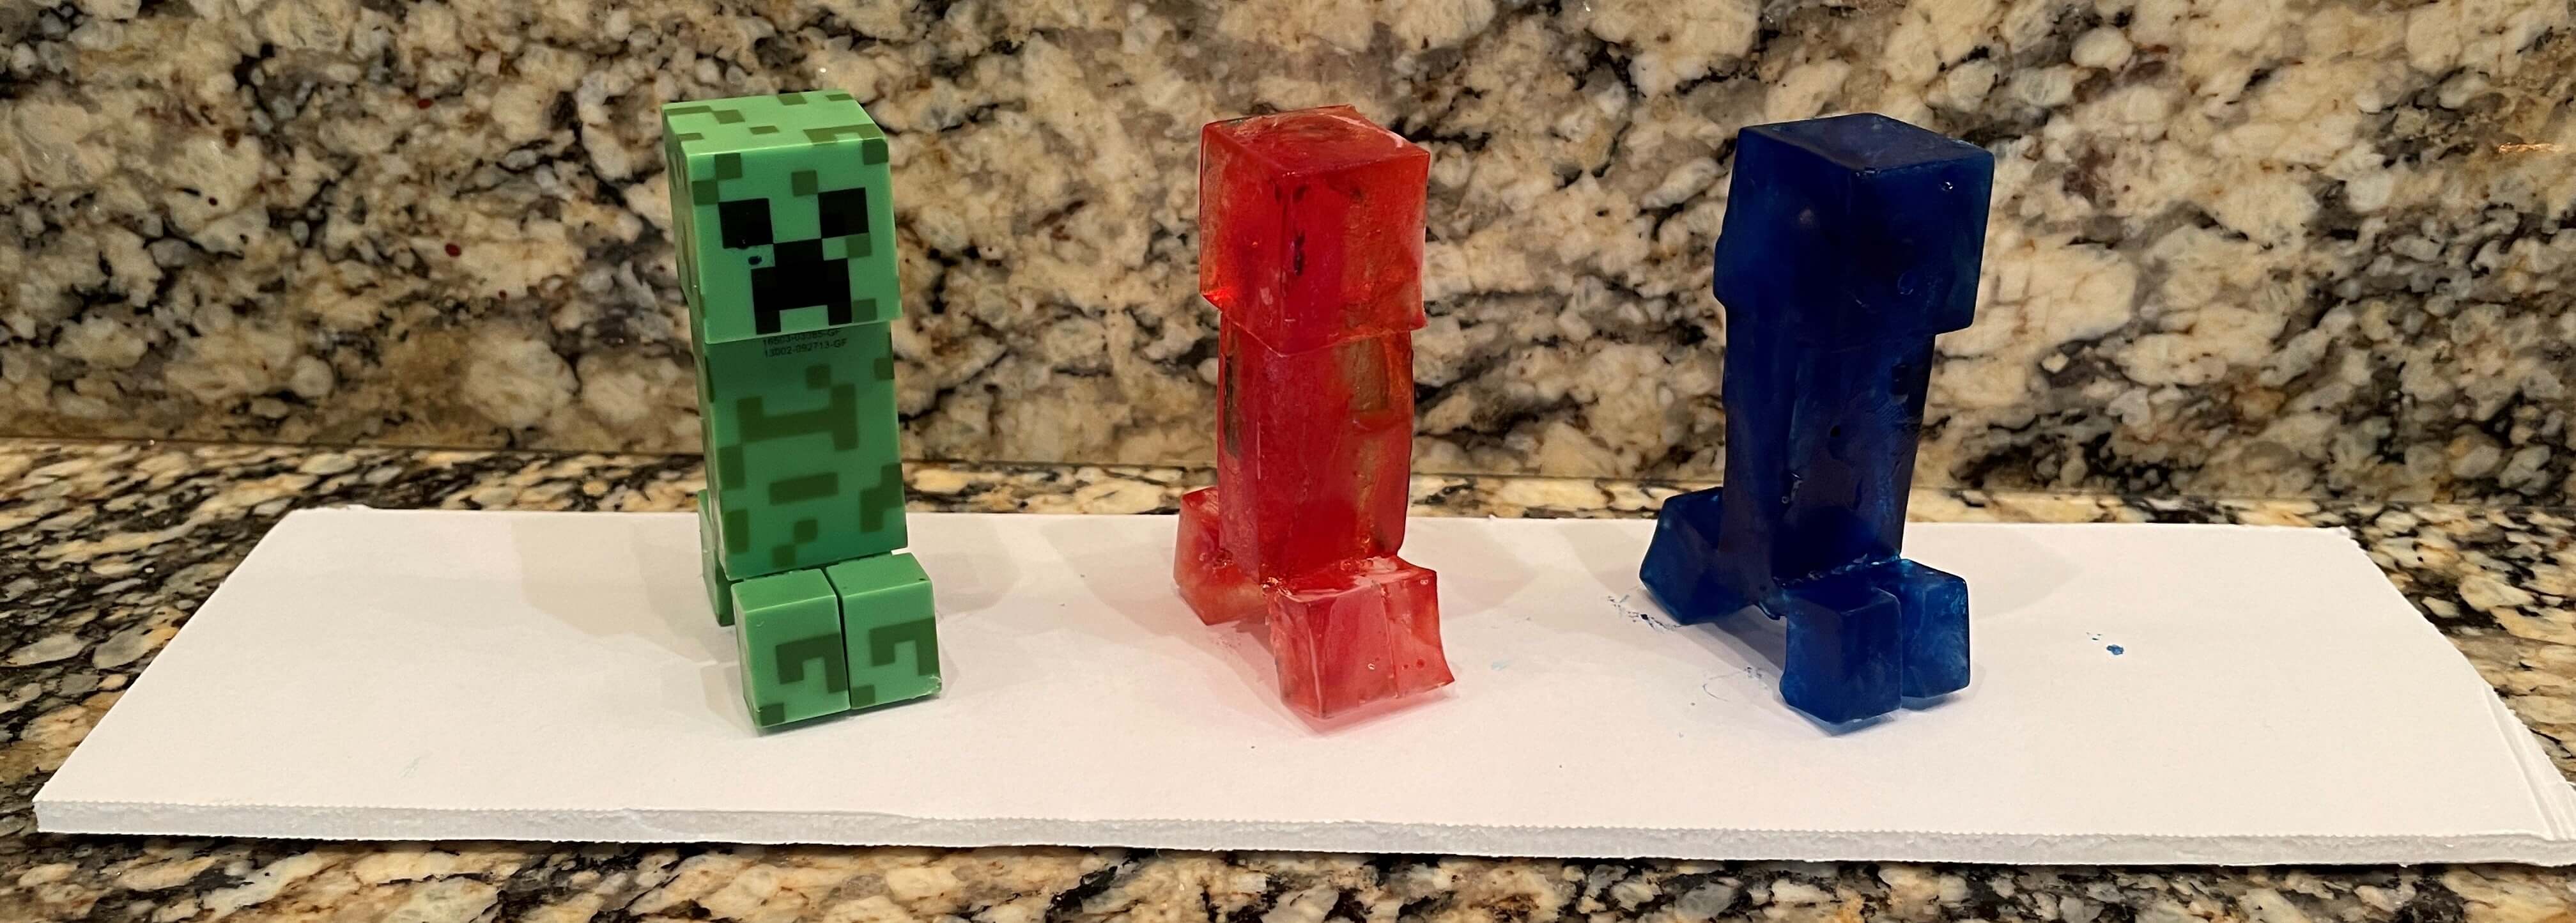
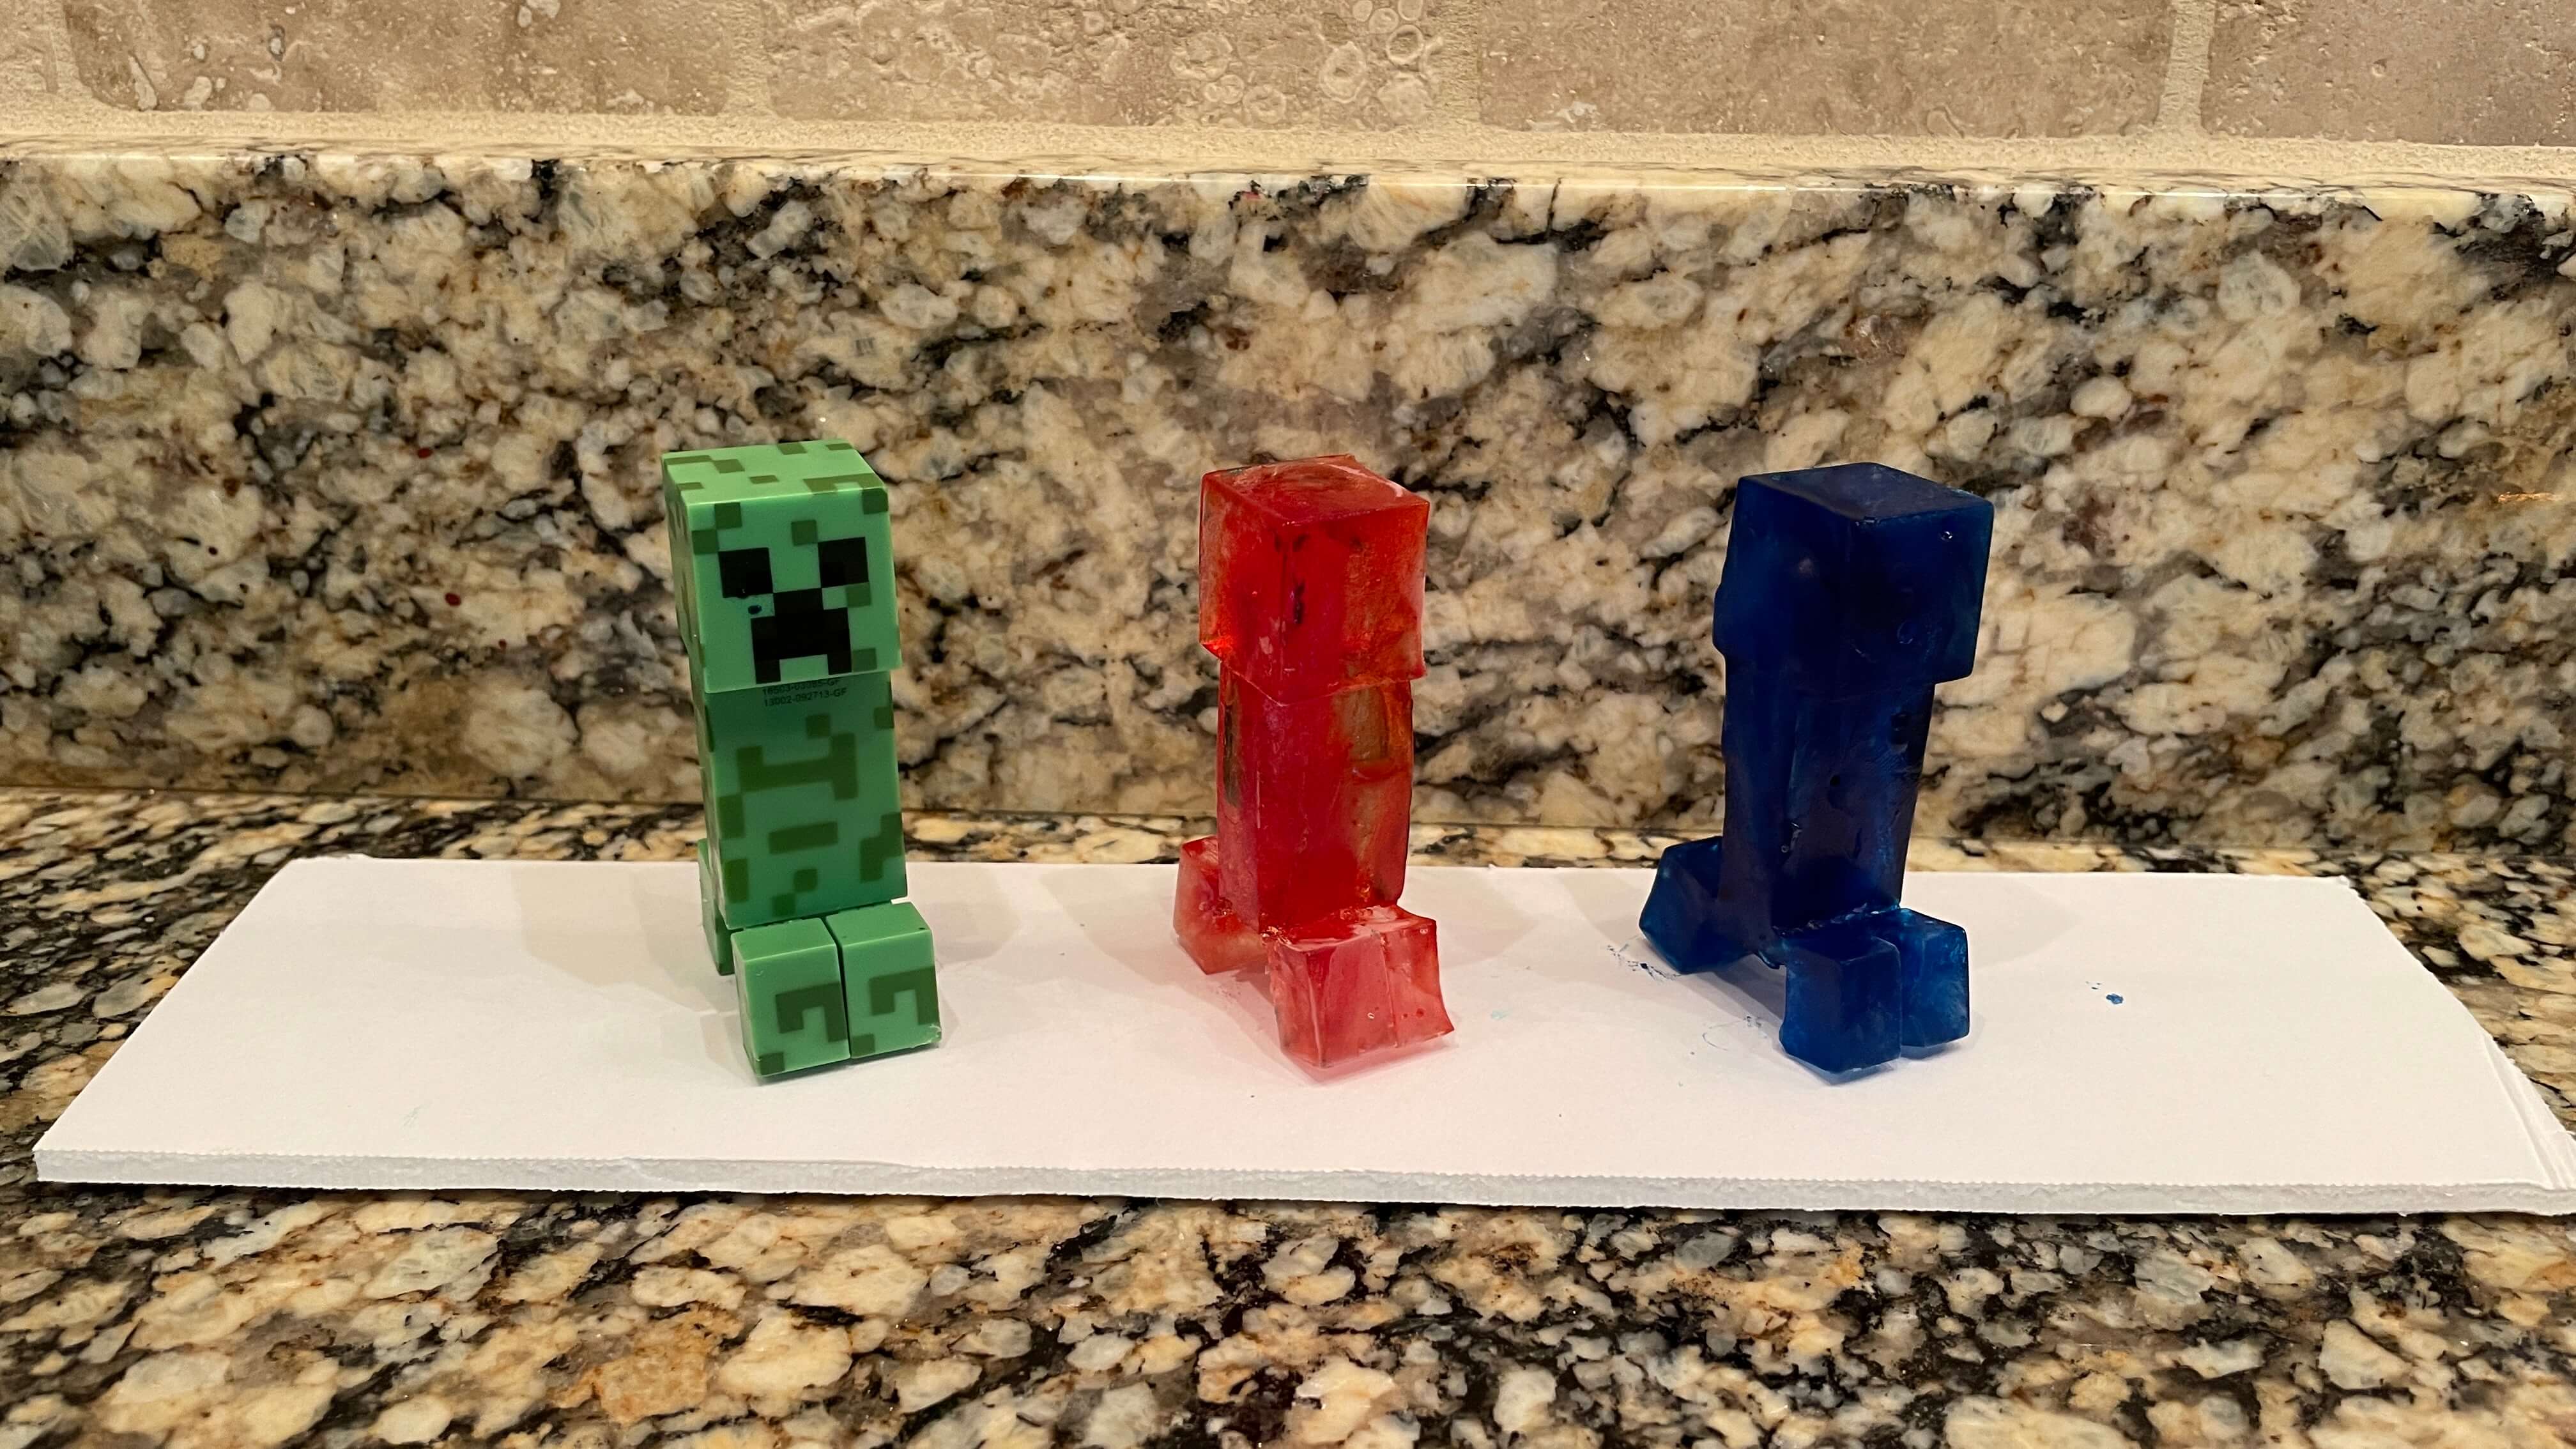
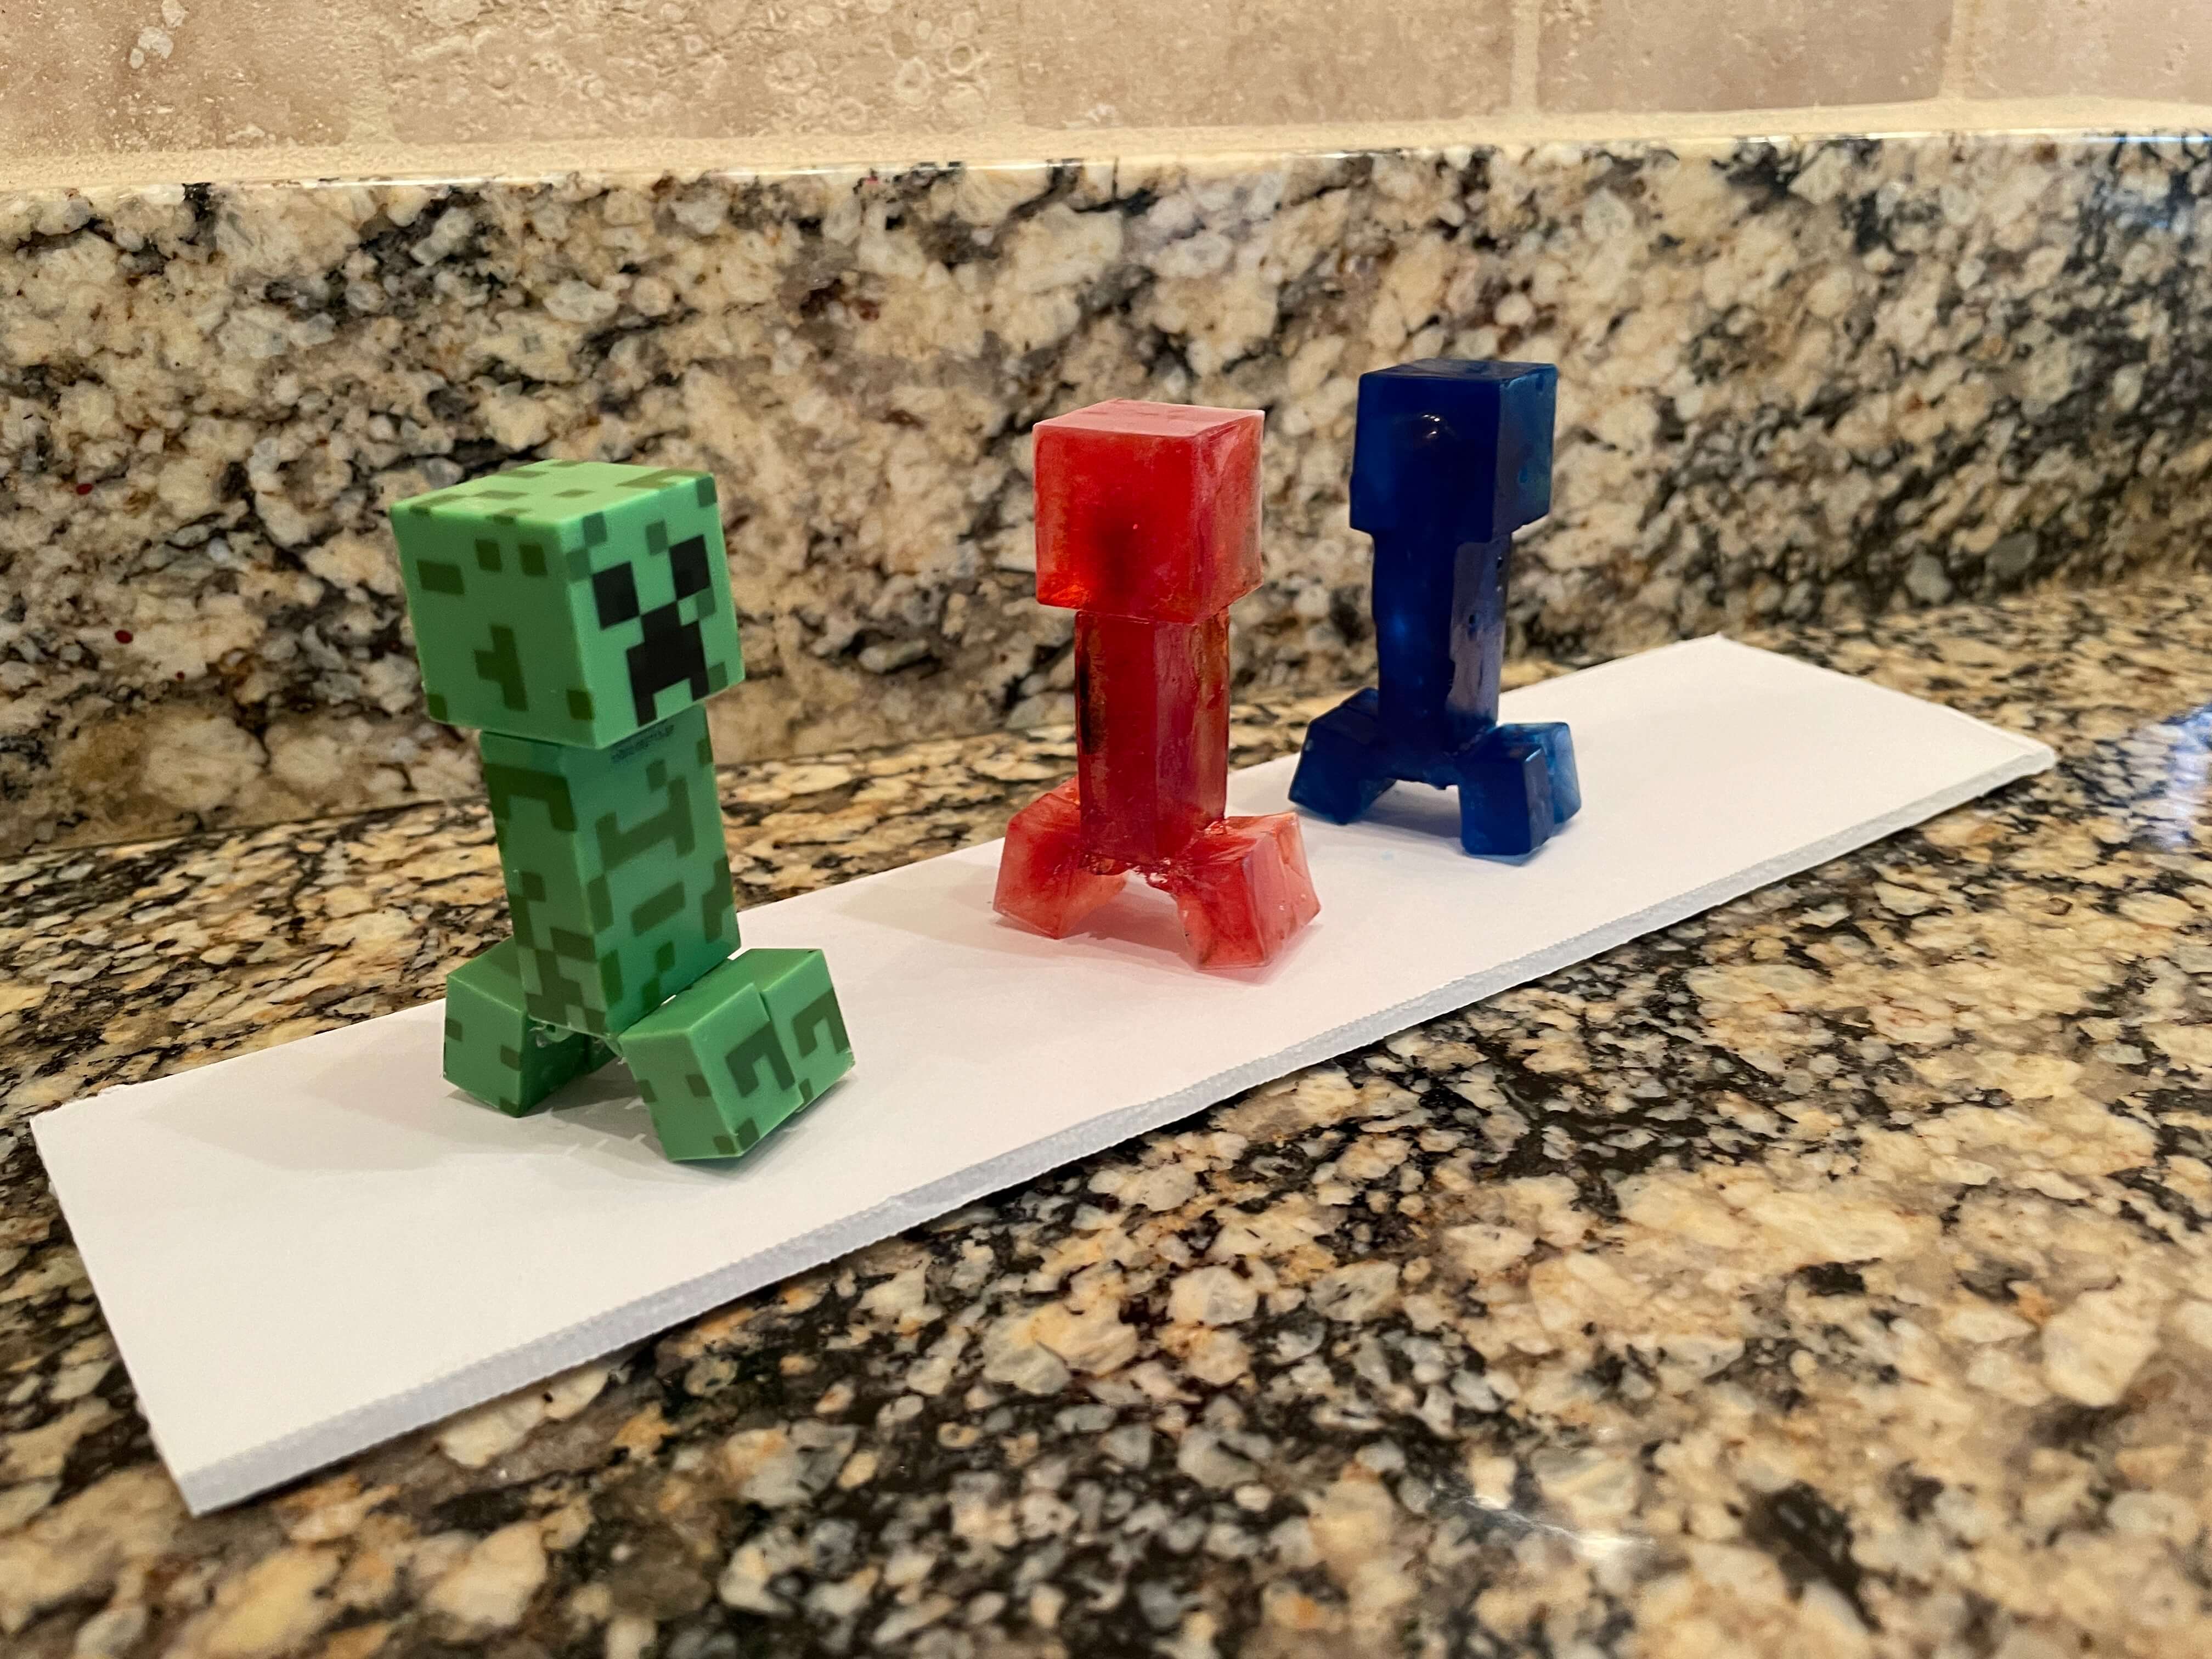
Below is an image showing the original green Creeper and the red and blue colored ice Creepers.
Molding
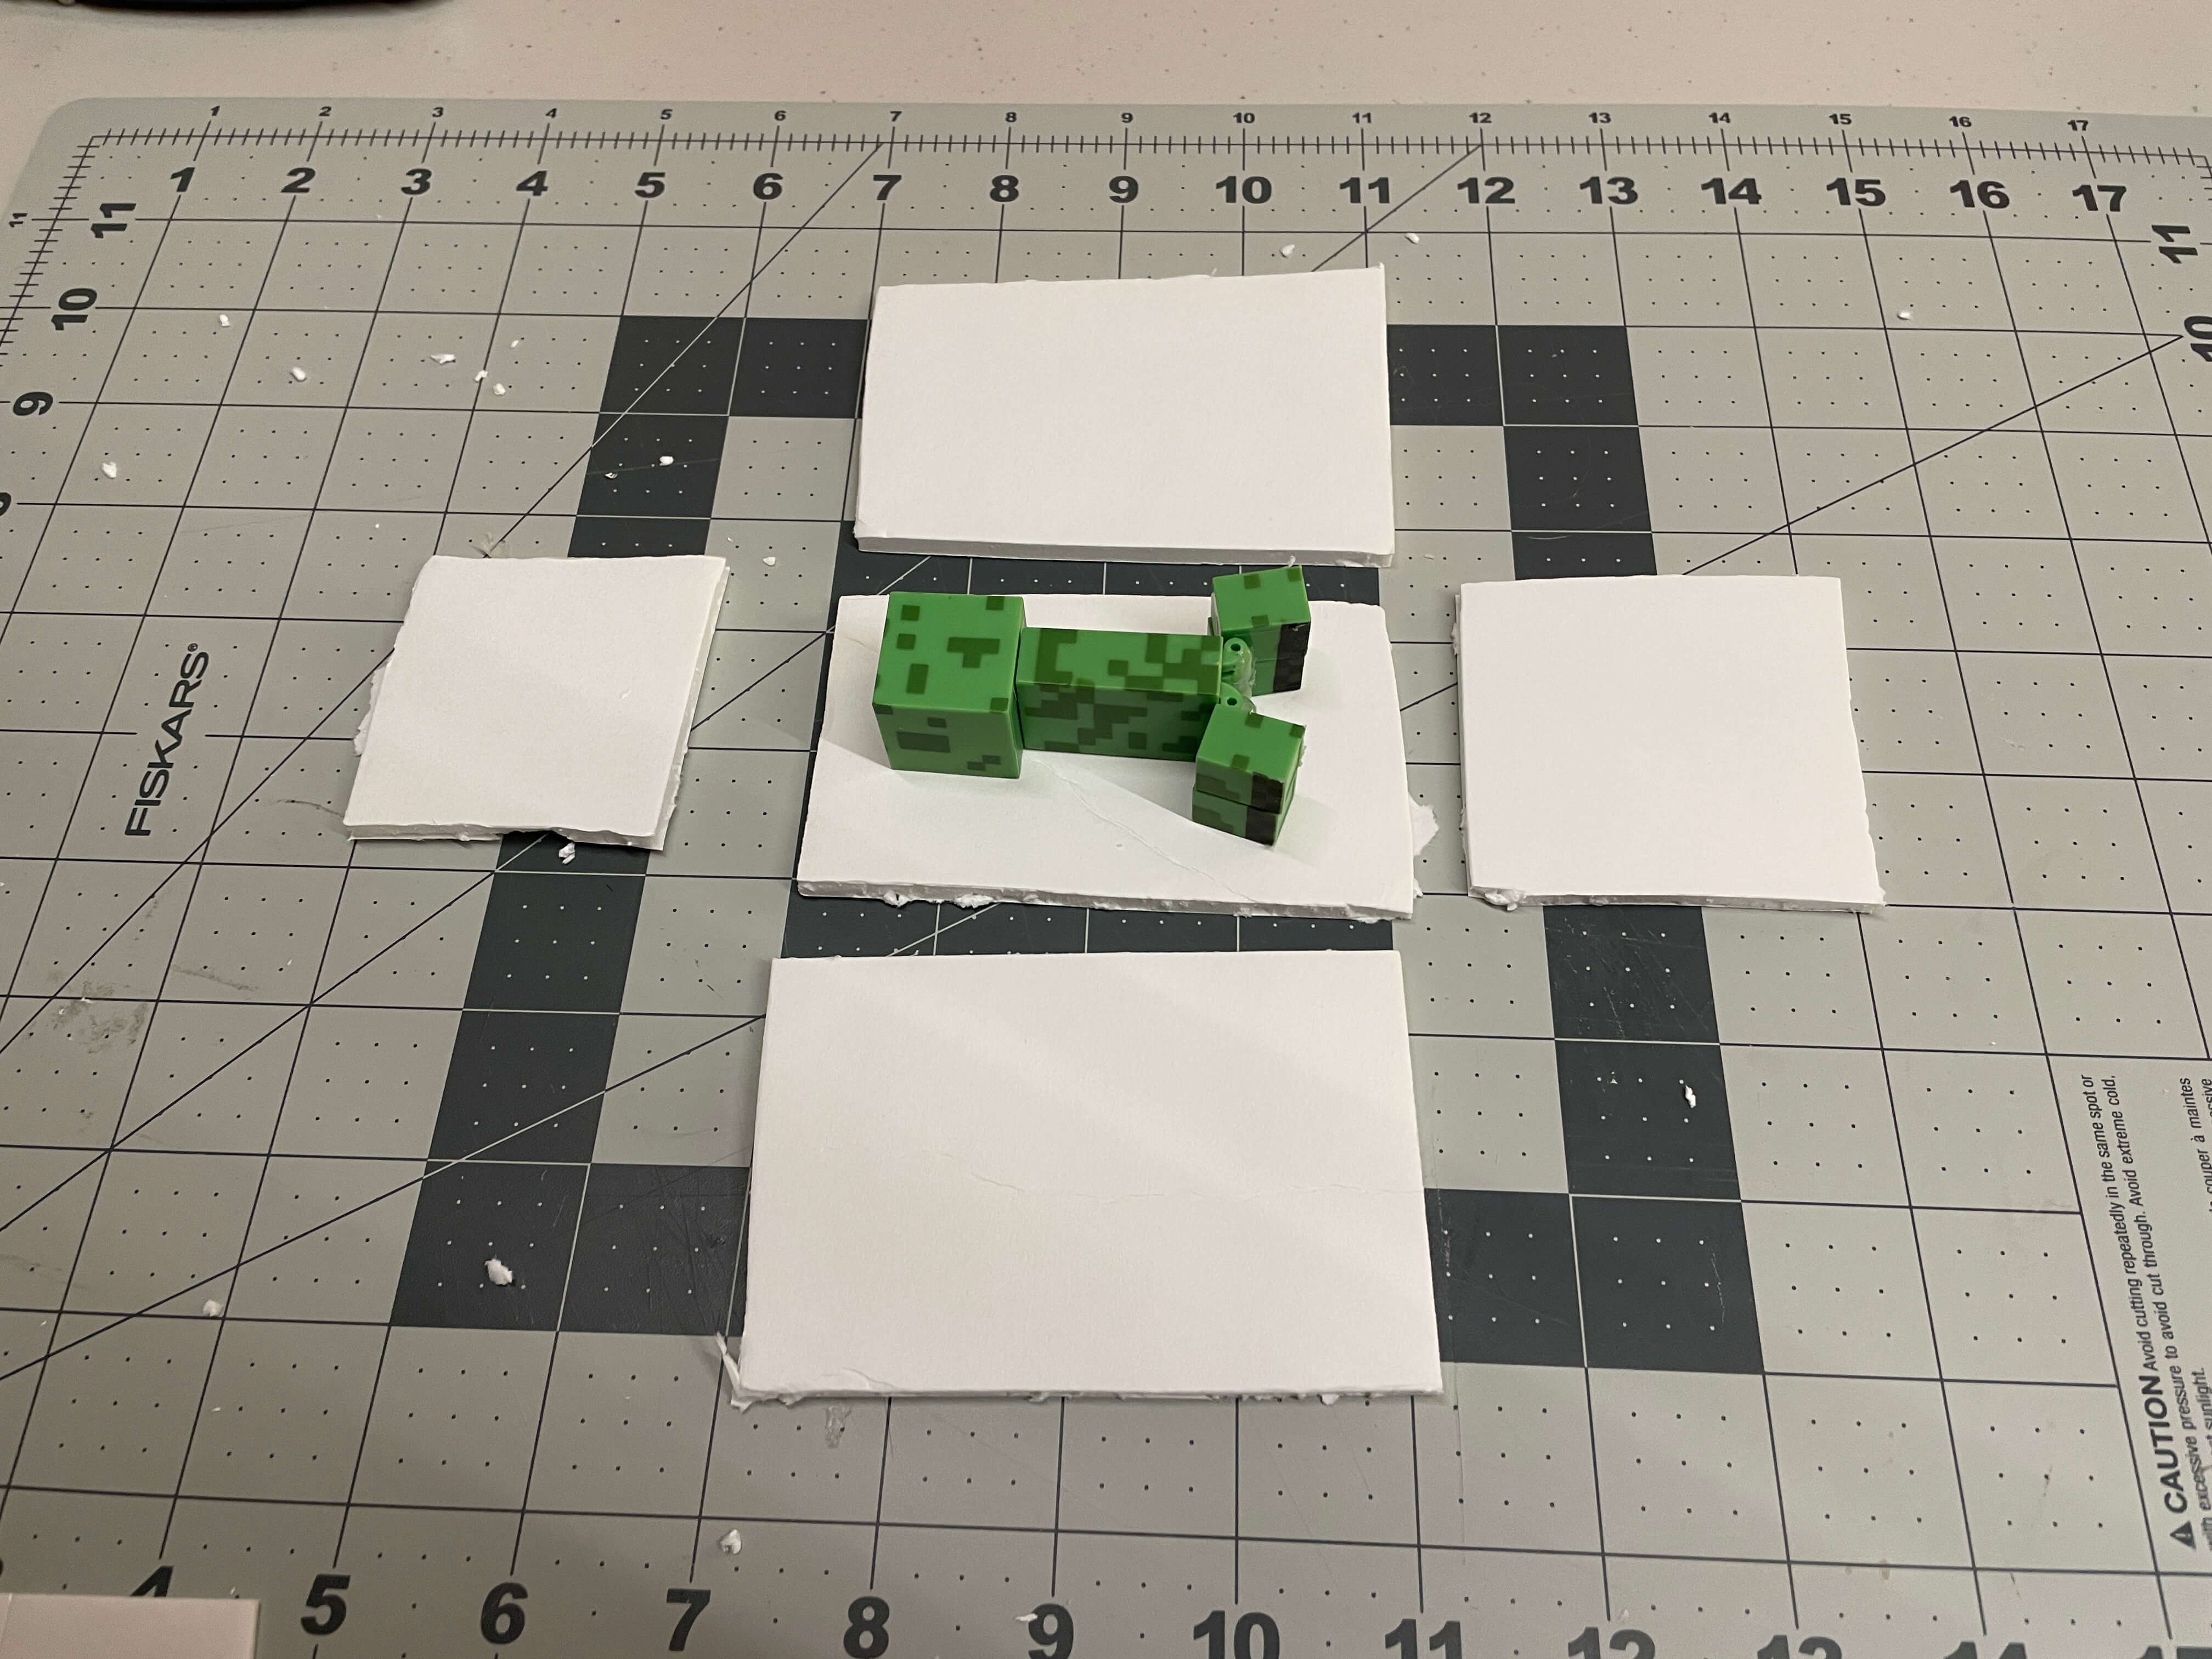
The first step to molding was to create a container that was big enough for the object and tall enough for the molding material to be poured in without overflowing. I didn't use any exact measurements, but I did roughly sketch up and cut out 5 sides of a rectangular prism (no top) using foam board, which would serve as the container.
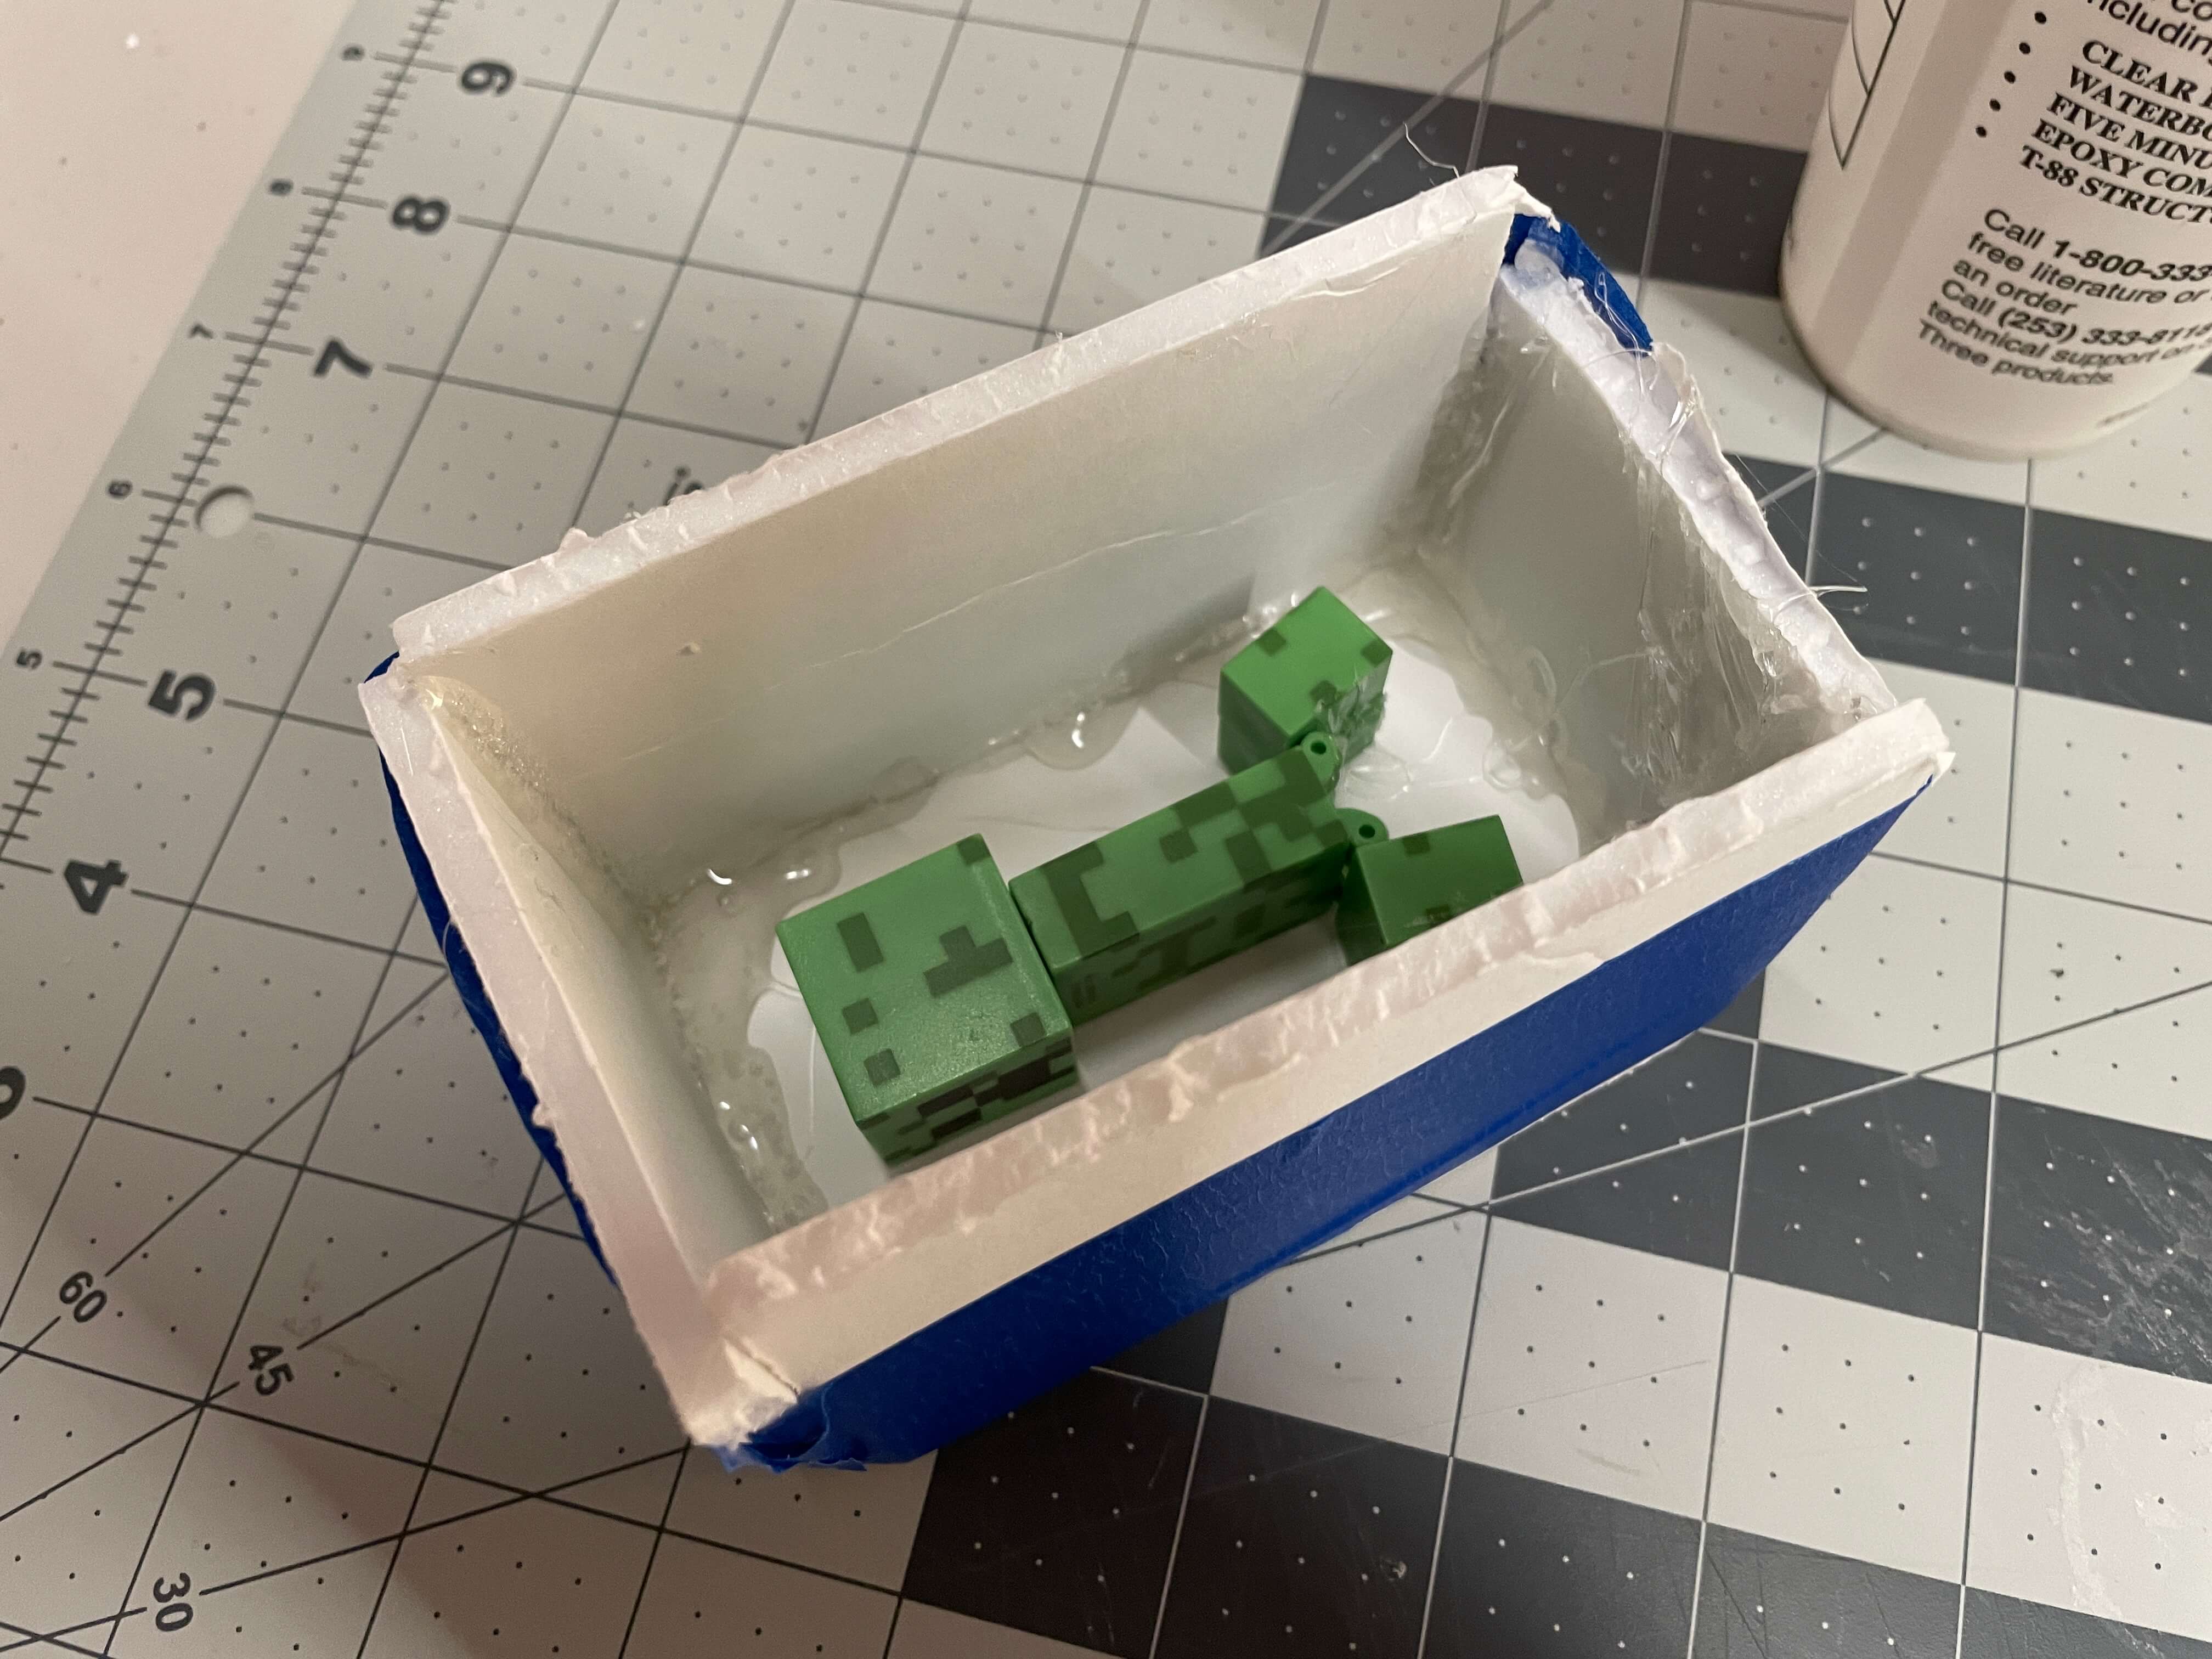
To make the container waterproof, I used blue painters tape on the outside to seal the edges and used hot glue on the inside seams. This way no silicone would be able to ooze out of any seam.
I also used a dab of hot glue to attach the Creeper to the bottom of the mold. This is because this mold is a one-part mold, meaning that I just have to make one mold and cast an object by filling the mold up.
Then, I had to prepare the silicone mixture. The silicone we used is a two-part compound, meaning bottles A and B have to be mixed together for the silicone to harden. The ratio for mixing the A and B mixtures is 1:1, so I had to pour the same amount of each mixture to get the best results.
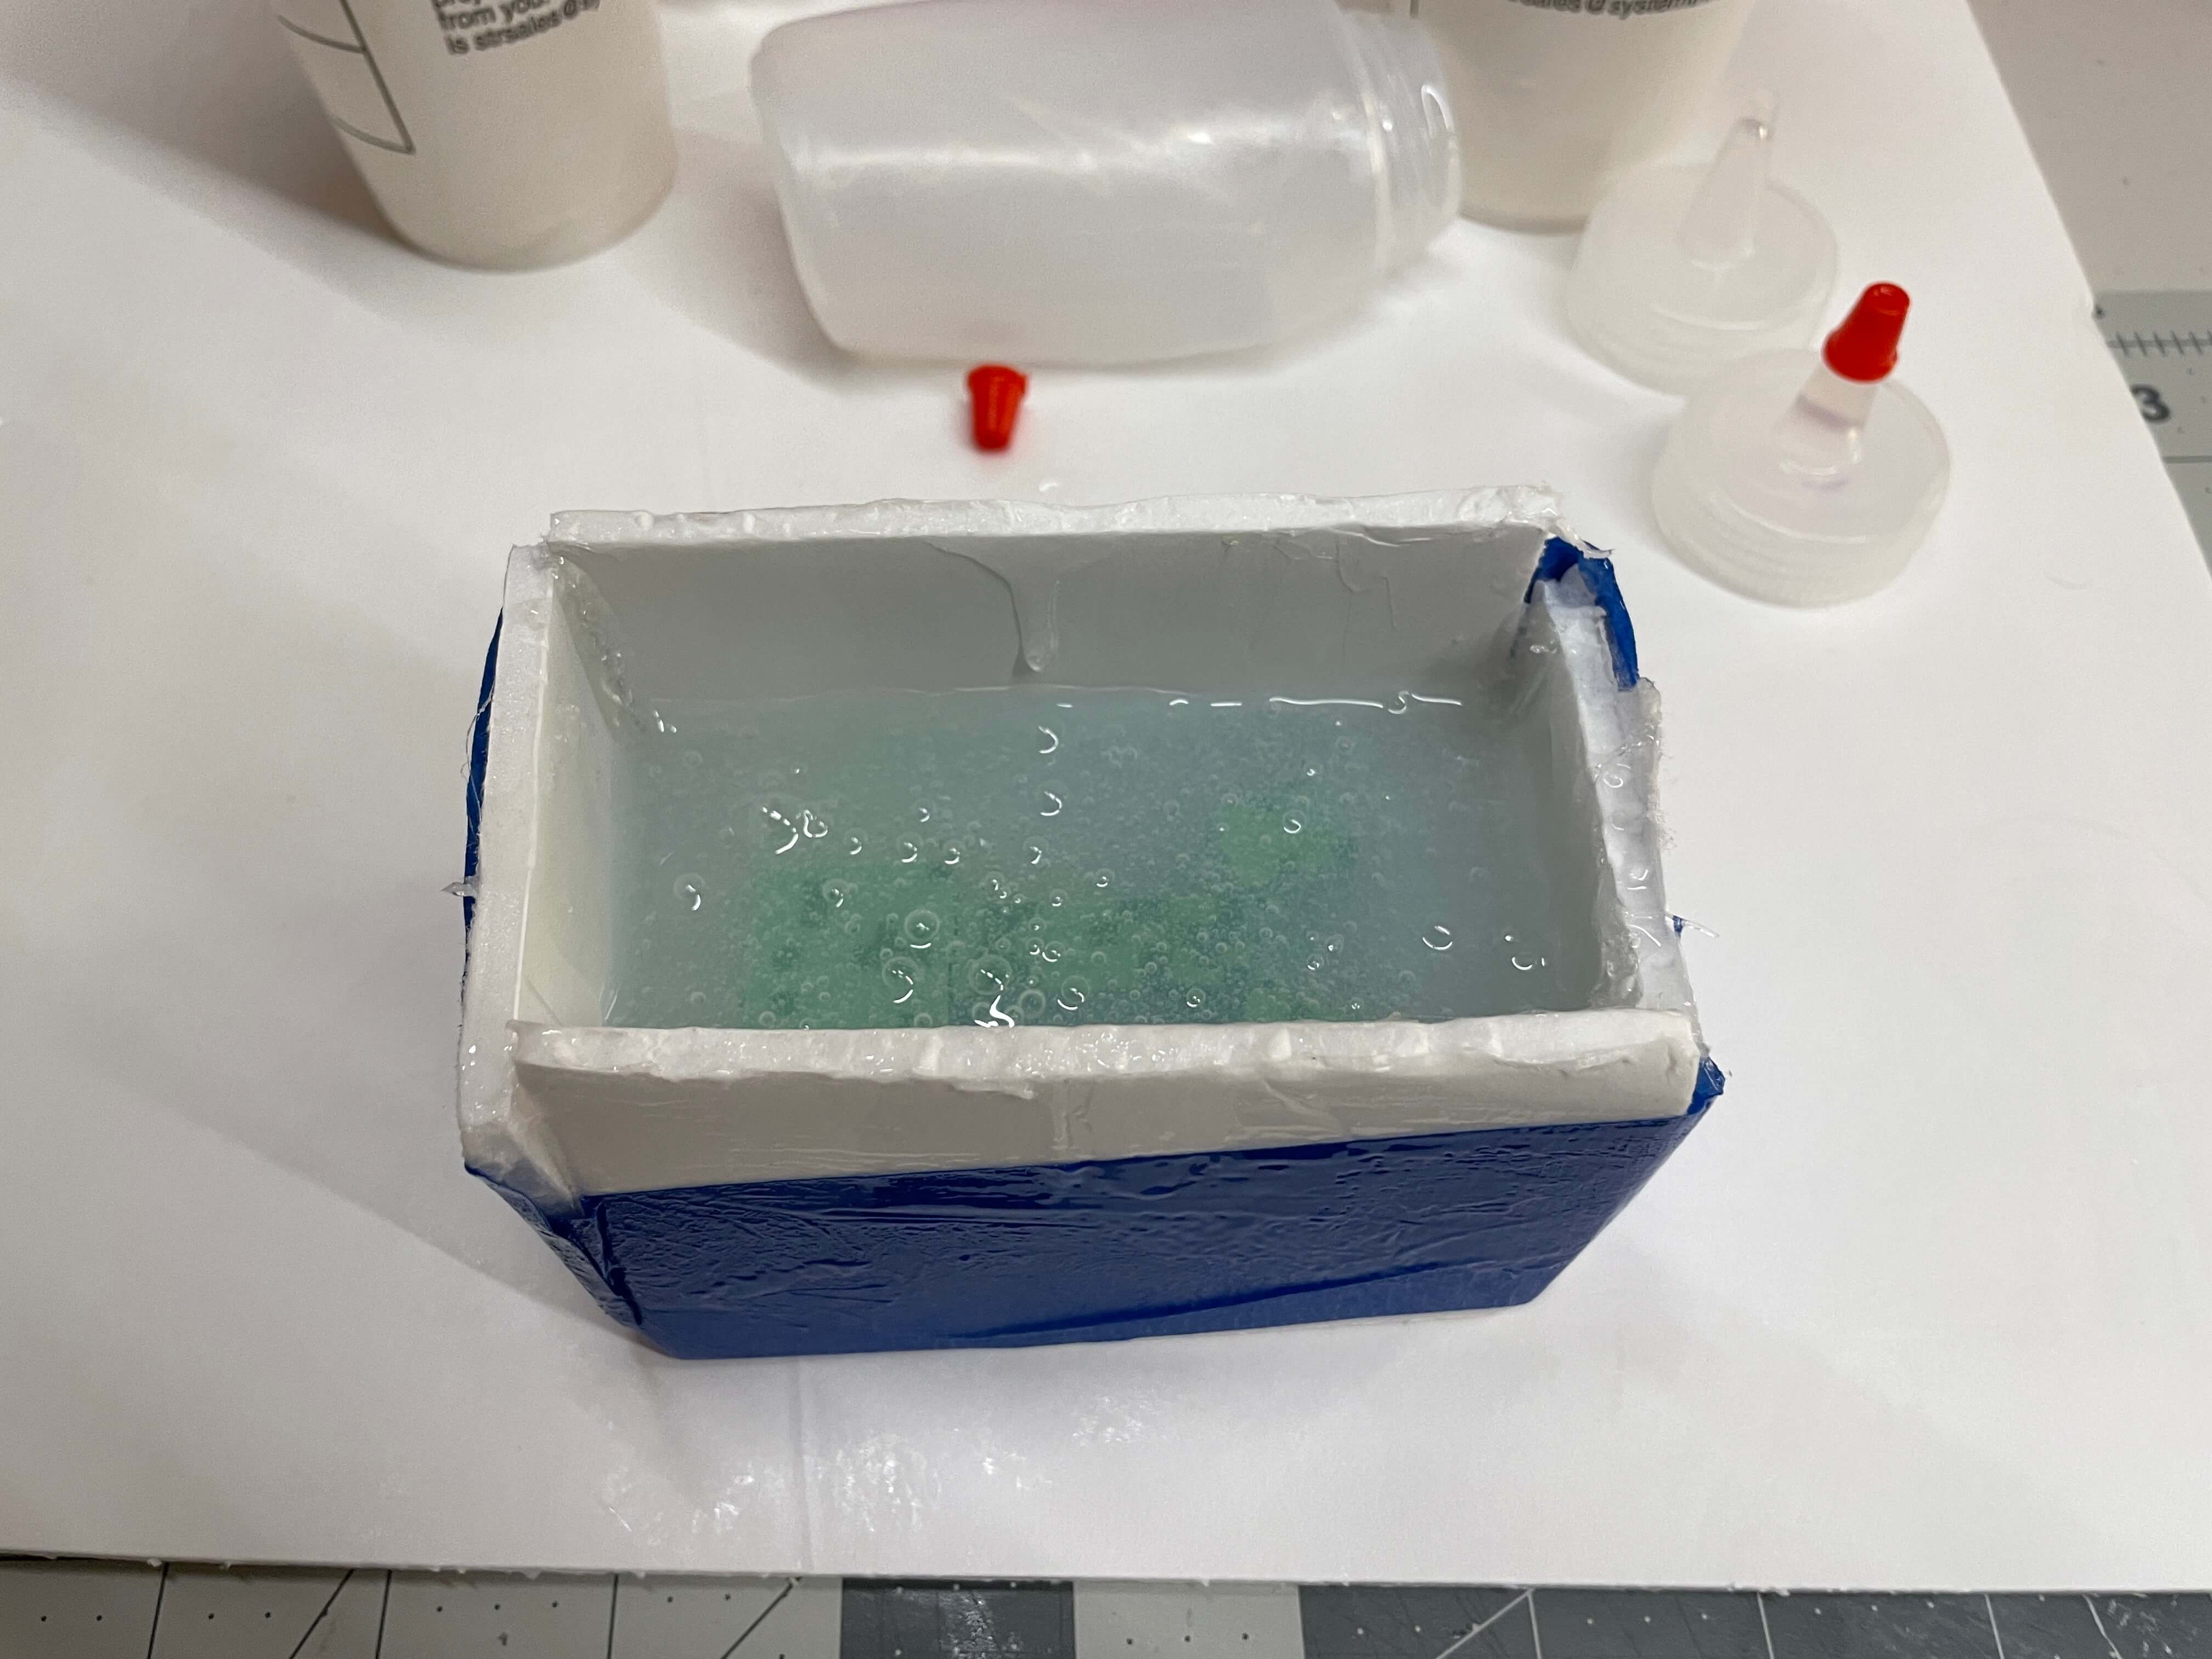
I first poured about 100cc of both parts A and B intho their own cups. Then, I stirred each part of silicone for about a minute and a half. After stirring the parts individually, I poured both mixtures into the same cup and stirred for three minutes. Now, the silicone was ready to be poured.
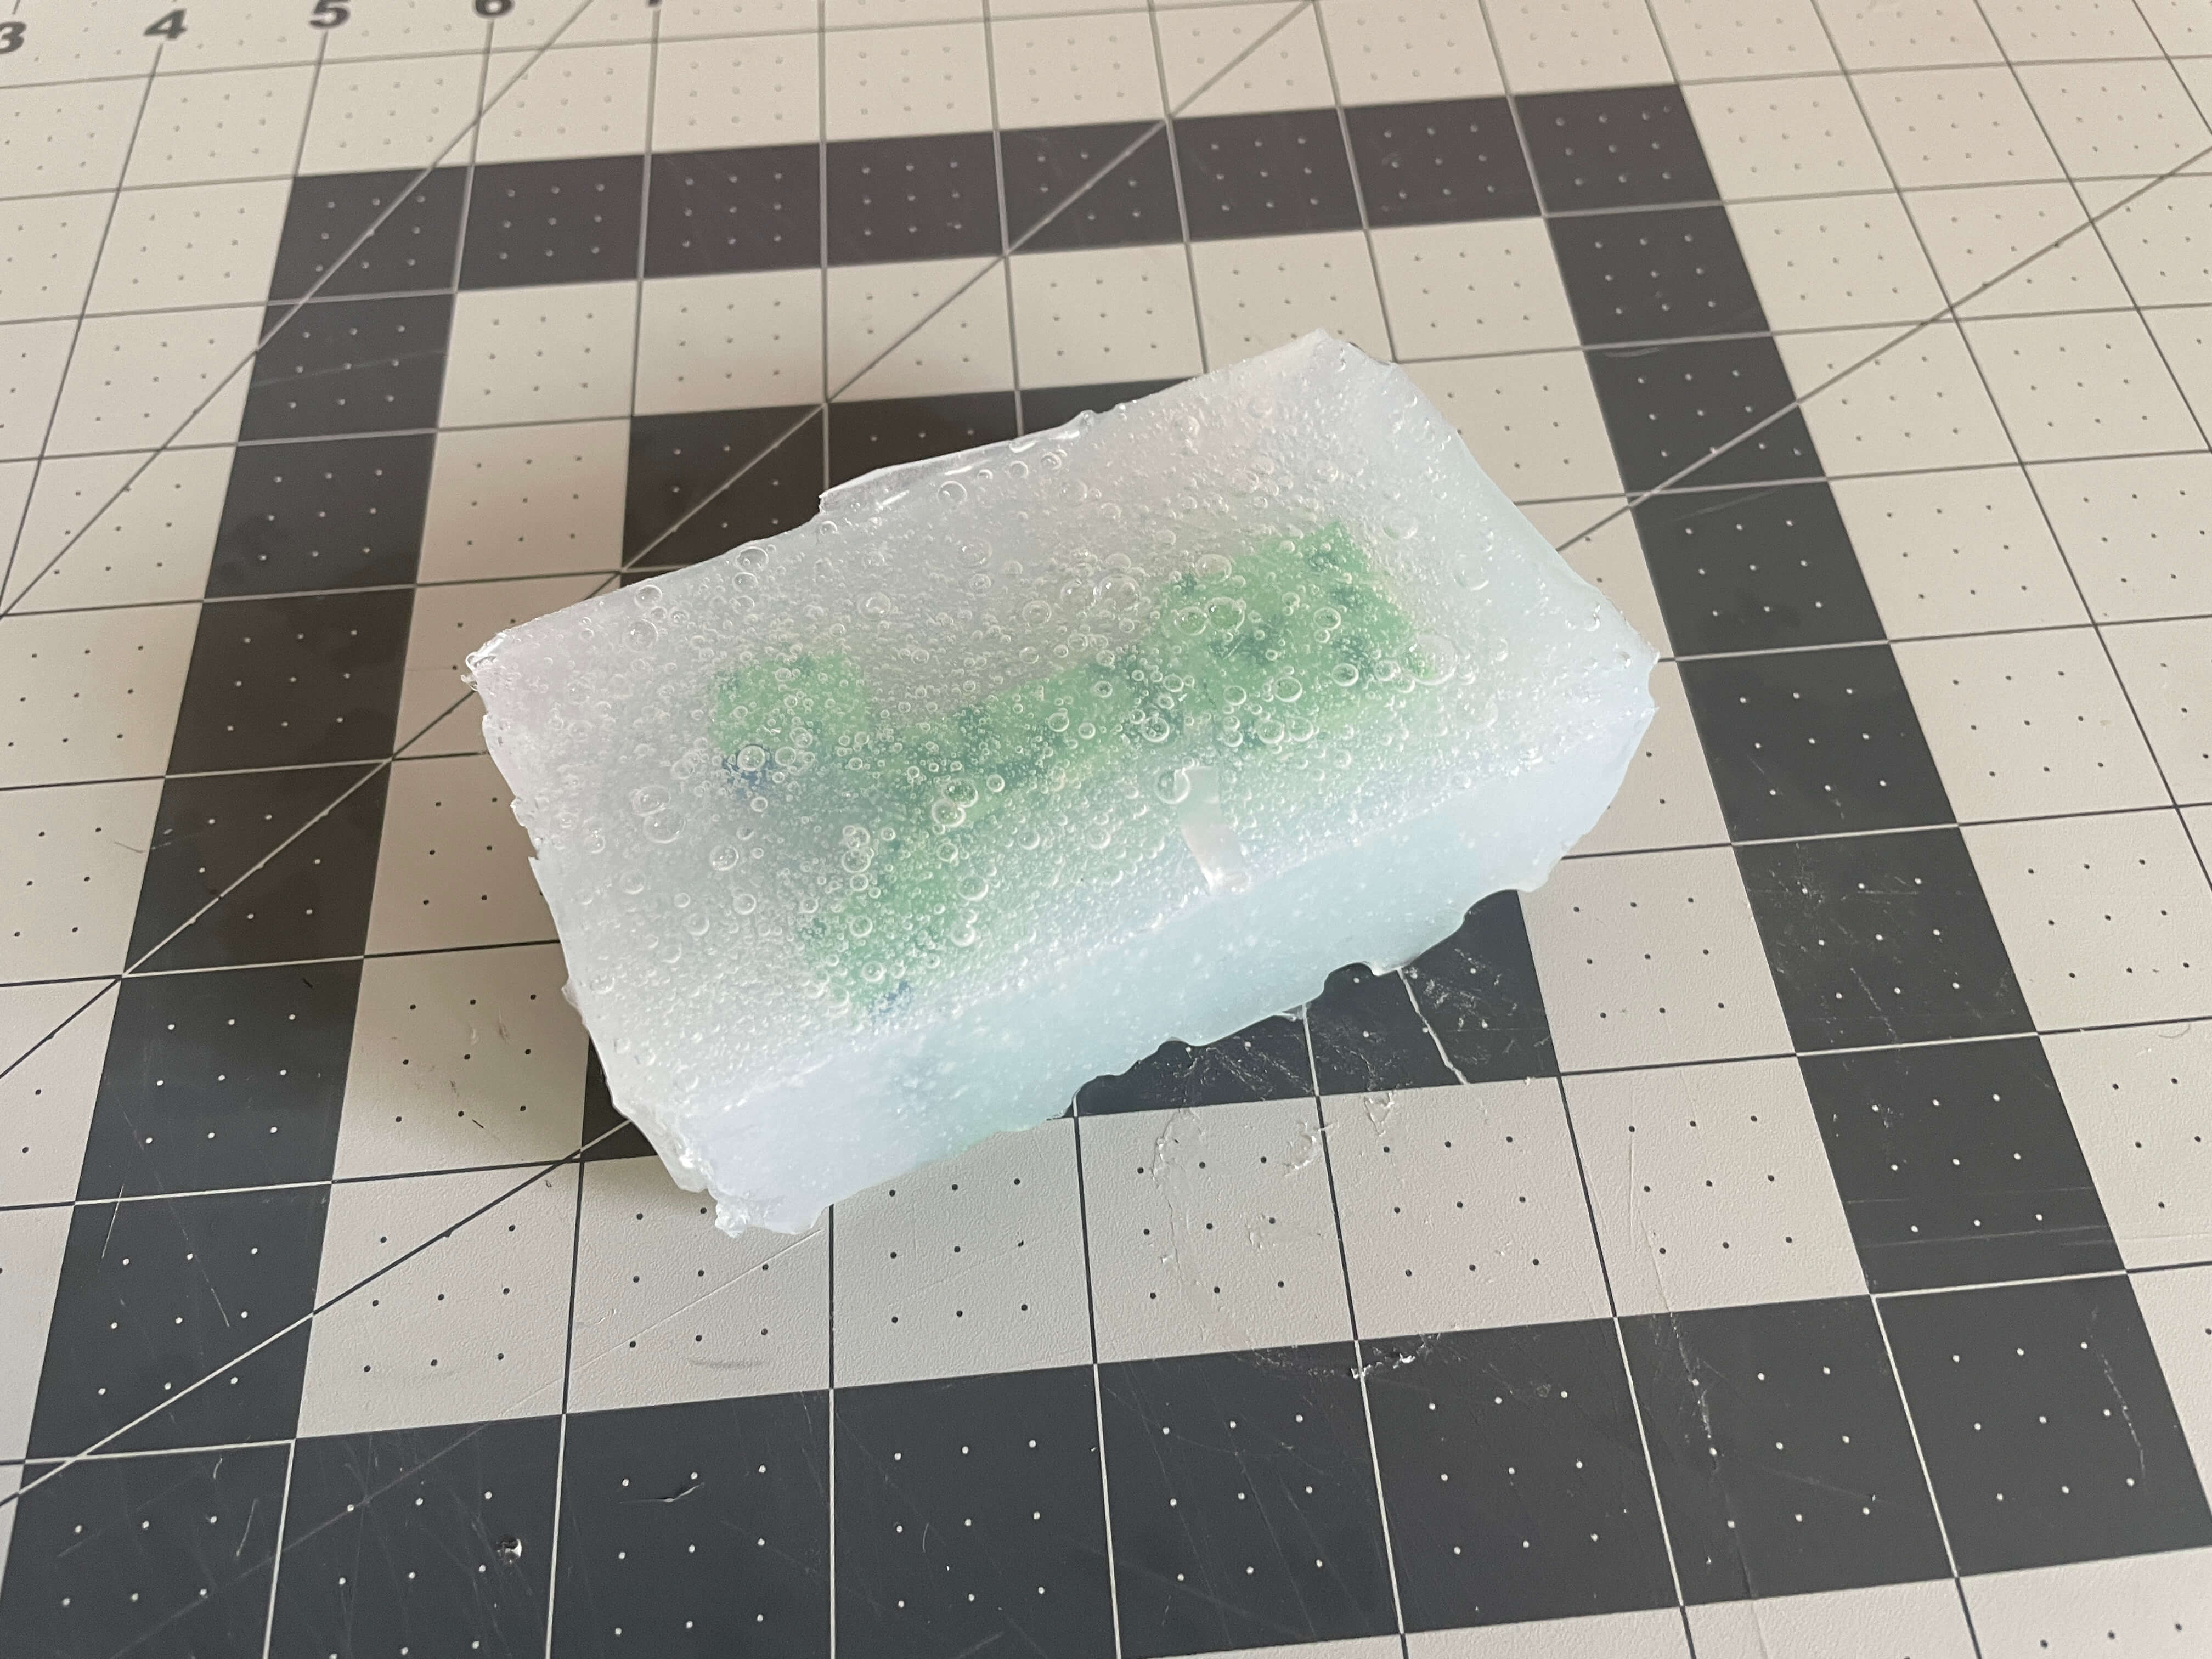
I poured the mixture into the container with the Creeper starting from one corner. After pouring, to remove some of the air bubbles, I tapped the container with my fingers. Because the silicone itself is clear, you can see every single air bubble in the mold, but it isn't nearly as bad as it looks as long as you get your most of the big bubbles.

I waited for about 24 hours for the silicone to cure until I removed the silicone mold from the container. The mold came out with relative ease, but I still had to tear apart the foam board container. This was completely fine because I made the container with the intention of breaking it apart during this step.
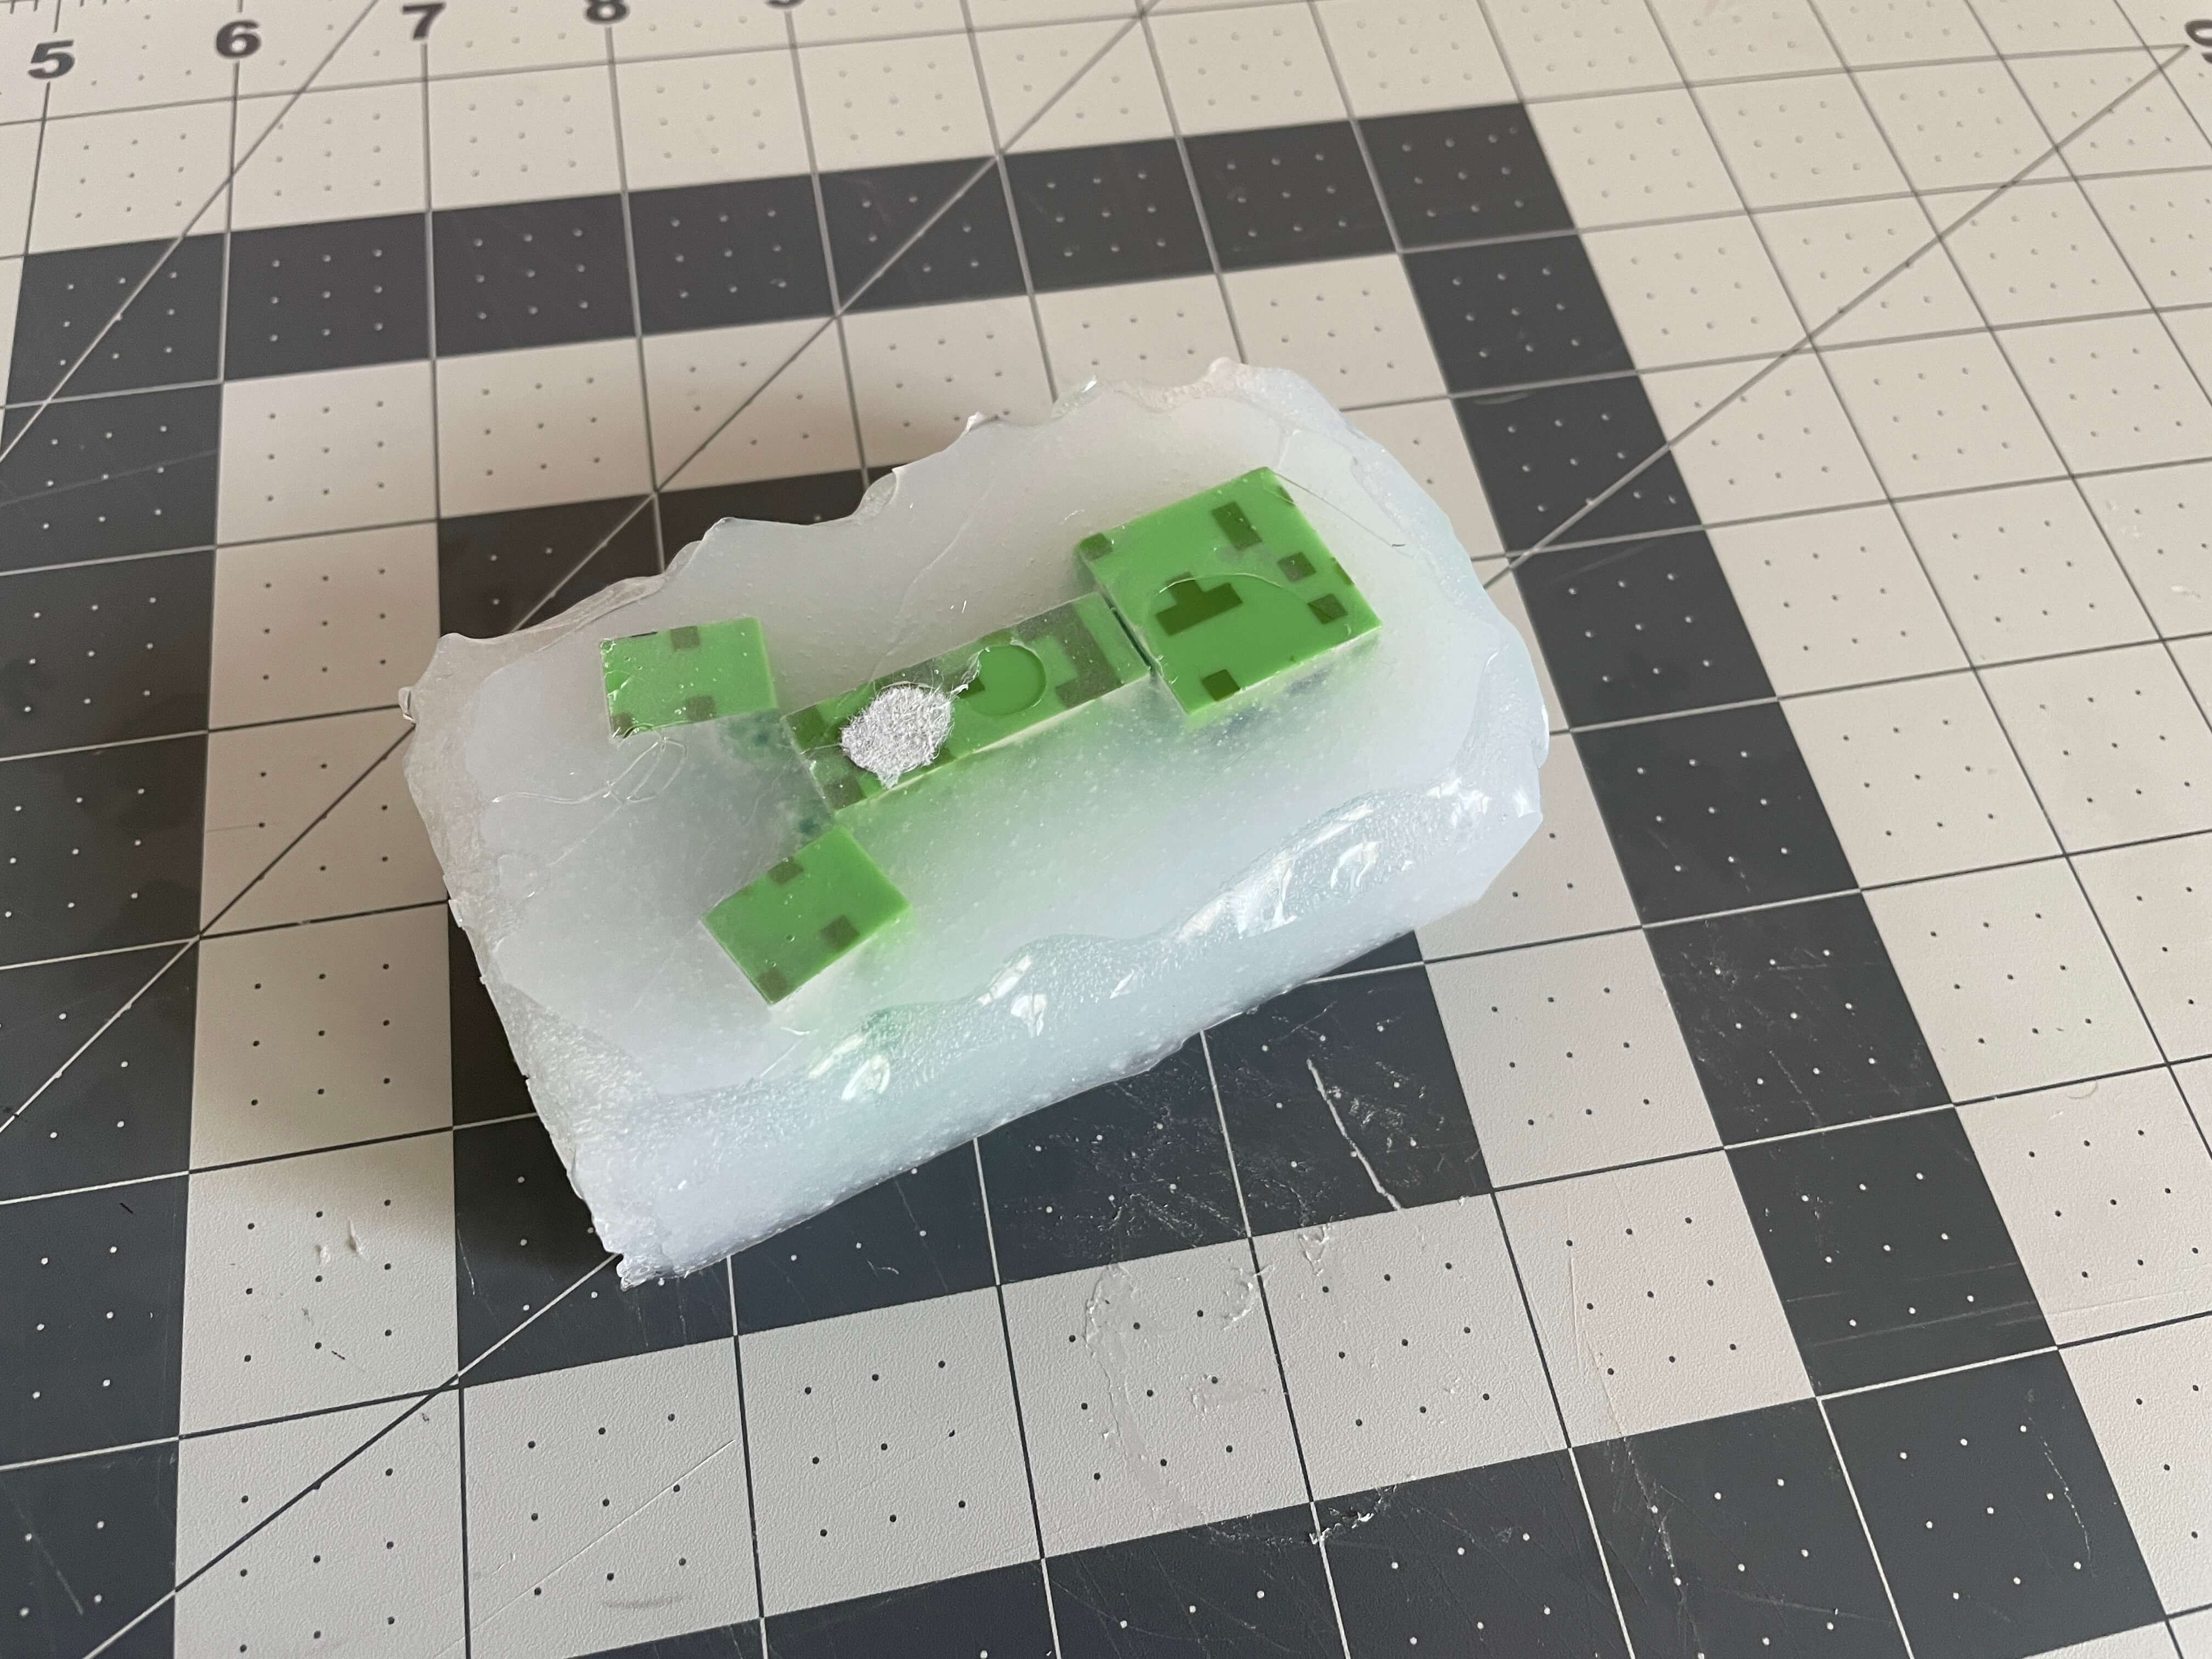
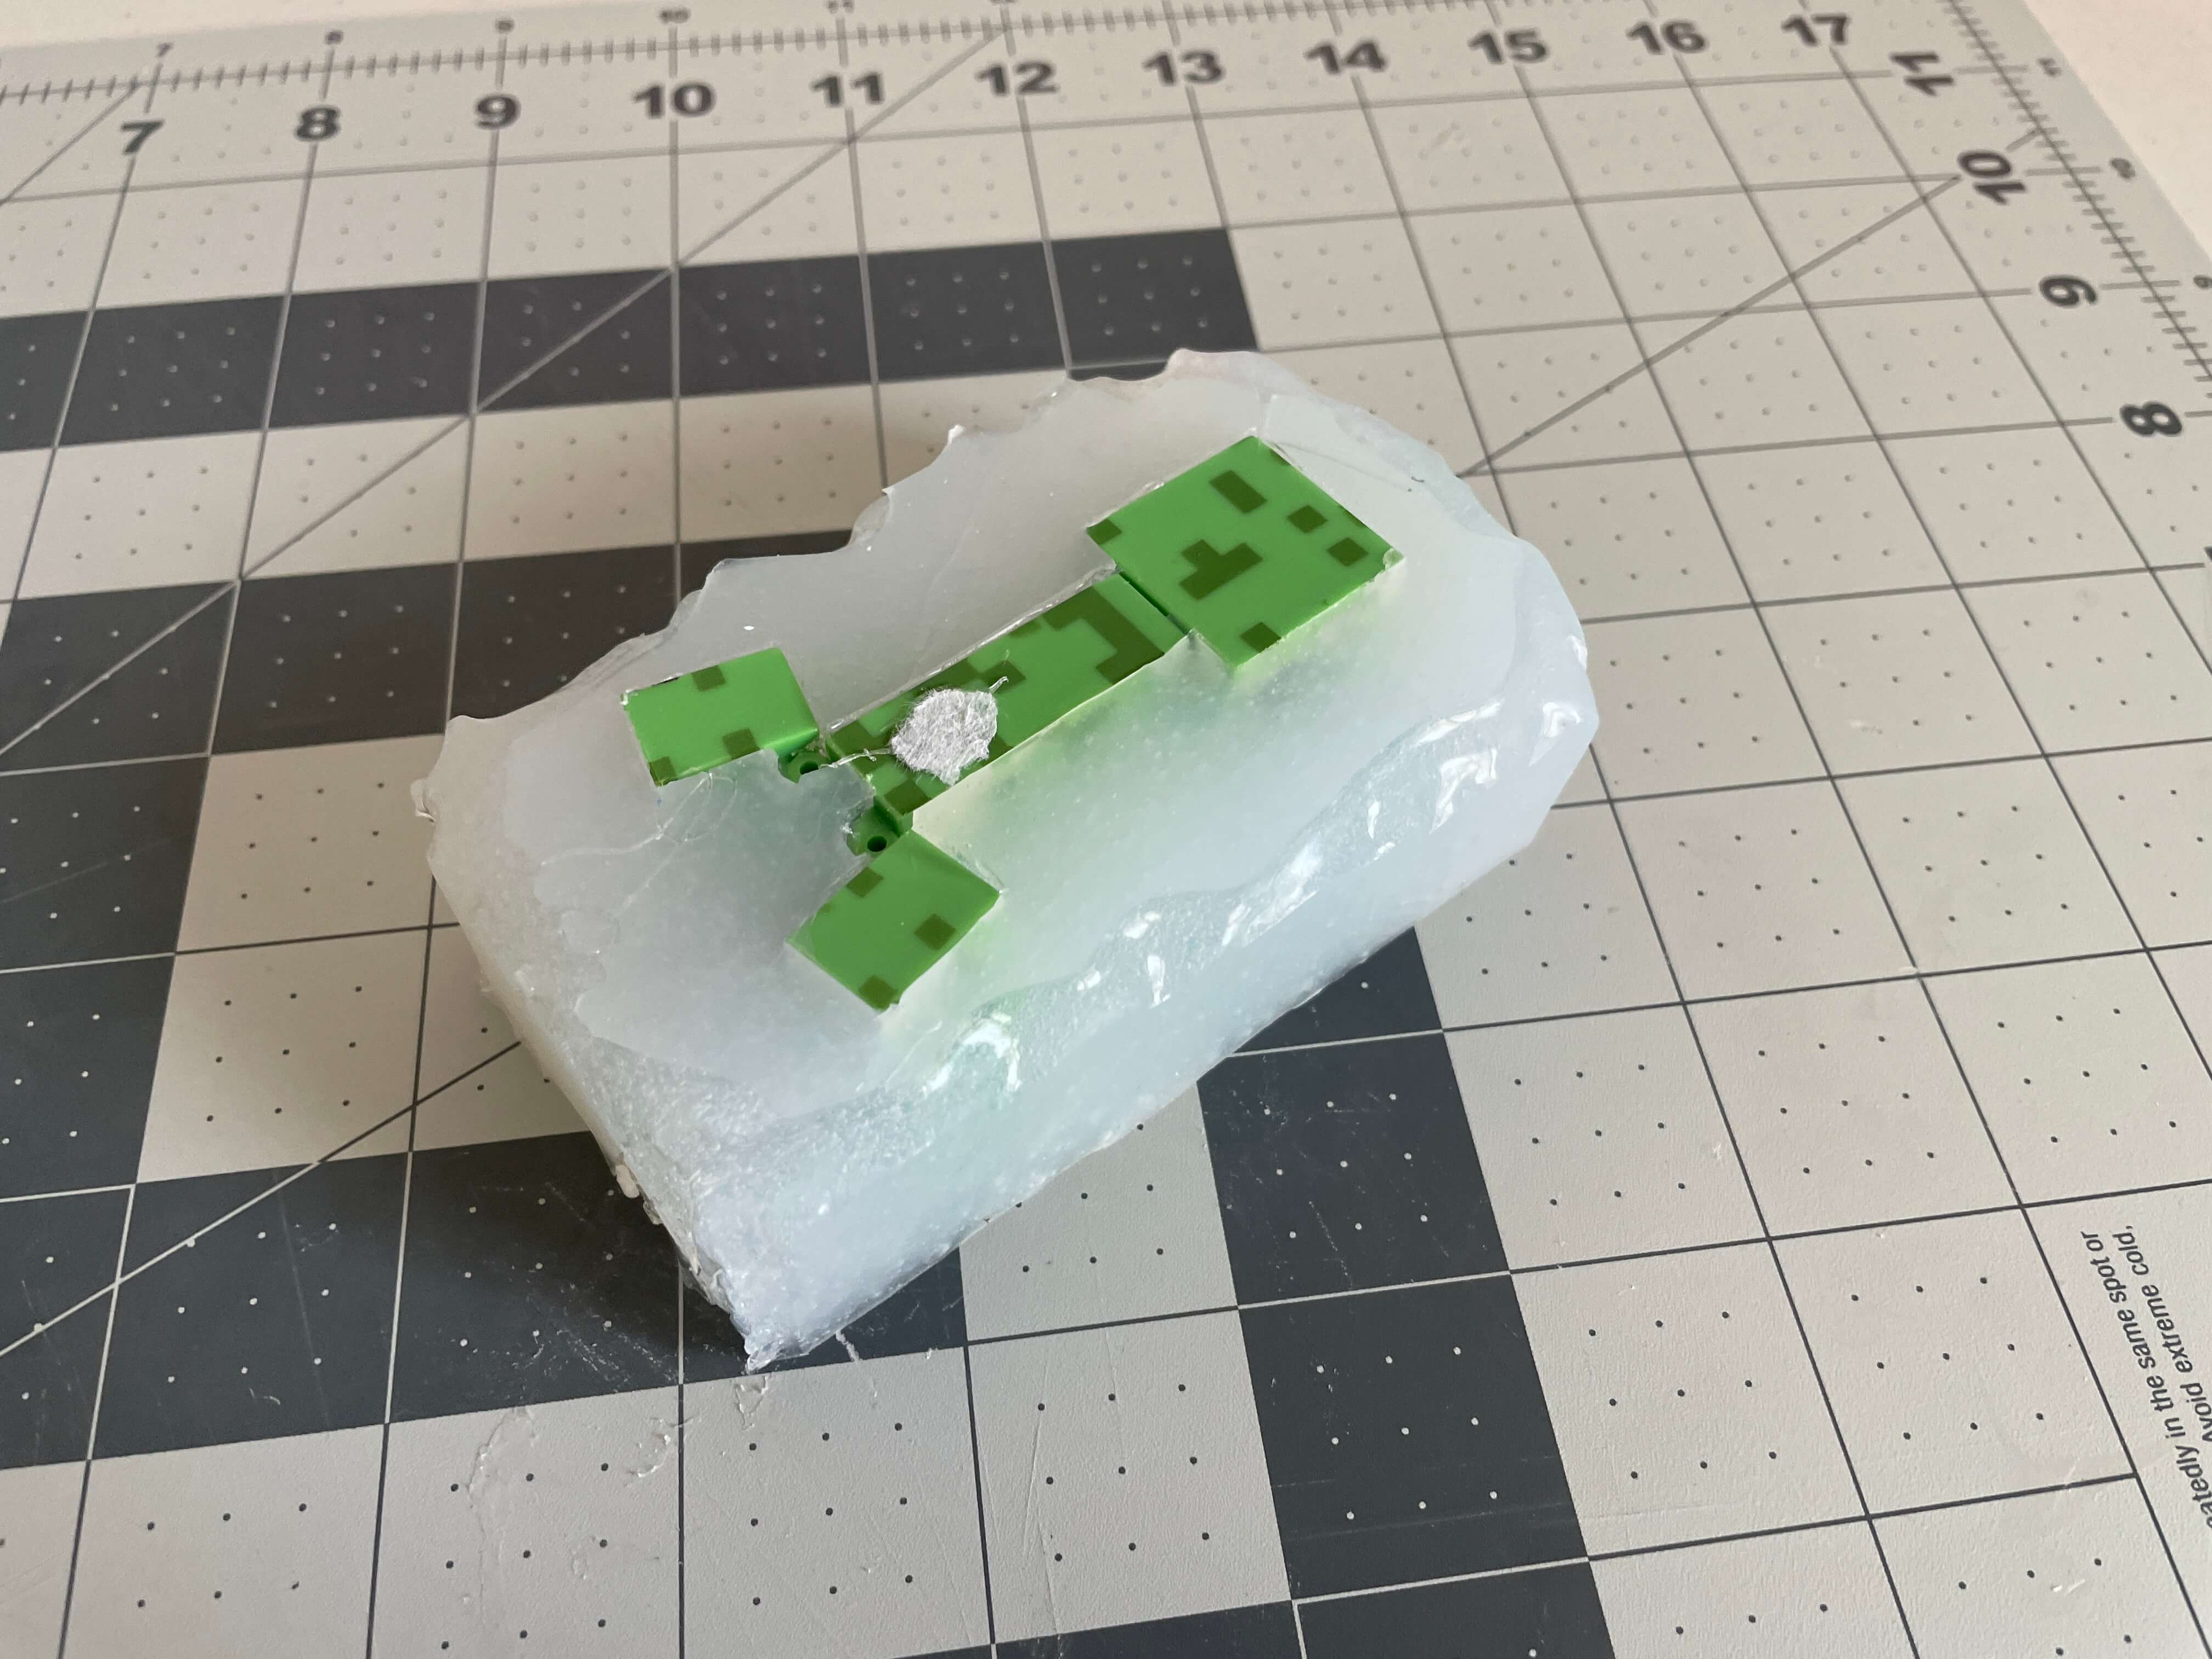
The mold actually turned out quite well. But, there was still one more thing I had to do before I could start casting in the mold. On the now top of the mold (where I glued the Creeper to the bottom of the container), some silicone seeped under the Creeper, leaving a thin layer of silicone on top of the Creeper. I took a folding knife and just cut off that layer, leaving me with the full side profile of the Creeper open from the top.
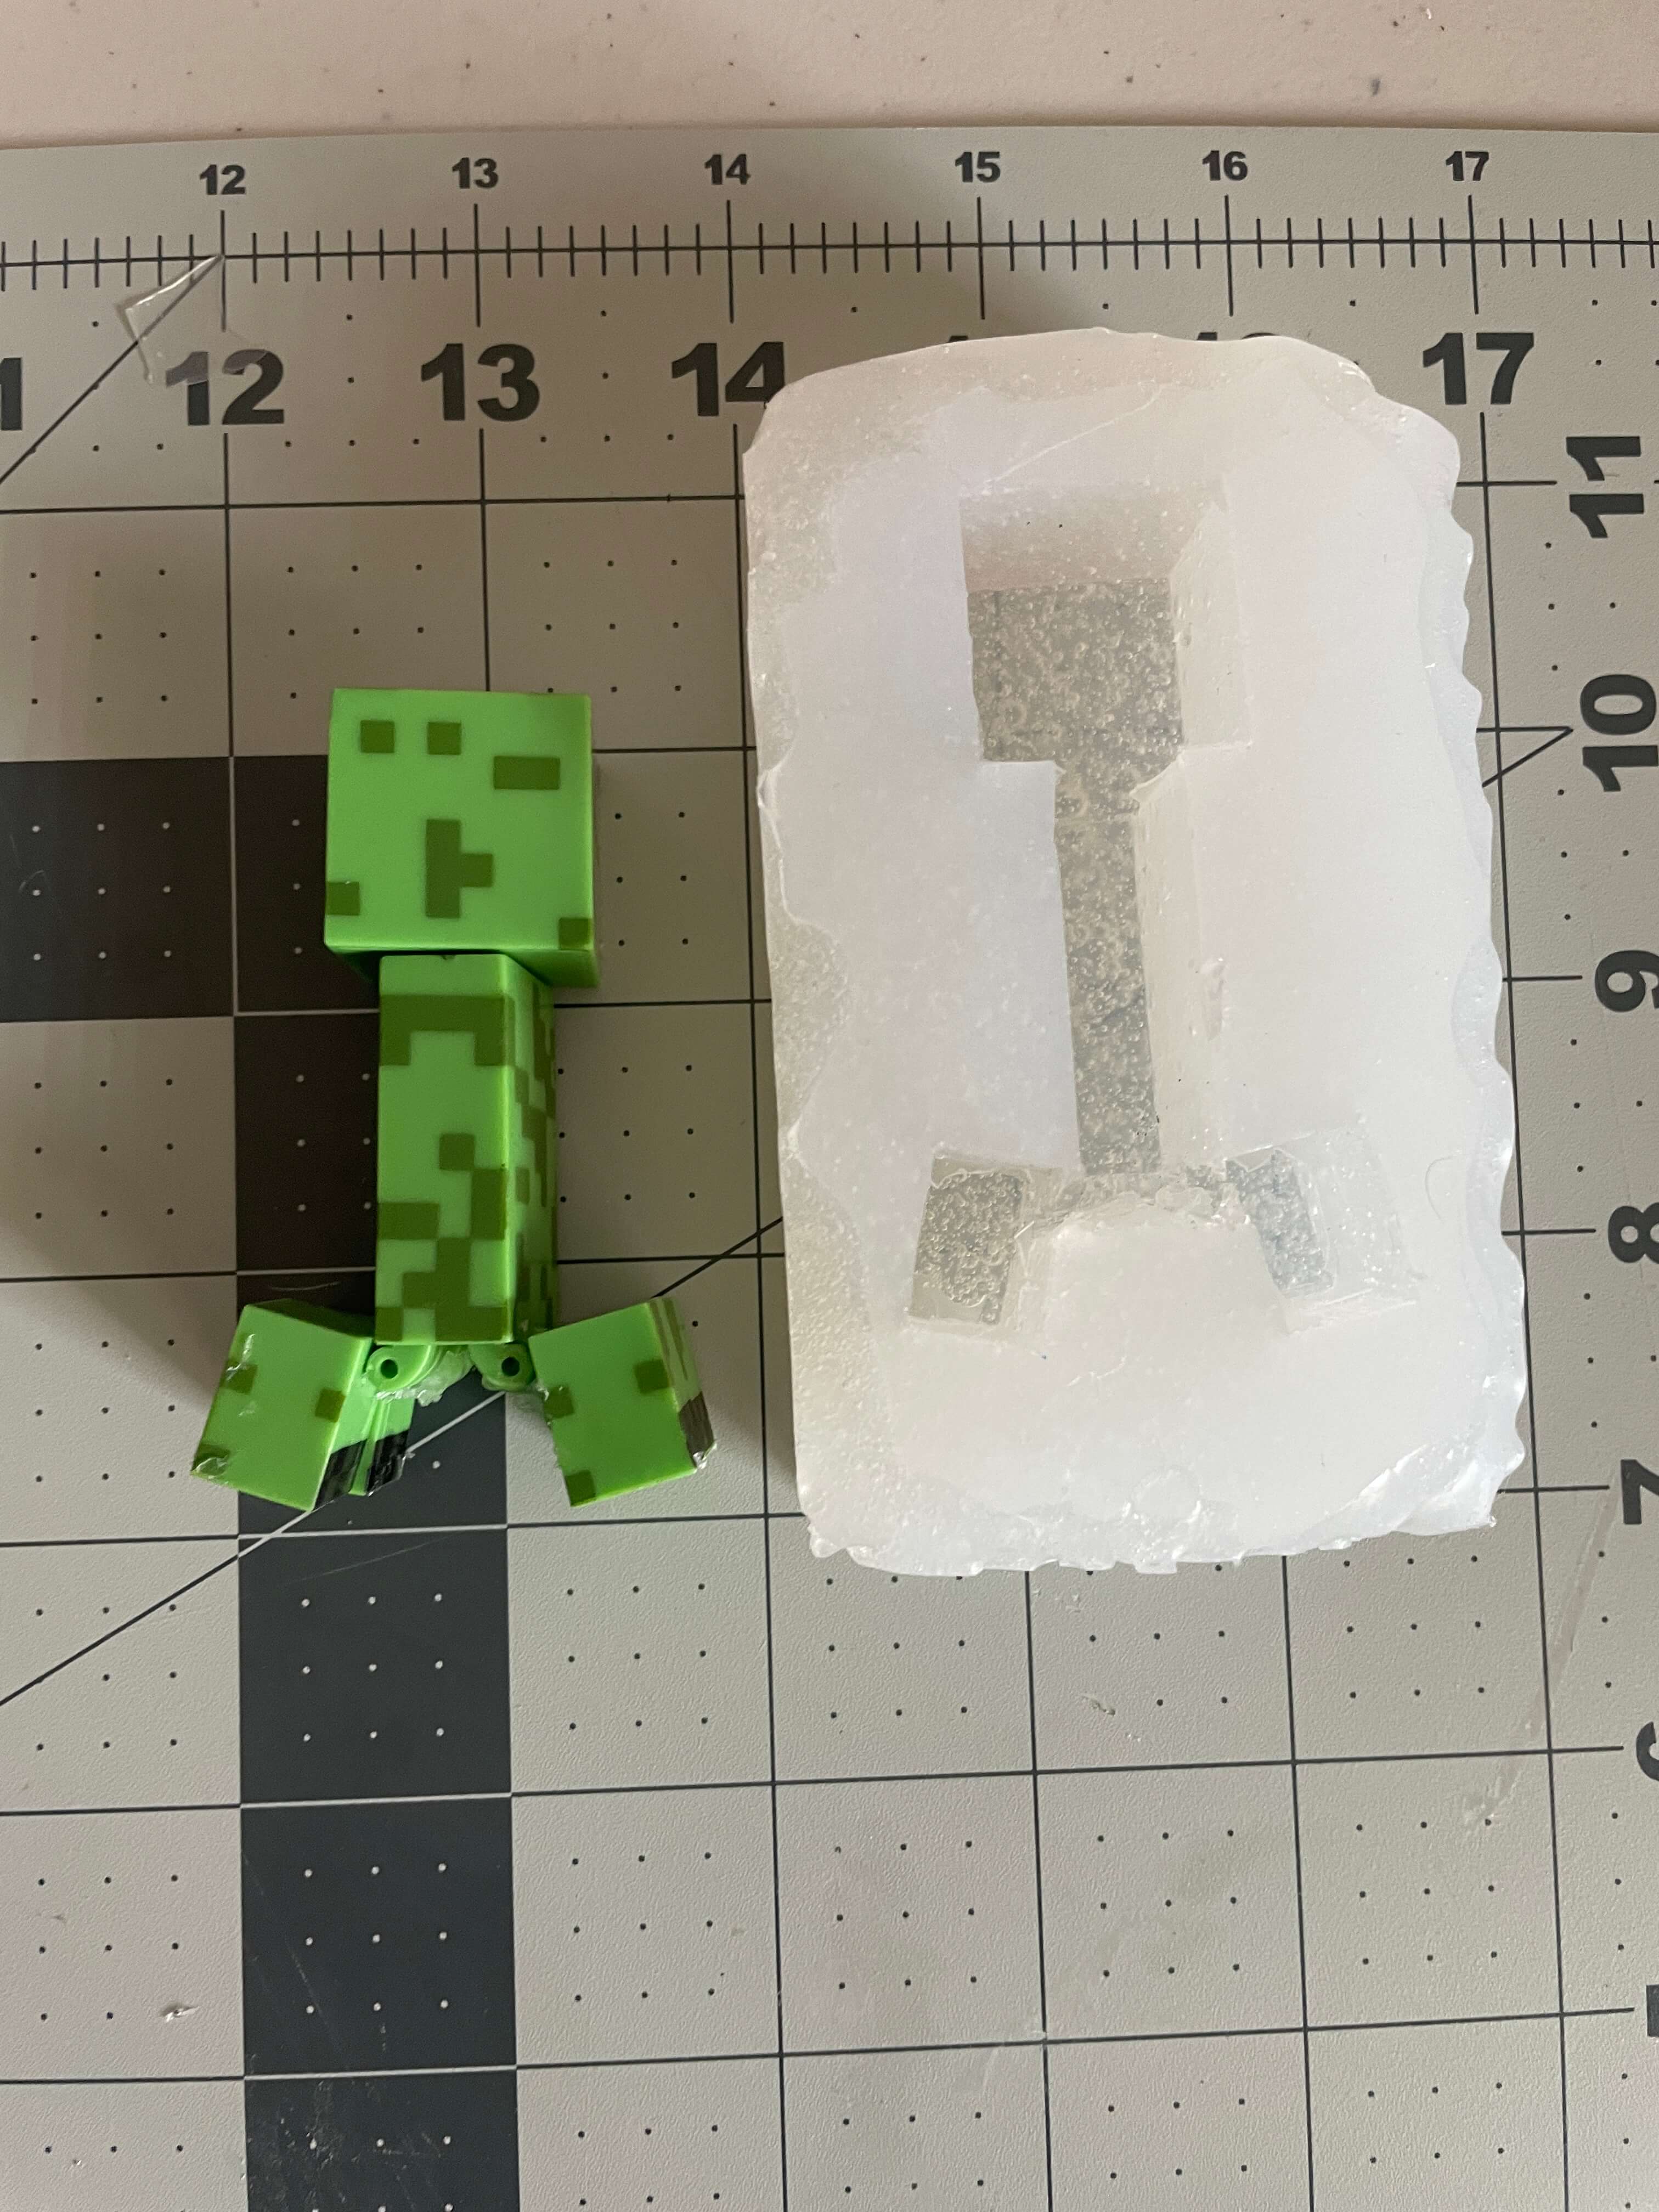
The first picture below shows the mold directly out of the container. The second shows the new top of the mold with the thin layer of silicone above the Creeper. The third shows the layer removed.
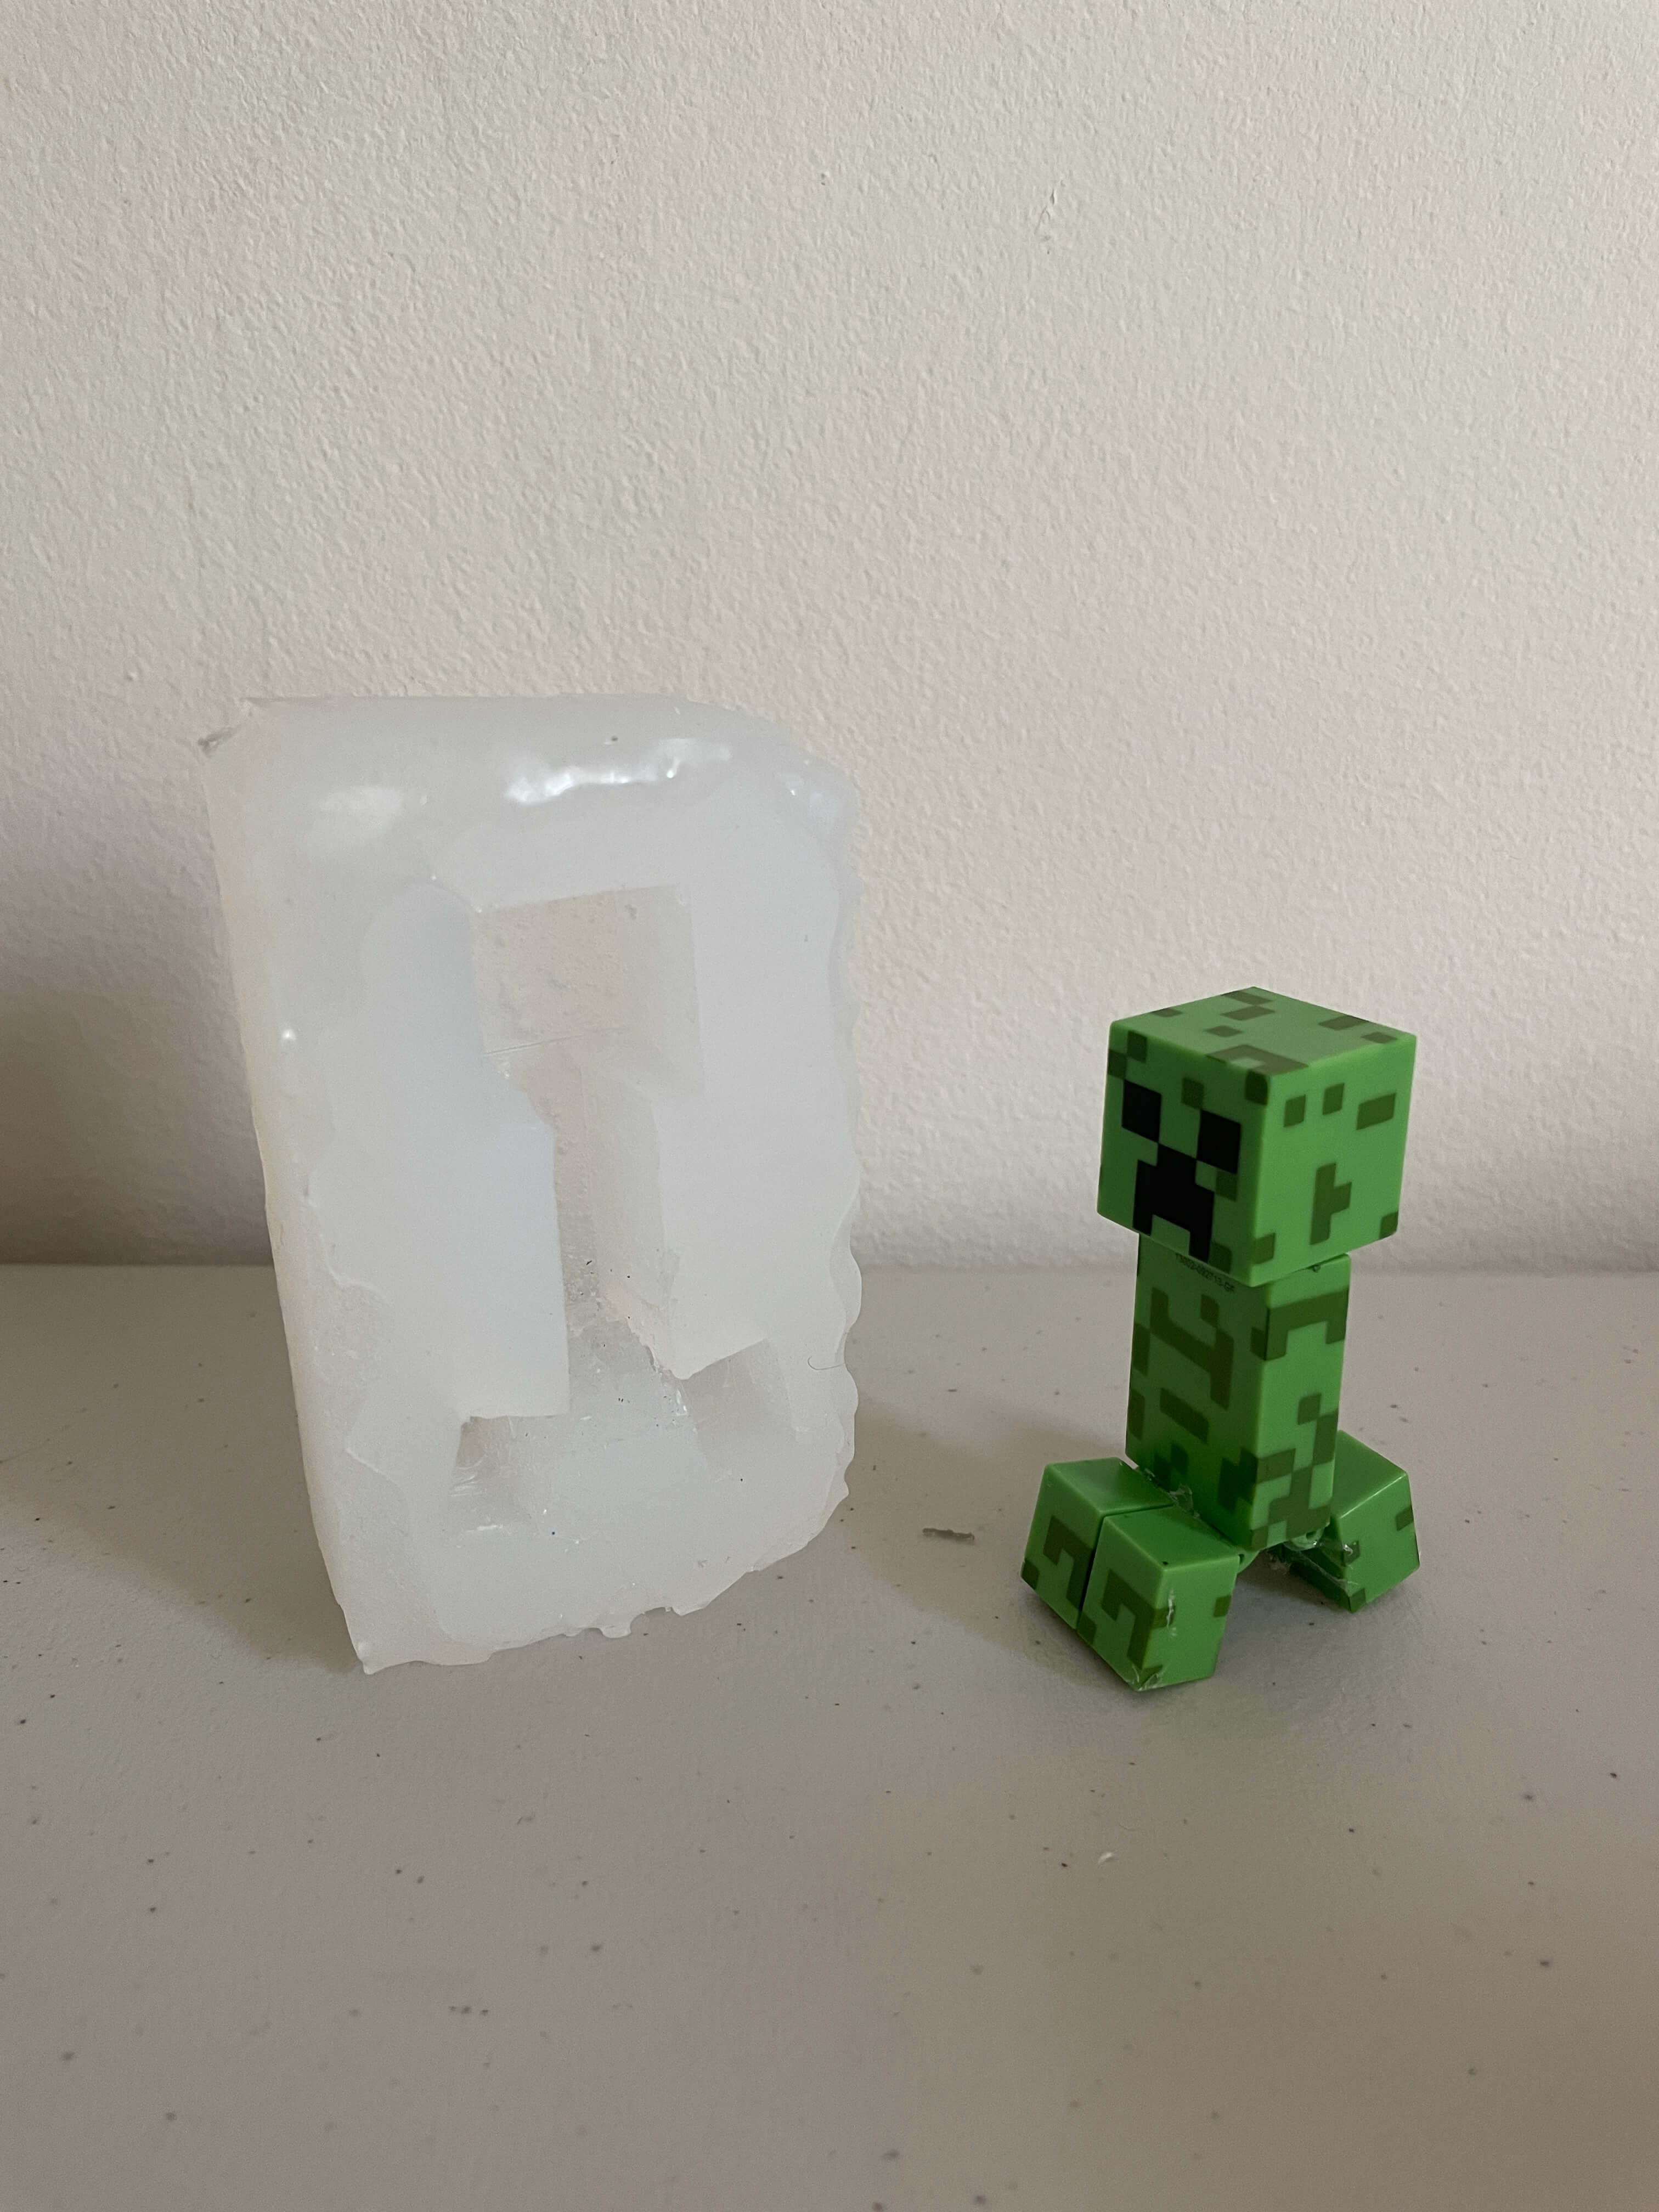
The final mold turned out great. Below are pictures of the mold next to the Creeper.
Now that I had my mold ready, I was able to start casting. I talk about the casting process in the next section.
Casting
Casting inside of the Creeper mold was super easy, mainly because I just used water as my casting material. I used blue and red food coloring to dye the two Creepers I made. There were two problems I ran into. One was completely my fault. I put way too much blue food coloring in the blue Creeper. It looks really cool, but you can't touch it without getting blue food coloring all over your fingers. This happened with the red Creeper too, even though I only used two drops of coloring for that one. The other problem was that the Creeper casts were super fragile by the leg joints. The actual joints are about 3-4 milimeters thick, but I cut out a portion of silicone around the leg joints to make the casting material take up more space that it would've before.
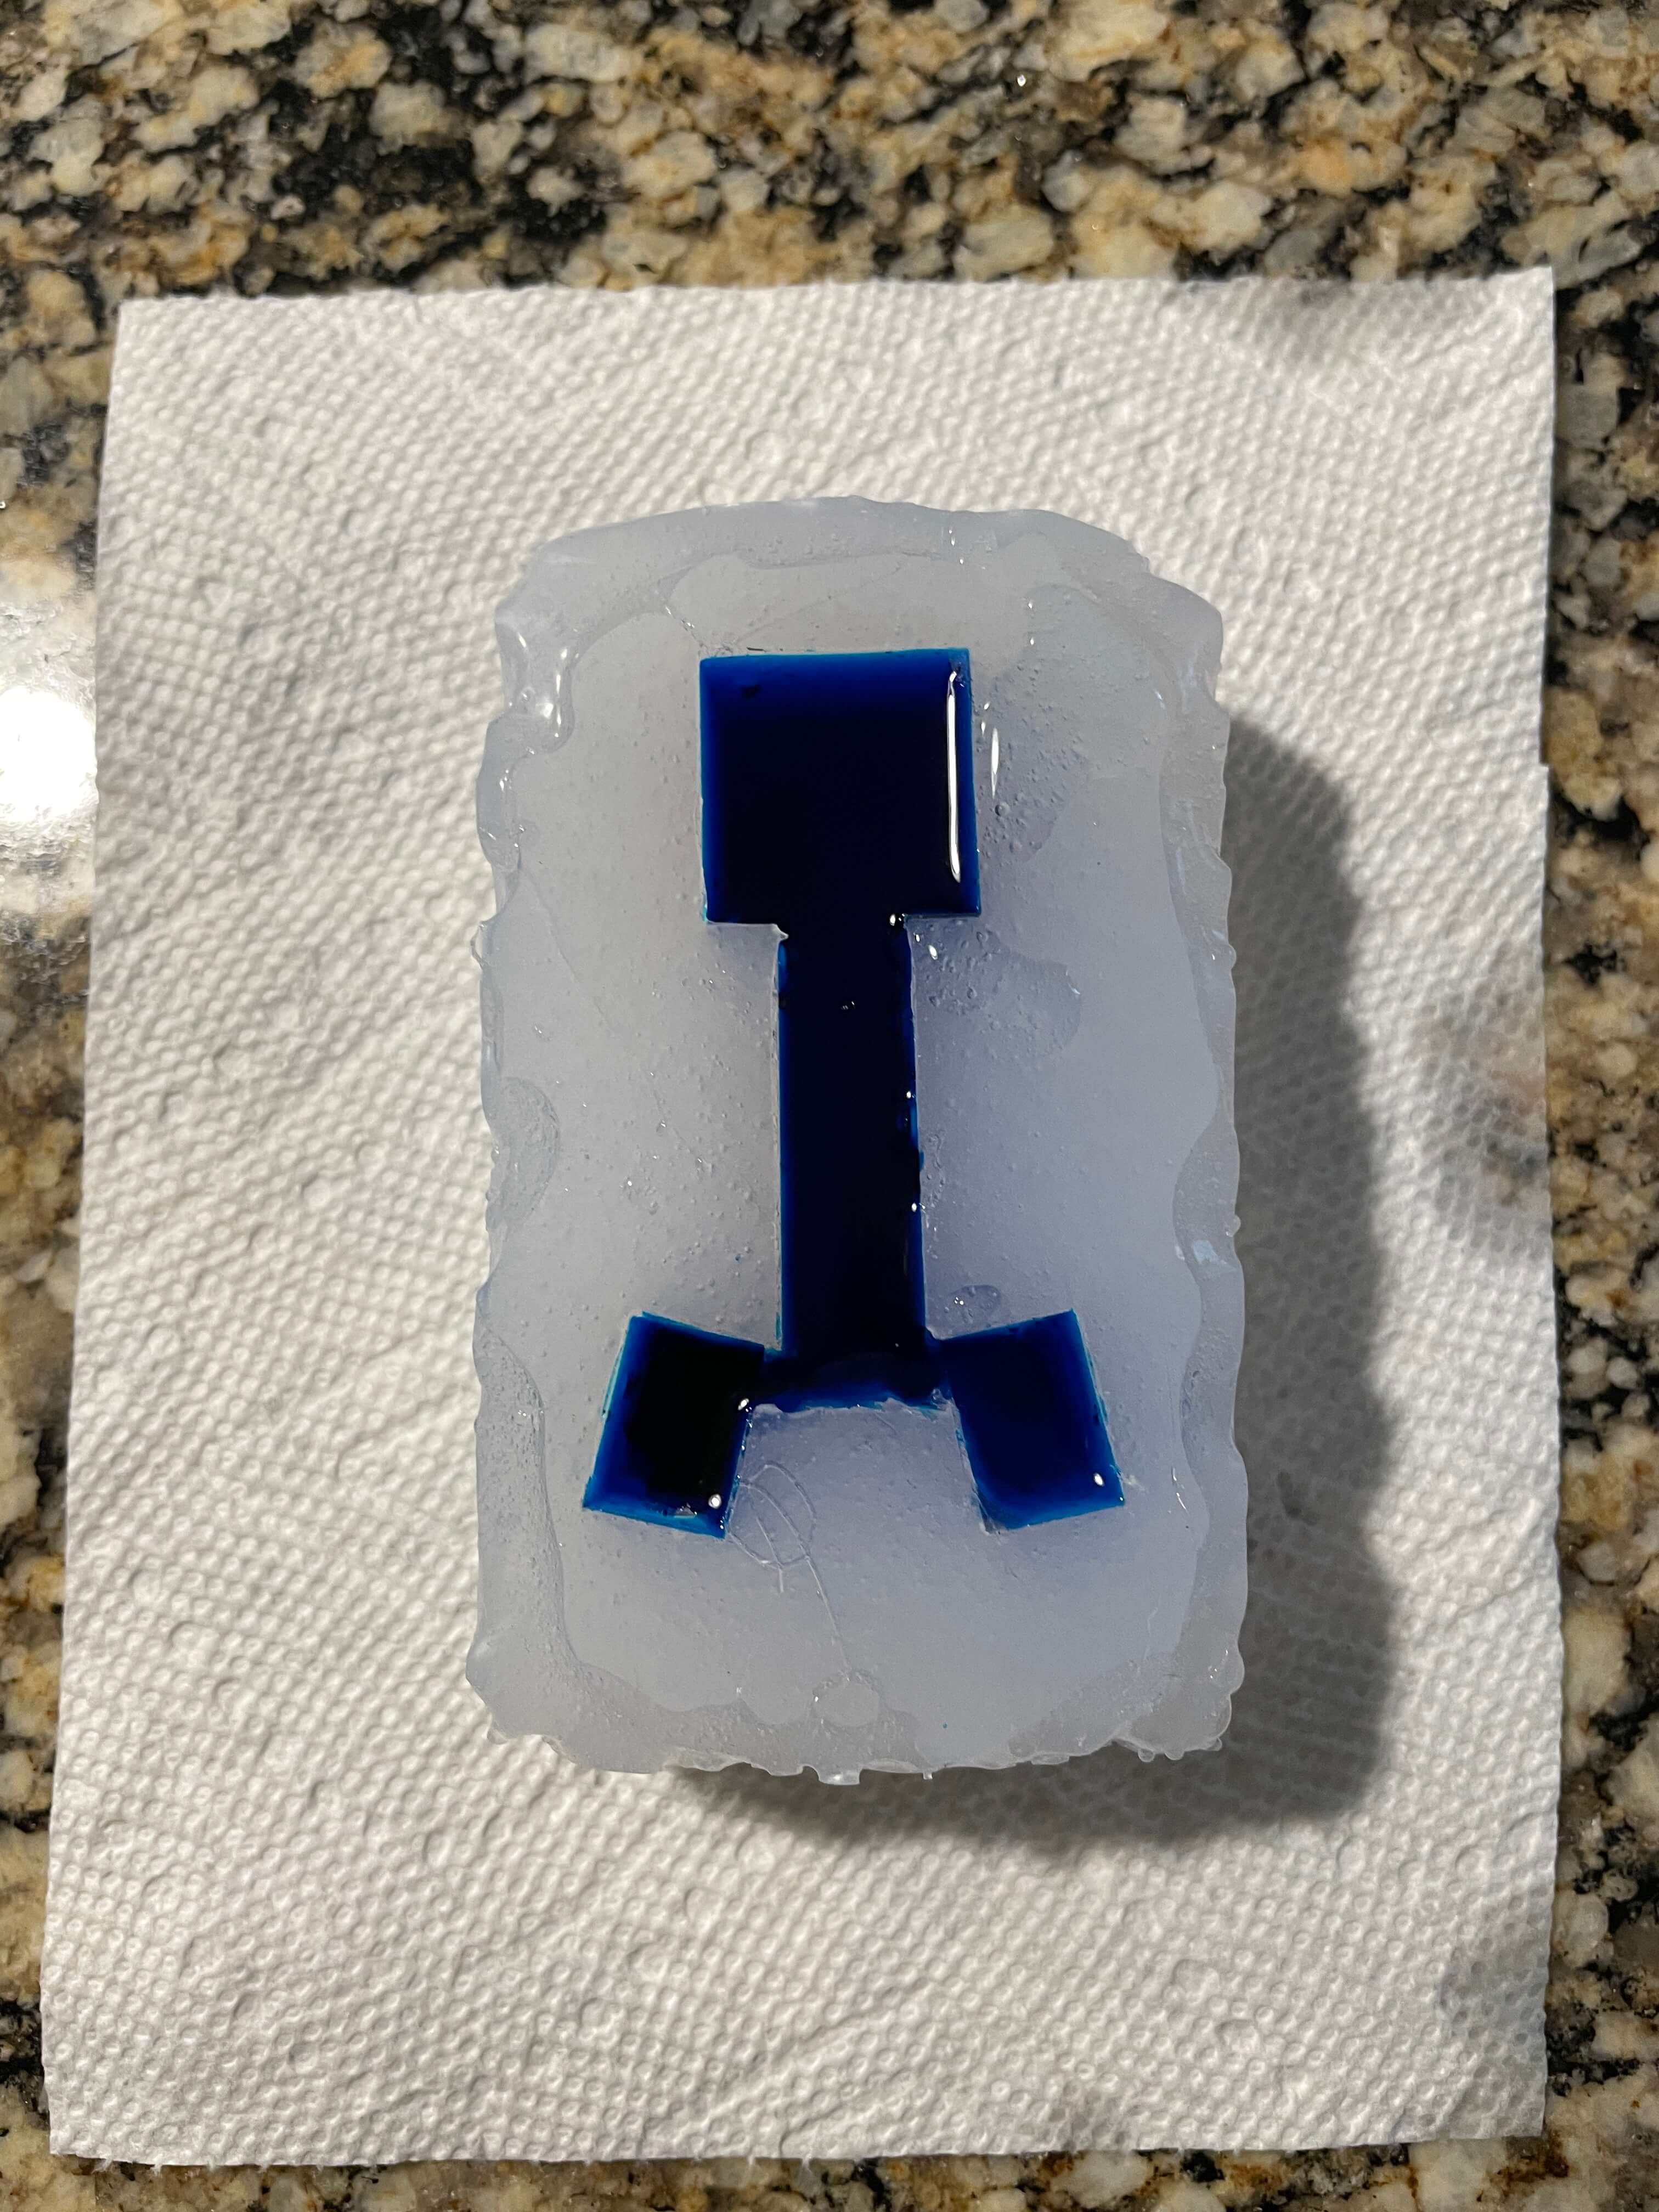
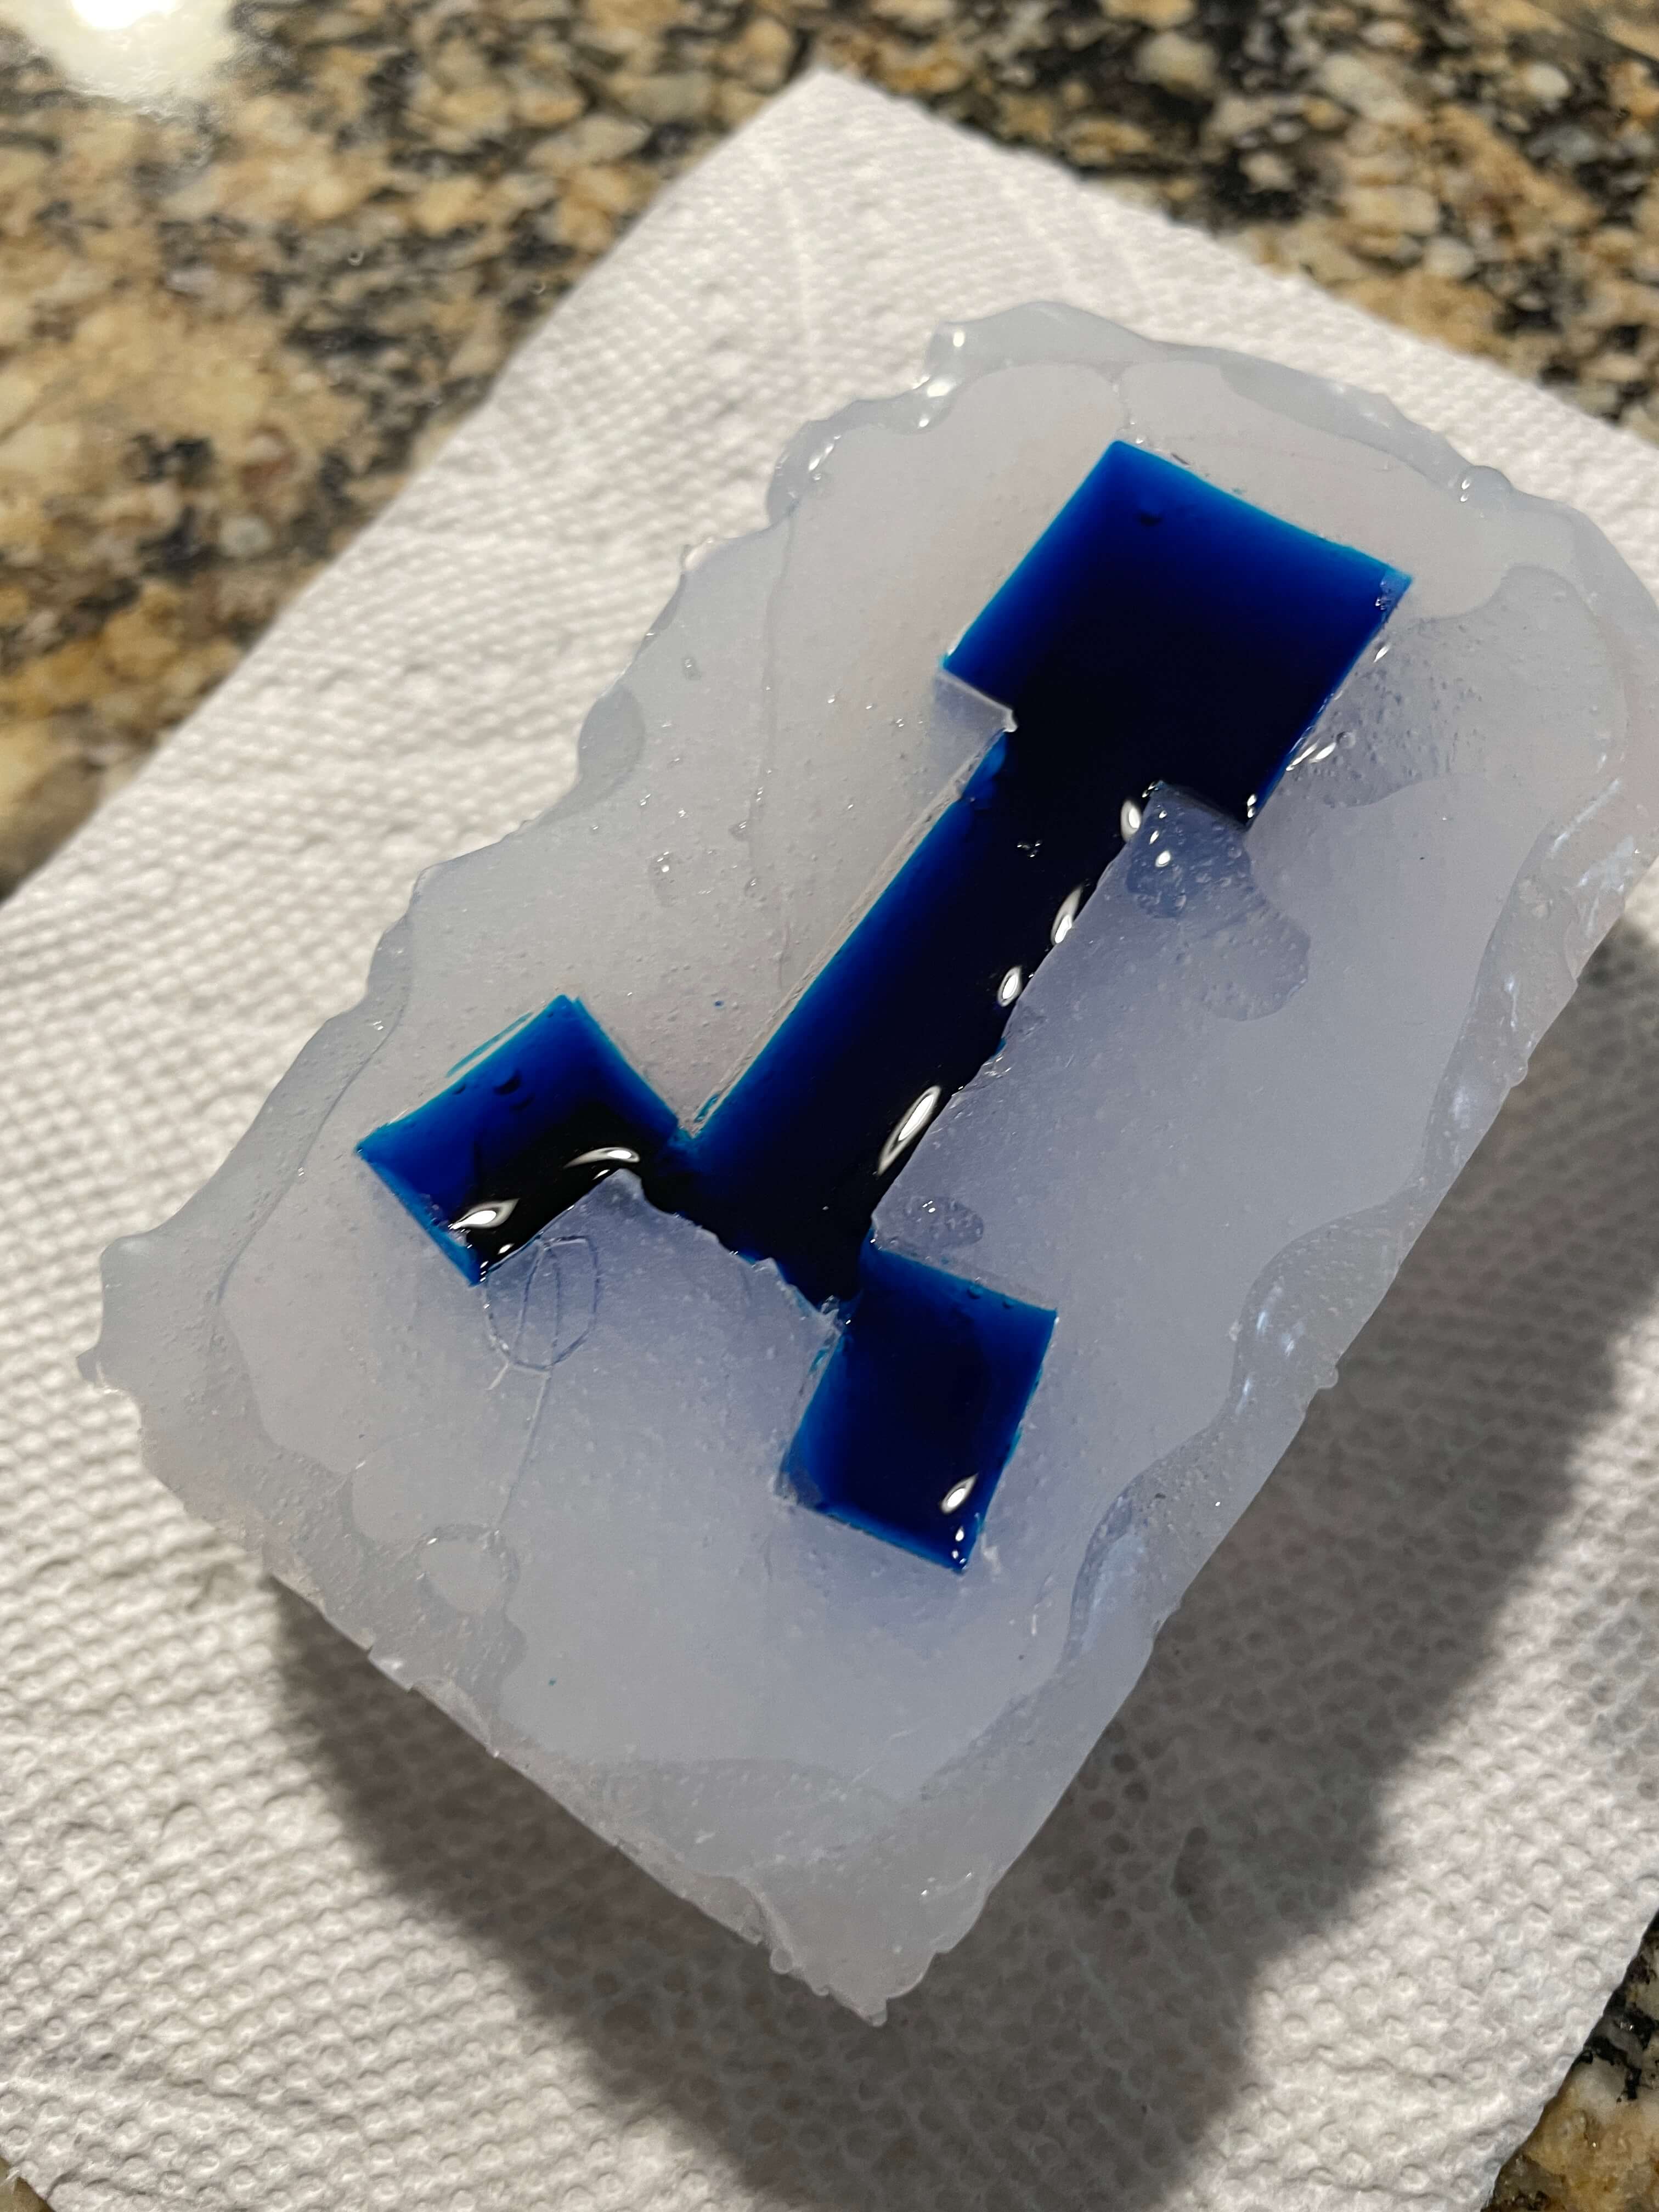
Below are pictures of blue water in the mold.
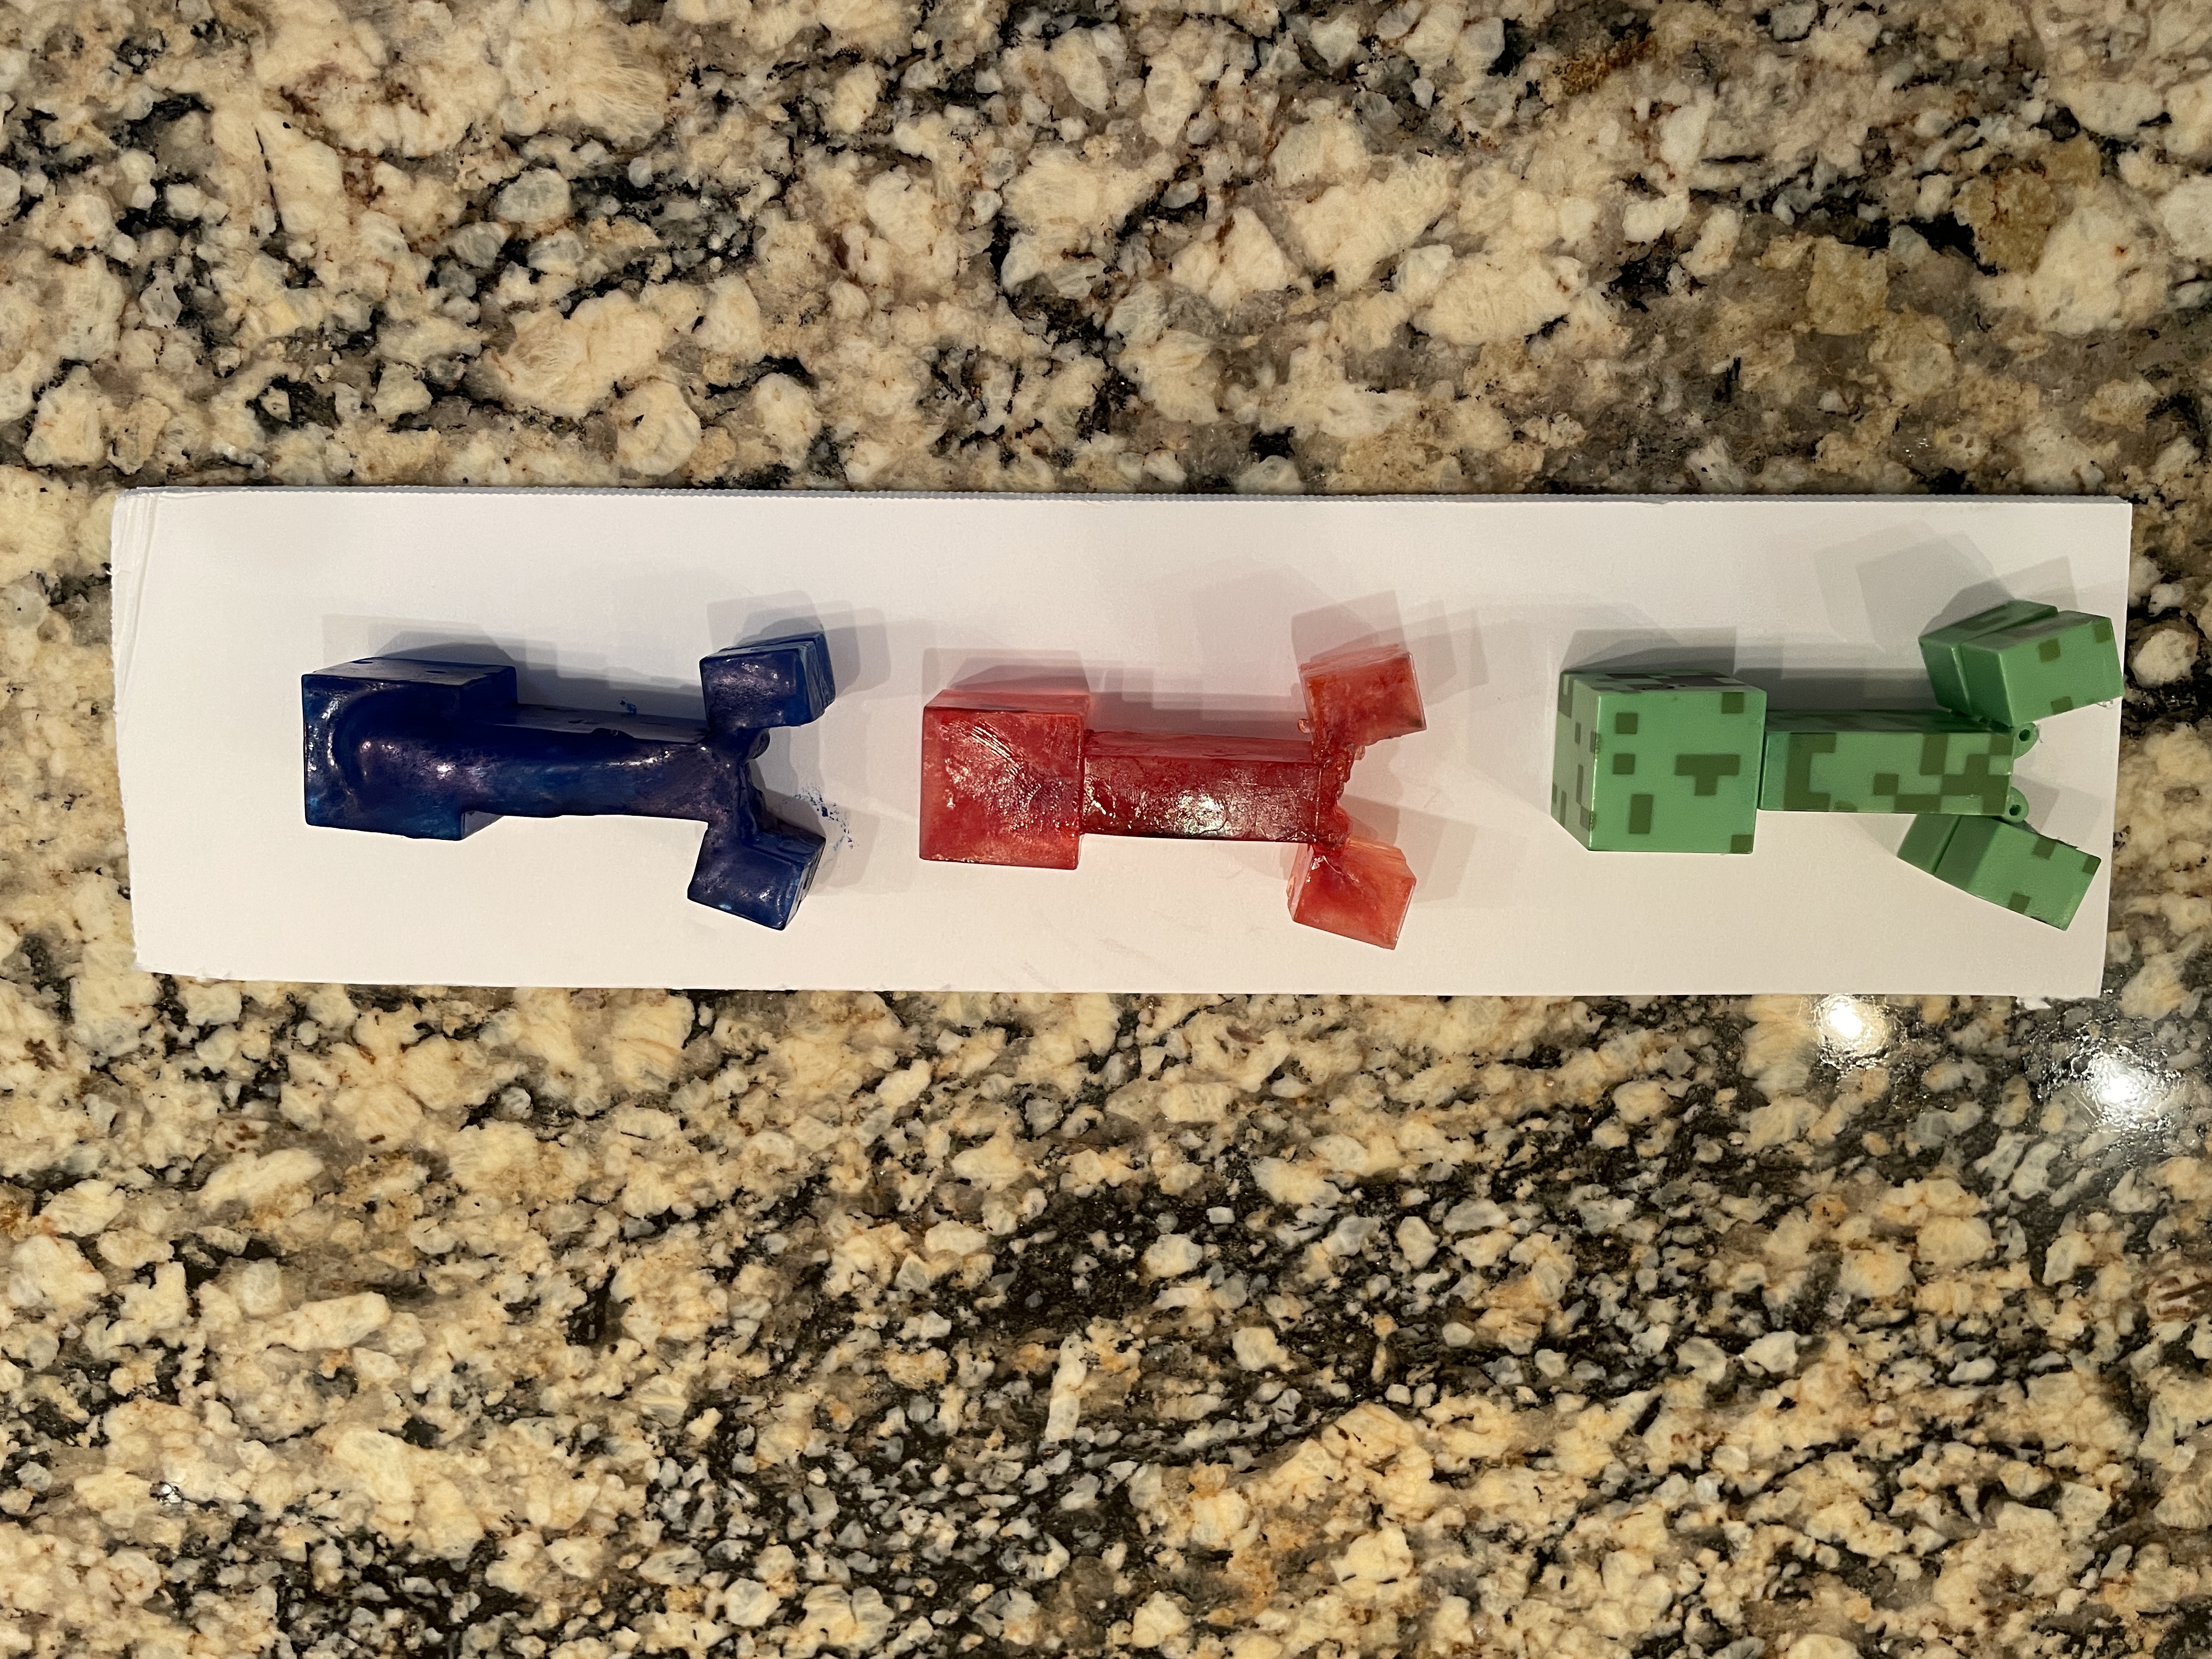
The final product turned out super well. I successfully made two colored ice Creepers that looked cool. Below are pictures of the casted Creepers next to the original one.
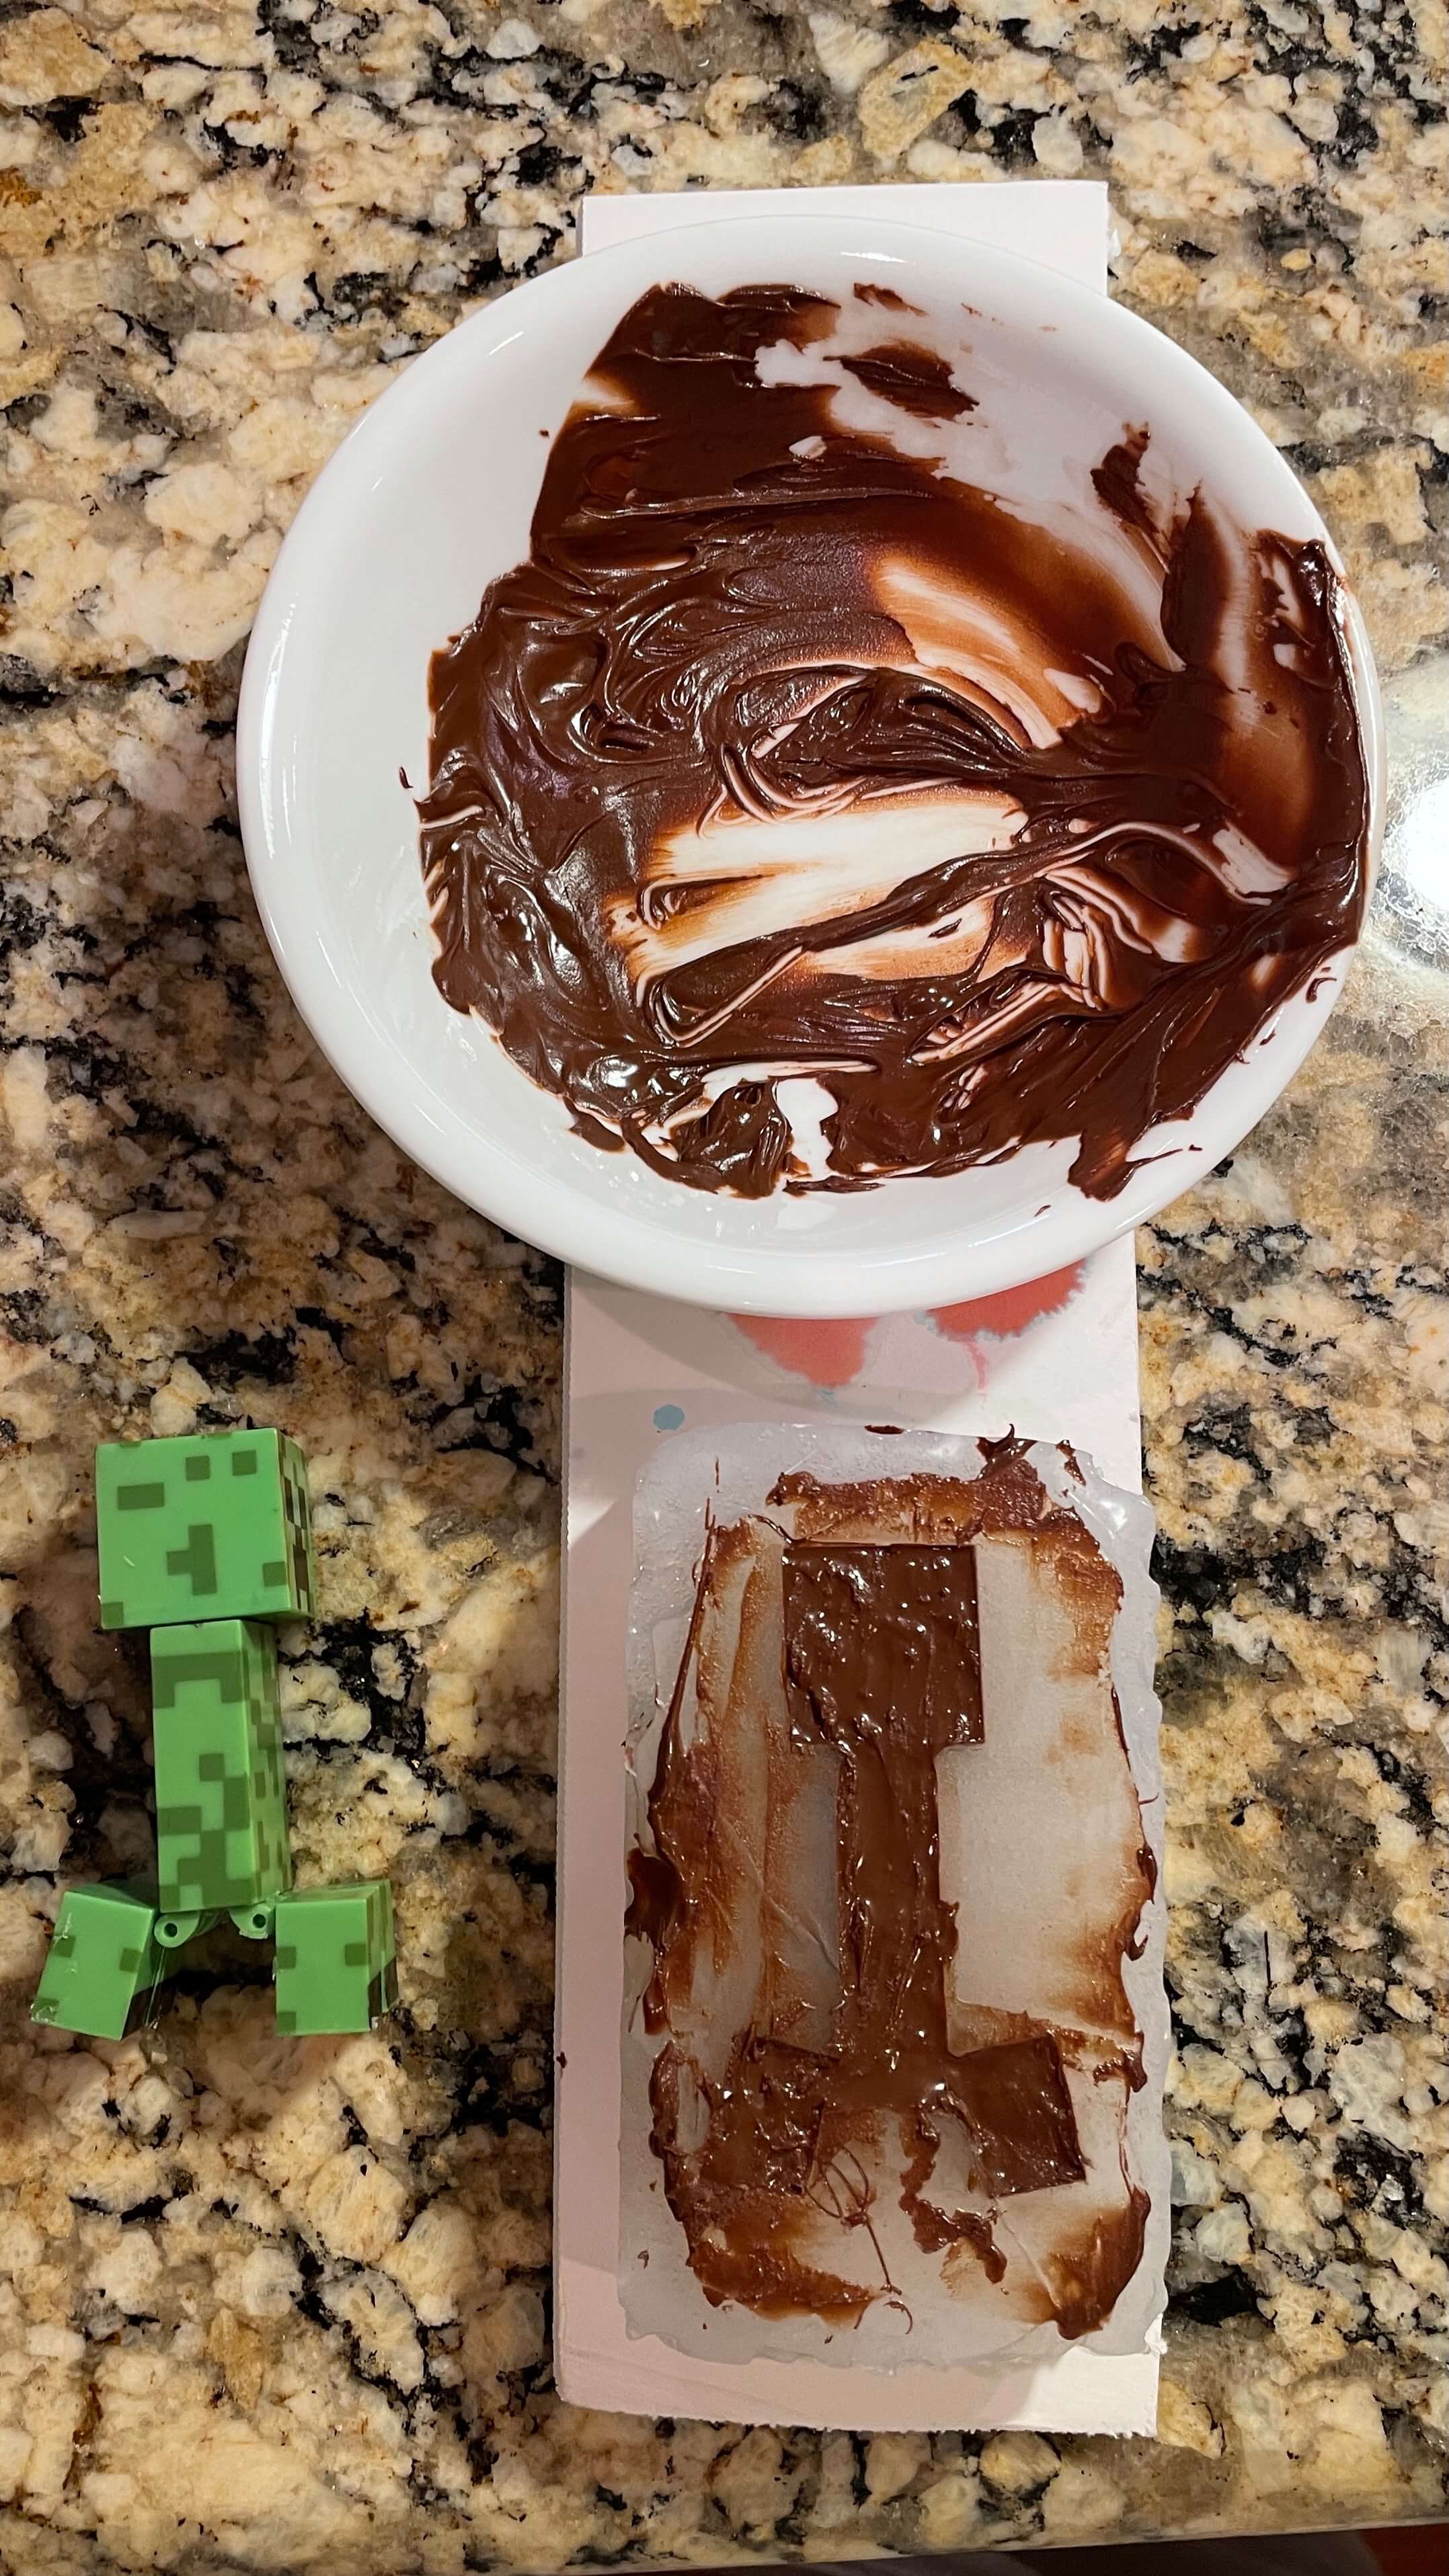
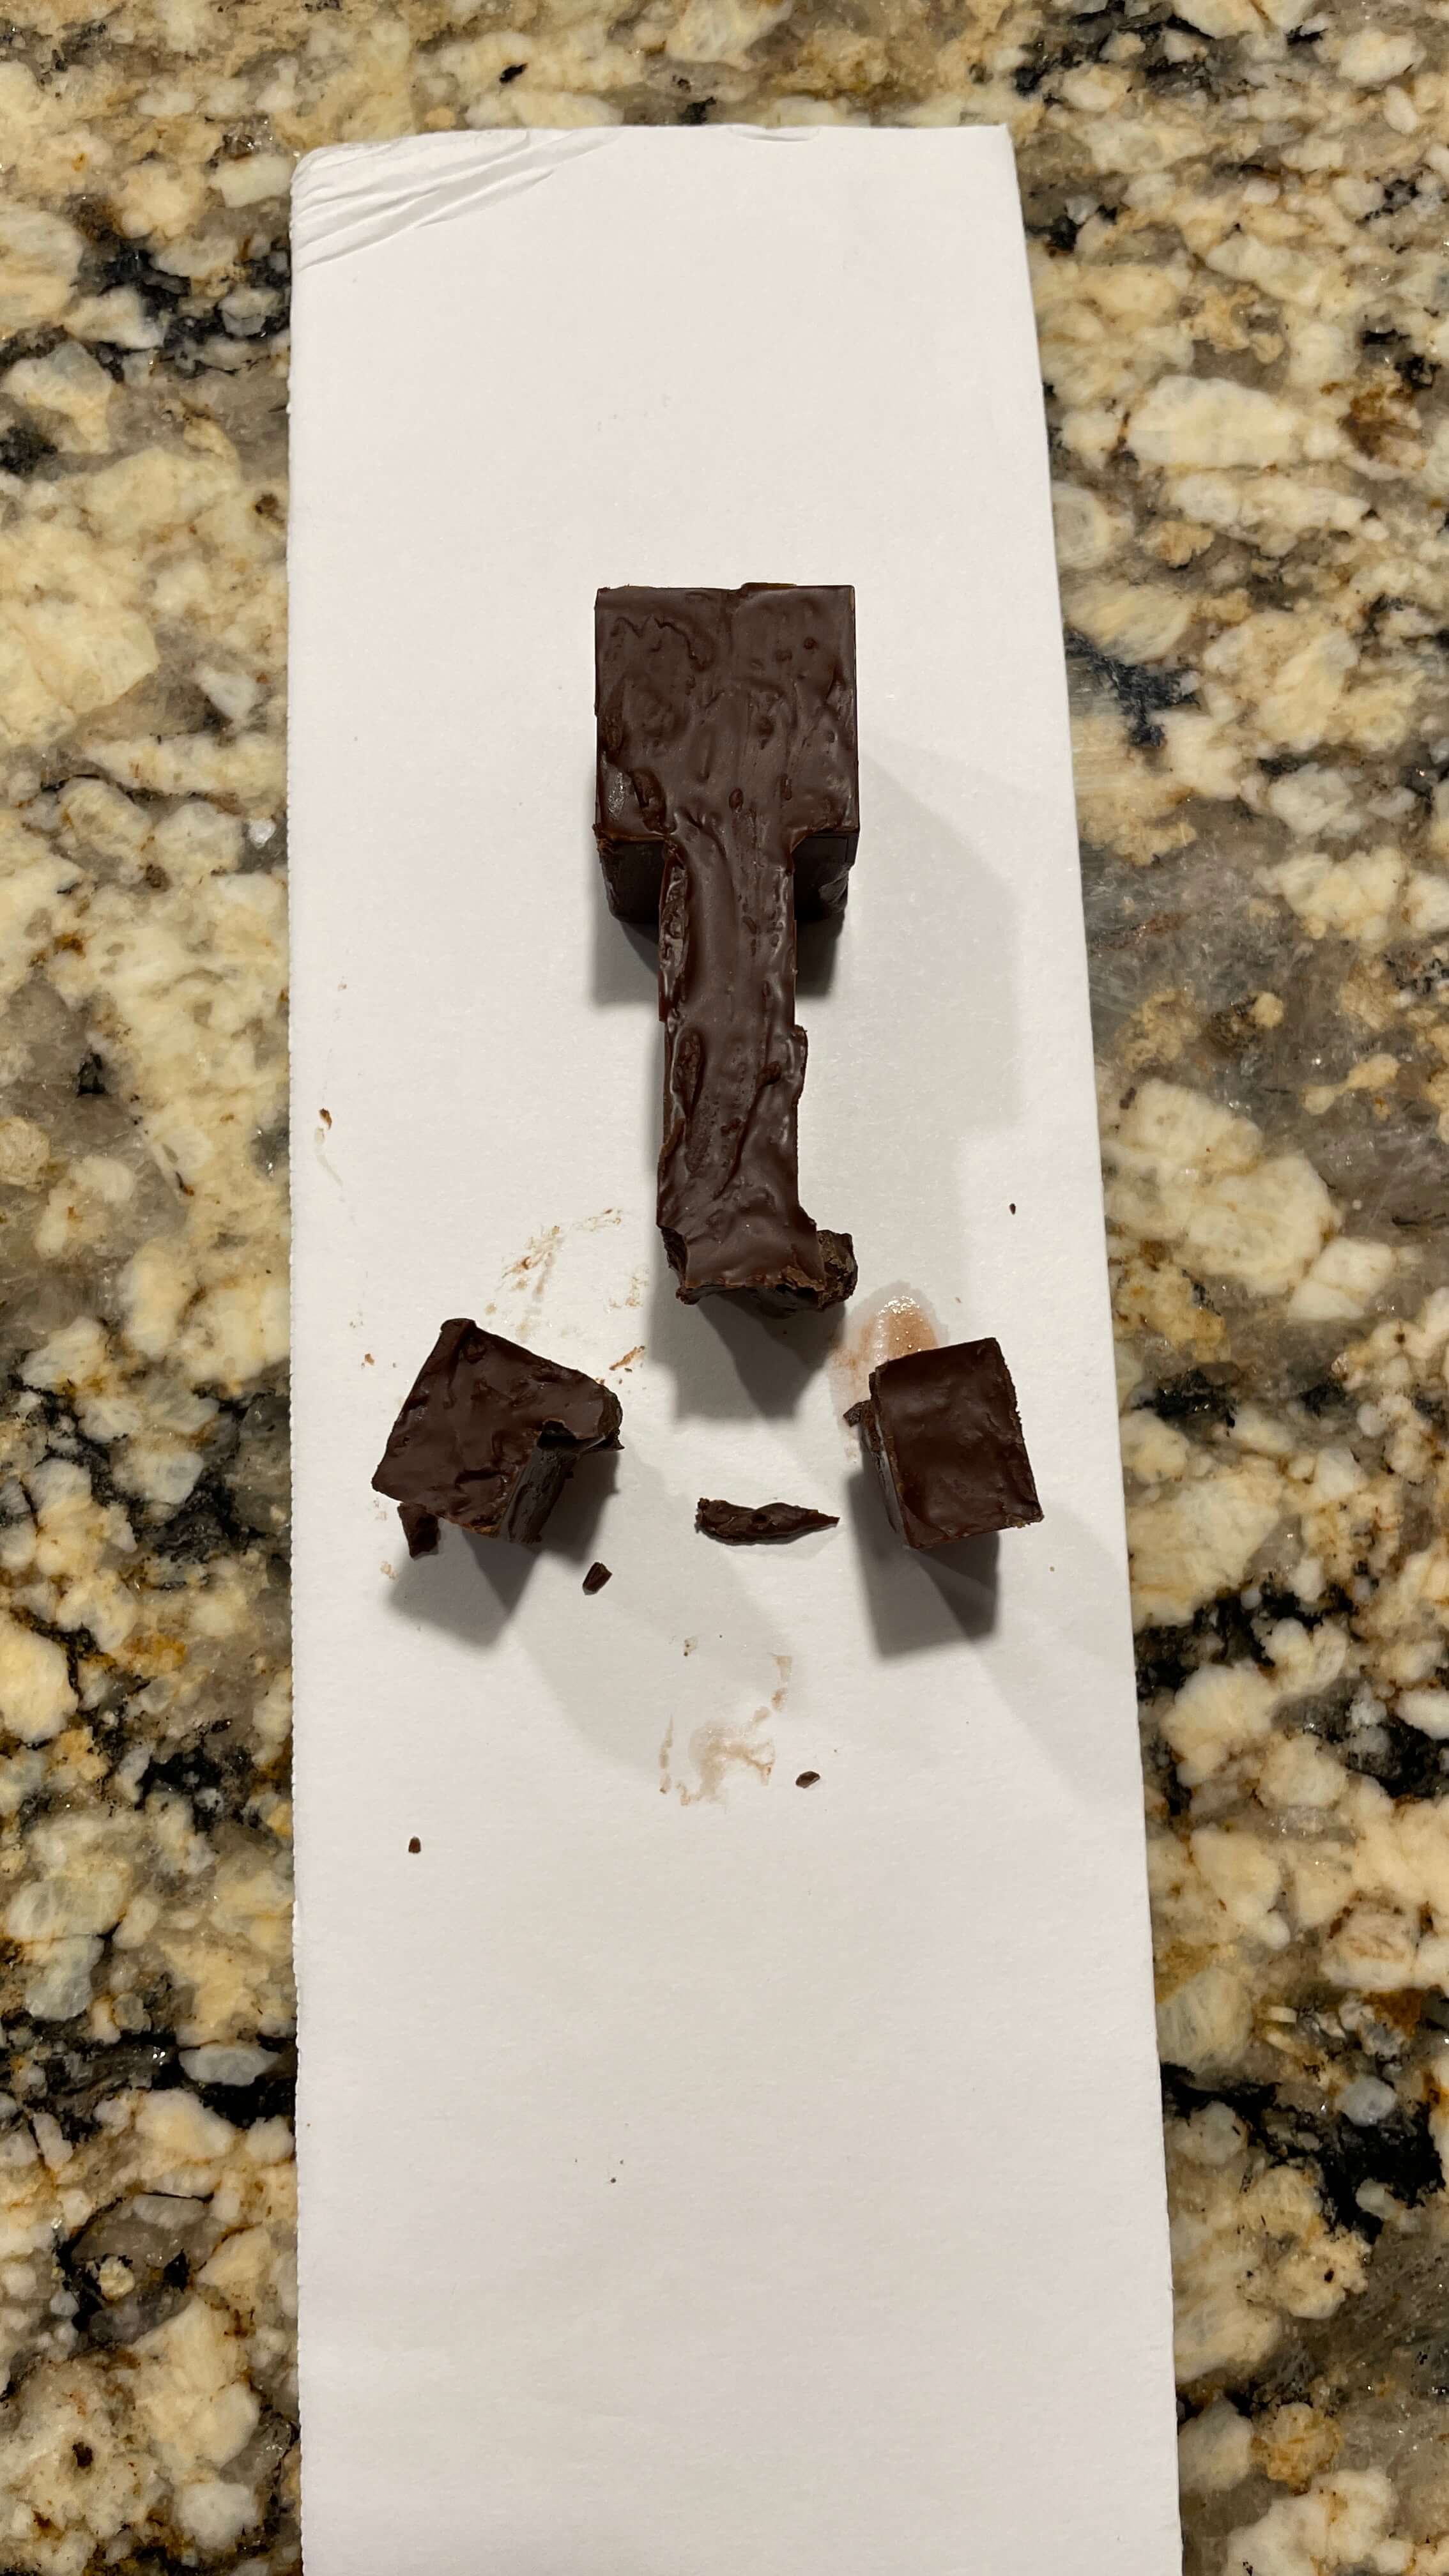
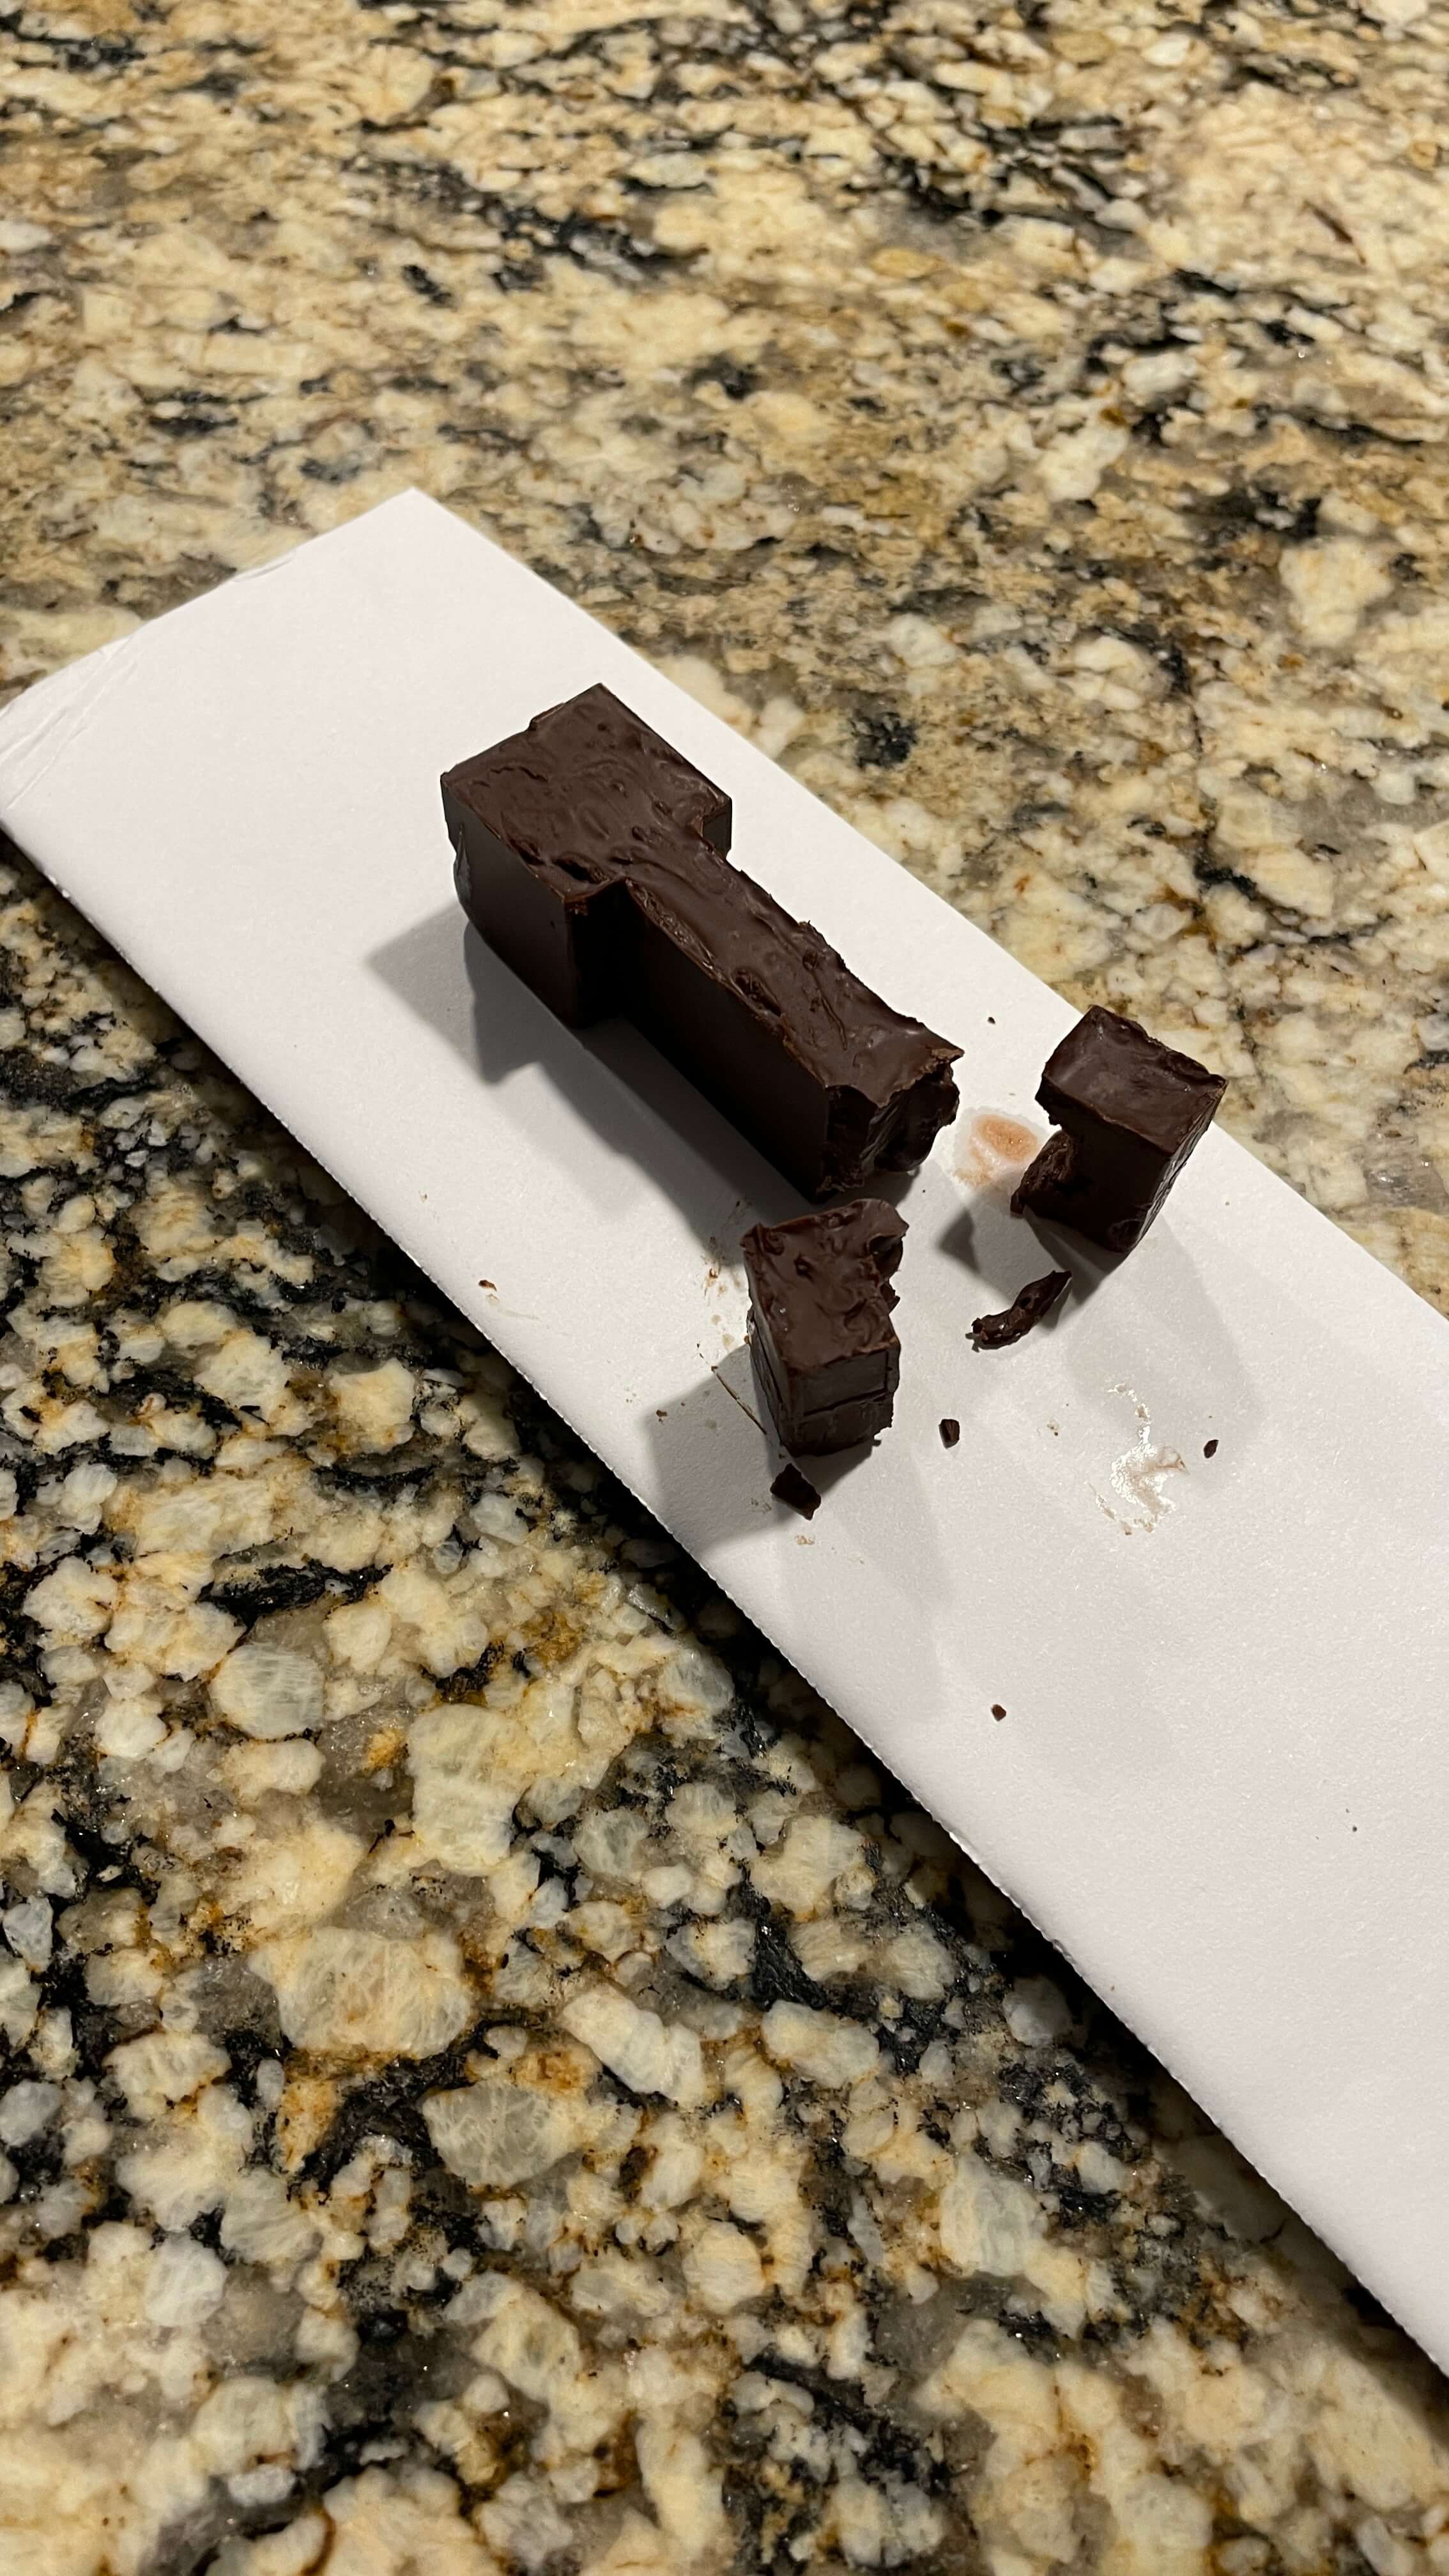
In addition to making ice Creepers, I tried to make chocolate Creepers. I included my attempts at making a chocolate Creeper below. The silicone I used is food safe, so I decided to give it a shot. I used melted chocolate to cast the Crepper and then put it in the fridge to cool. However, it didn't really work out well because the legs broke off when I tried removing the Creeper from the mold. I figured at the beginning of this casting assignment that casting a crepper would be touch because of those leg joints. Other than that, it still turned out fairly well.
And that was it. This last assignment was pretty short but still fun. And, I still have the mold for the Creeper, so I can cast in it whenever I want.
What I Learned
» How to properly create molds using silicone
» How to create casts using water
» How to create casts using melted chocolate