What To Do
1. Control a board from a local wireless network.
2. Program a microcontroller to obtain and respond to information from the internet.
3. Optionally, work with a partner to control a device over a remote server.
What I Did
In this assignment, I made various "Internet of Things" (IoT) circuits. I made an LED circuit with on and off access on LAN and Google Firebase, a DC motor circuit with on and off access on LAN and Google Firebase, and a DC motor circuit with on and off access using Arduino IoT Cloud.
I used this assignment as a first step for working on the wireless connectivity part of my final project, which I have finalized to be the automatic fish feeder. I learned a lot on how Google Firebase works and how to connect it to the Huzzah32 board. I also learned how to set up Arduino IoT Cloud to create a user-friendly dashboard to control my Huzzah32 board.
Below are videos of the three circuits I made, each of which wirelessly connect to either a LAN server or a web hosting platform (Firebase or Arduino IoT CLoud). I talk more on the circuits in their own sections further below.
LED LAN and WAN Connectivity
To get started on the networking assignment, we used Arduino's SimpleWifiServer example code for turning an LED on and off using a LAN web page. I used this example as a basis for all my other circuits.
Also, one thing to note is that for my SSID, passwords, and Firebase data in all codes I have on this page, I replaced my actual info with "My _____" (SSID, Password, etc). This is just to protect my information. To actually get the codes to work, the information has to be accurate to your own SSID, passwords, and Firebase data.
On the Arduino embed to the left, there are two tabs. The first one is for LED on and off LAN control. The second is for WAN control using Google Firebase. I'll start by talking about LAN control.
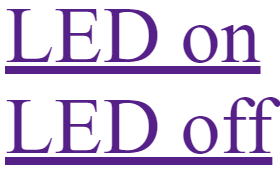
LAN control for the LED is pretty simple. Using any device on my LAN, I can control the LED status. To actually connect to the Huzzah, I needed to get the IP address of the Huzzah. To do this, I clicked the reset button on the Huzzah after uploading the code. Then, on the serial monitor, the IP address of the Huzzah will show. This IP address is needed to wirelessly connect to the Huzzah using my local network. Plugging that IP address into my search bar would show an HTML page with the "LED on" and "LED off" buttons as shown below.
This was a good first step to controlling the LED wirelessly, but it was limited to only my network. To be able to control the LED from anywhere in the world, I used Google Firebase. I had no prior experience using Firebase before, so this assignment was a bit challenging at first. Nonetheless, I still got my Huzzah connected to Firebase.
On Firebase, I created a project called ESP32 Fish Feeder, because I want to make my final project a fish feeder. I just used this project for all my circuits. Once I got my Huzzah connected to Firbase using our class guide, I could control the LED status using Firebase. I don't show the actual Firebase interface in this section because I talk about in the next one.
After getting the LED to turn on and off using the Firebase console, I used a web interface that I hooked up to this website. The code for the interface is on the same link I posted above. The video below shows what the web interface looks like. I'm using an iPad that's on the same network as the Huzzah, but any network around the world would still work as this is on my website.
DC Motor LAN and WAN Connectivity
I hooked up a DC motor to Firebase to get the same results as shown in the previous LED on and off section. This helped me get further on track on coding for my final project, as I want to use a wireless connection to control the fish feeder. I basically just converted the code from before to fit a DC motor, and added a few lines to add more functionality to my motor. I don't document that much for this section because the code pretty much the same as the last section.
This is also when I started to 3D print prototype parts for my final project, so the grey screw that is attached to the motor is designed and printed by me.
On the Arduino embed to the left, the first tab is for the LAN web interface. I just edited the first LED web interface sketch by changing the variable names and adding three new functions for the new cycle buttons.
The first video below shows what the LAN web interface looks like. It's just a plain HTML page with 5 buttons: On, Off, One Cycle, Two Cycles, and Three Cycles. On turns the motor on, off turns it off, and each cycle turns on the motor for an extra 500 miliseconds (half of a second) starting at 1 second. So, one cycle equals 1 second of rotation, two cycles equals 1.5 seconds, and three cycles equals 2 seconds. These can all be adjusted to any amount.
The second tab is the Firebase interface version. I removed the cycles, as I just wanted to keep it simple. I added in direction, so the motor can now turn either clockwise or counter-clockwise. This is shown in the video below.
Fish Feeder Prototype
Finally, using everything that I learned so far, I made a wirelessly connected fish feeder prototype. This is by no means what the final will look like on the dot, but it's a rough estimation of what I want the size and functions to be.
I also found out that Arduino themselves have an IoT platform, so I decided that I wanted to try that out. I could've used Google Firebase again, but I wanted to try out Arduino IoT Cloud. After finishing this assignment, I think using Arduino IoT is an excellent option for a basic IoT app, but it's a bit limited in a few ways. I talk about my experience with Arduino IoT below.
First things first, I'll talk about setting up the Huzzah with Arduino IoT Cloud. Unlike before, where setting up a WiFi connection and/or a Google Firebase connection took lots of extra code, setting up your network settings in Arduino IoT Cloud could not be easier.
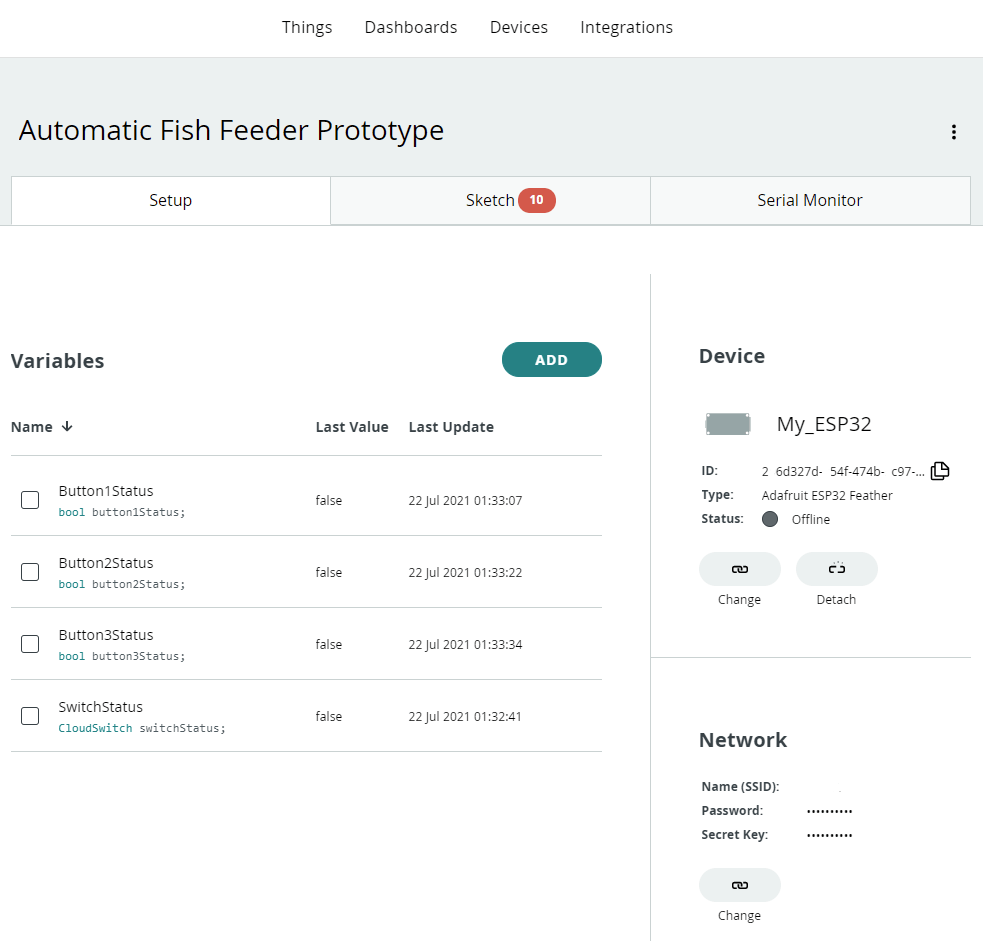
When you set up an account, you are sent to a page where you can make your first "thing." A thing is just one whole package of a device, code, integrations, and widgets. In my case, I set up my device as the Adafruit ESP32 Feather, as that's what the Huzzah32 is, and set up my network settings below that. And that's it for setting up your board and network information.
Then, you identify global variables, and what type of variable they are. I intended to have three buttons for the cycles and one manual switch, so I only used 4 variables: Button1Status, Button2Status, Button3Status, and SwitchStatus. After defining the variables here, it automatically updated the code to either add, remove, or change the variable(s).
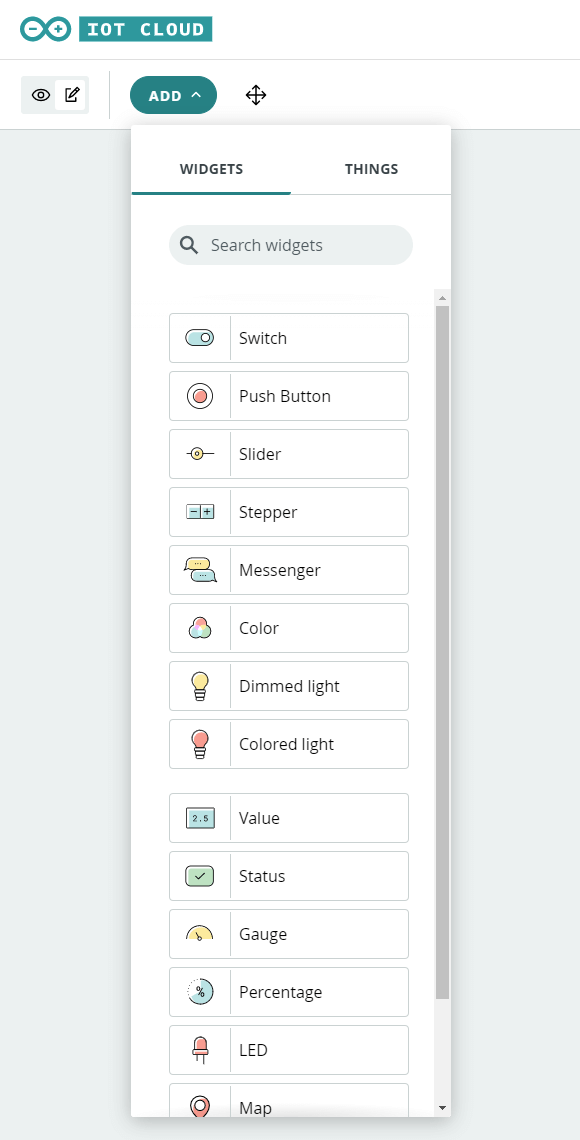
Then, I made my dashboard. This is where you can add a lot of different basic widgets, like buttons, LEDs, and graphs, to control your IoT device.
Like I said, I intented to only have 4 variables for now, so I added in the three push bottons and one switch. This is simply a drag-and-drop process.
In the future, I want to add a timeline of every feeding and at what time the feedings occured and a calendar or clock function to somehow set exactly what time everyday I wanted to feeder to activate. I don't really know how to do that on Arduino, which is one of the limitations I was taling about earlier, as none of the widgets are a timeline, calendar, or clock.
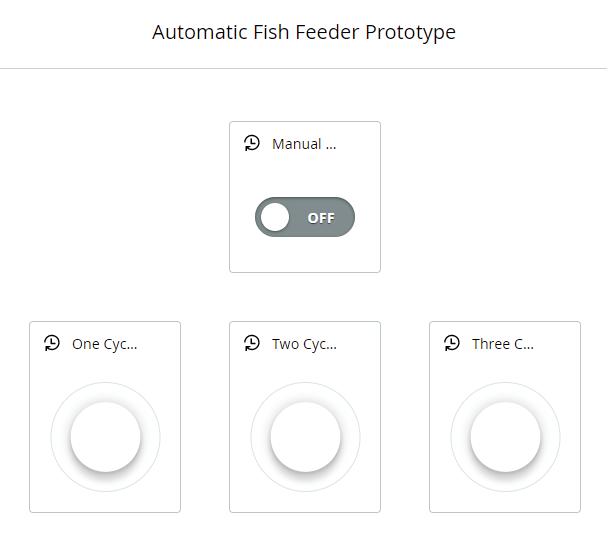
Above is what my dashboard looks like on my computer. It's just 4 widgets on a dashboard page. You can orient your widgets however you want. I wanted to have the manual switch on top and the three cycle buttons below.
Like I said, I want to add a few more things, as for me, more customizabilitly is always better than having less. For now, the Arduino IoT Cloud works perfectly, is super simple to use, and is very user-friendly, so I will happily keep using it until I have to switch back to Firebase.
I'll now talk about the code for my fish feeder prototype using Arduino IoT Cloud. It's quite different the coding used for Firebase or a local LAN server, but it's pretty easy to get the hang of.
Some of the interesting things to note in the code to the left is that there really isn't that much code, there's nothing in the void loop(), and there is a things.Properties.h reference.
Starting with the void functions, there are 4 void functions for 4 of the global variables I created. Arduino IoT Cloud automatically creates those void functions- and, in fact, creates the whole code template- and I just had to add in the if() statements and results. The way this code works is that, for example, for the first actual void variable, onSwitchStatusChange(), the code inside of that void function only activates when the switch status changes, the switch here being manual on-off switch.
Also, I made the cycle variables a boolean variable and the switch variable a CloudSwitch, which is basically a boolean variable. This means that the variable stored is either 0, false, or 1, true. That's why I used 1 for the if() statements, meaning "if the button/switch is activated, do this..."
Now, I'm going to talk about what the things.Properties.h reference is. This is pretty much for setting up the widgets on the Arduino IoT Cloud dashboard to work with this code. Otherwise, those widgets would be useless as they wouldn't be controlling anything. Implementing the things.Properties.h tab, which is also automatically written when a variable is added or changed, is necessary for this code to work.
Also, the "Secret" tab has information about my SSID, SSID password, and secret device key. That's why it's blank in the embed, Arduino hides it when the code is shared publicly.
Below are two videos showing the Arduino IoT Cloud widgets in action. The first video is a test with just the screw, and the second video is a test with the outer shell and real fish food. Of course, I still have to tune duration of the spins and the model itself, but my final is still in its prototyping phase, so I haven't fine-tuned anything yet.
This was probably one of the most important assignments for me, as learning how to connect my Huzzah to LAN and WAN servers and control it using those servers is essential for my final project. I also just learned a lot about LAN hosting, Google Firebase, Arduino IoT Cloud, and APIs too, which is good. I plan on using the information I learned during this assignment to further my final project on its road to completion.
What I Learned
» How to connect the Huzzah board to WiFi
» How to use a LAN web interface to control the Huzzah
» How to connect the Huzzah board to Google Firebase
» How to use Firebase's interface to control the Huzzah
» How to use Arduino IoT Cloud to control the Huzzah
» How to use information from APIs in your code