What To Do
1. Design and prepare to print either a component you need for your final project or a small object that could not be (easily) made by subtractive methods
1a. Upload your 3D model file (e.g. .f3z), STL file, and sliced gcode file to your documentation
2. Scan something using a photogrammetry application
What I Did
I designed and 3D printed a toothbrush holder and cat toy. To begin with, I was really stumped on what to design and print. I think I just overthought the assignment, because we had to design something that couldn't easily be made with additive methods. I first made a geometric toothbrush holder. The design of the holder looked nice and sharp, but the final product didn't turn out well. Also, it didn't really fulfill the requirement of being something that can't be made with subtractive methods, because the holder can be made with a block of wood and a chisel. That's when I decided to also make a cat toy with a noise maker. The cat toy is physically impossible to be made as one piece with subtractive methods because of the ball that's inside. For the photogrammetry part of the assignment, I used an iPhone app called Qlone to scan a PS4 controller, but I had basically no luck in successfully scanning the controller.
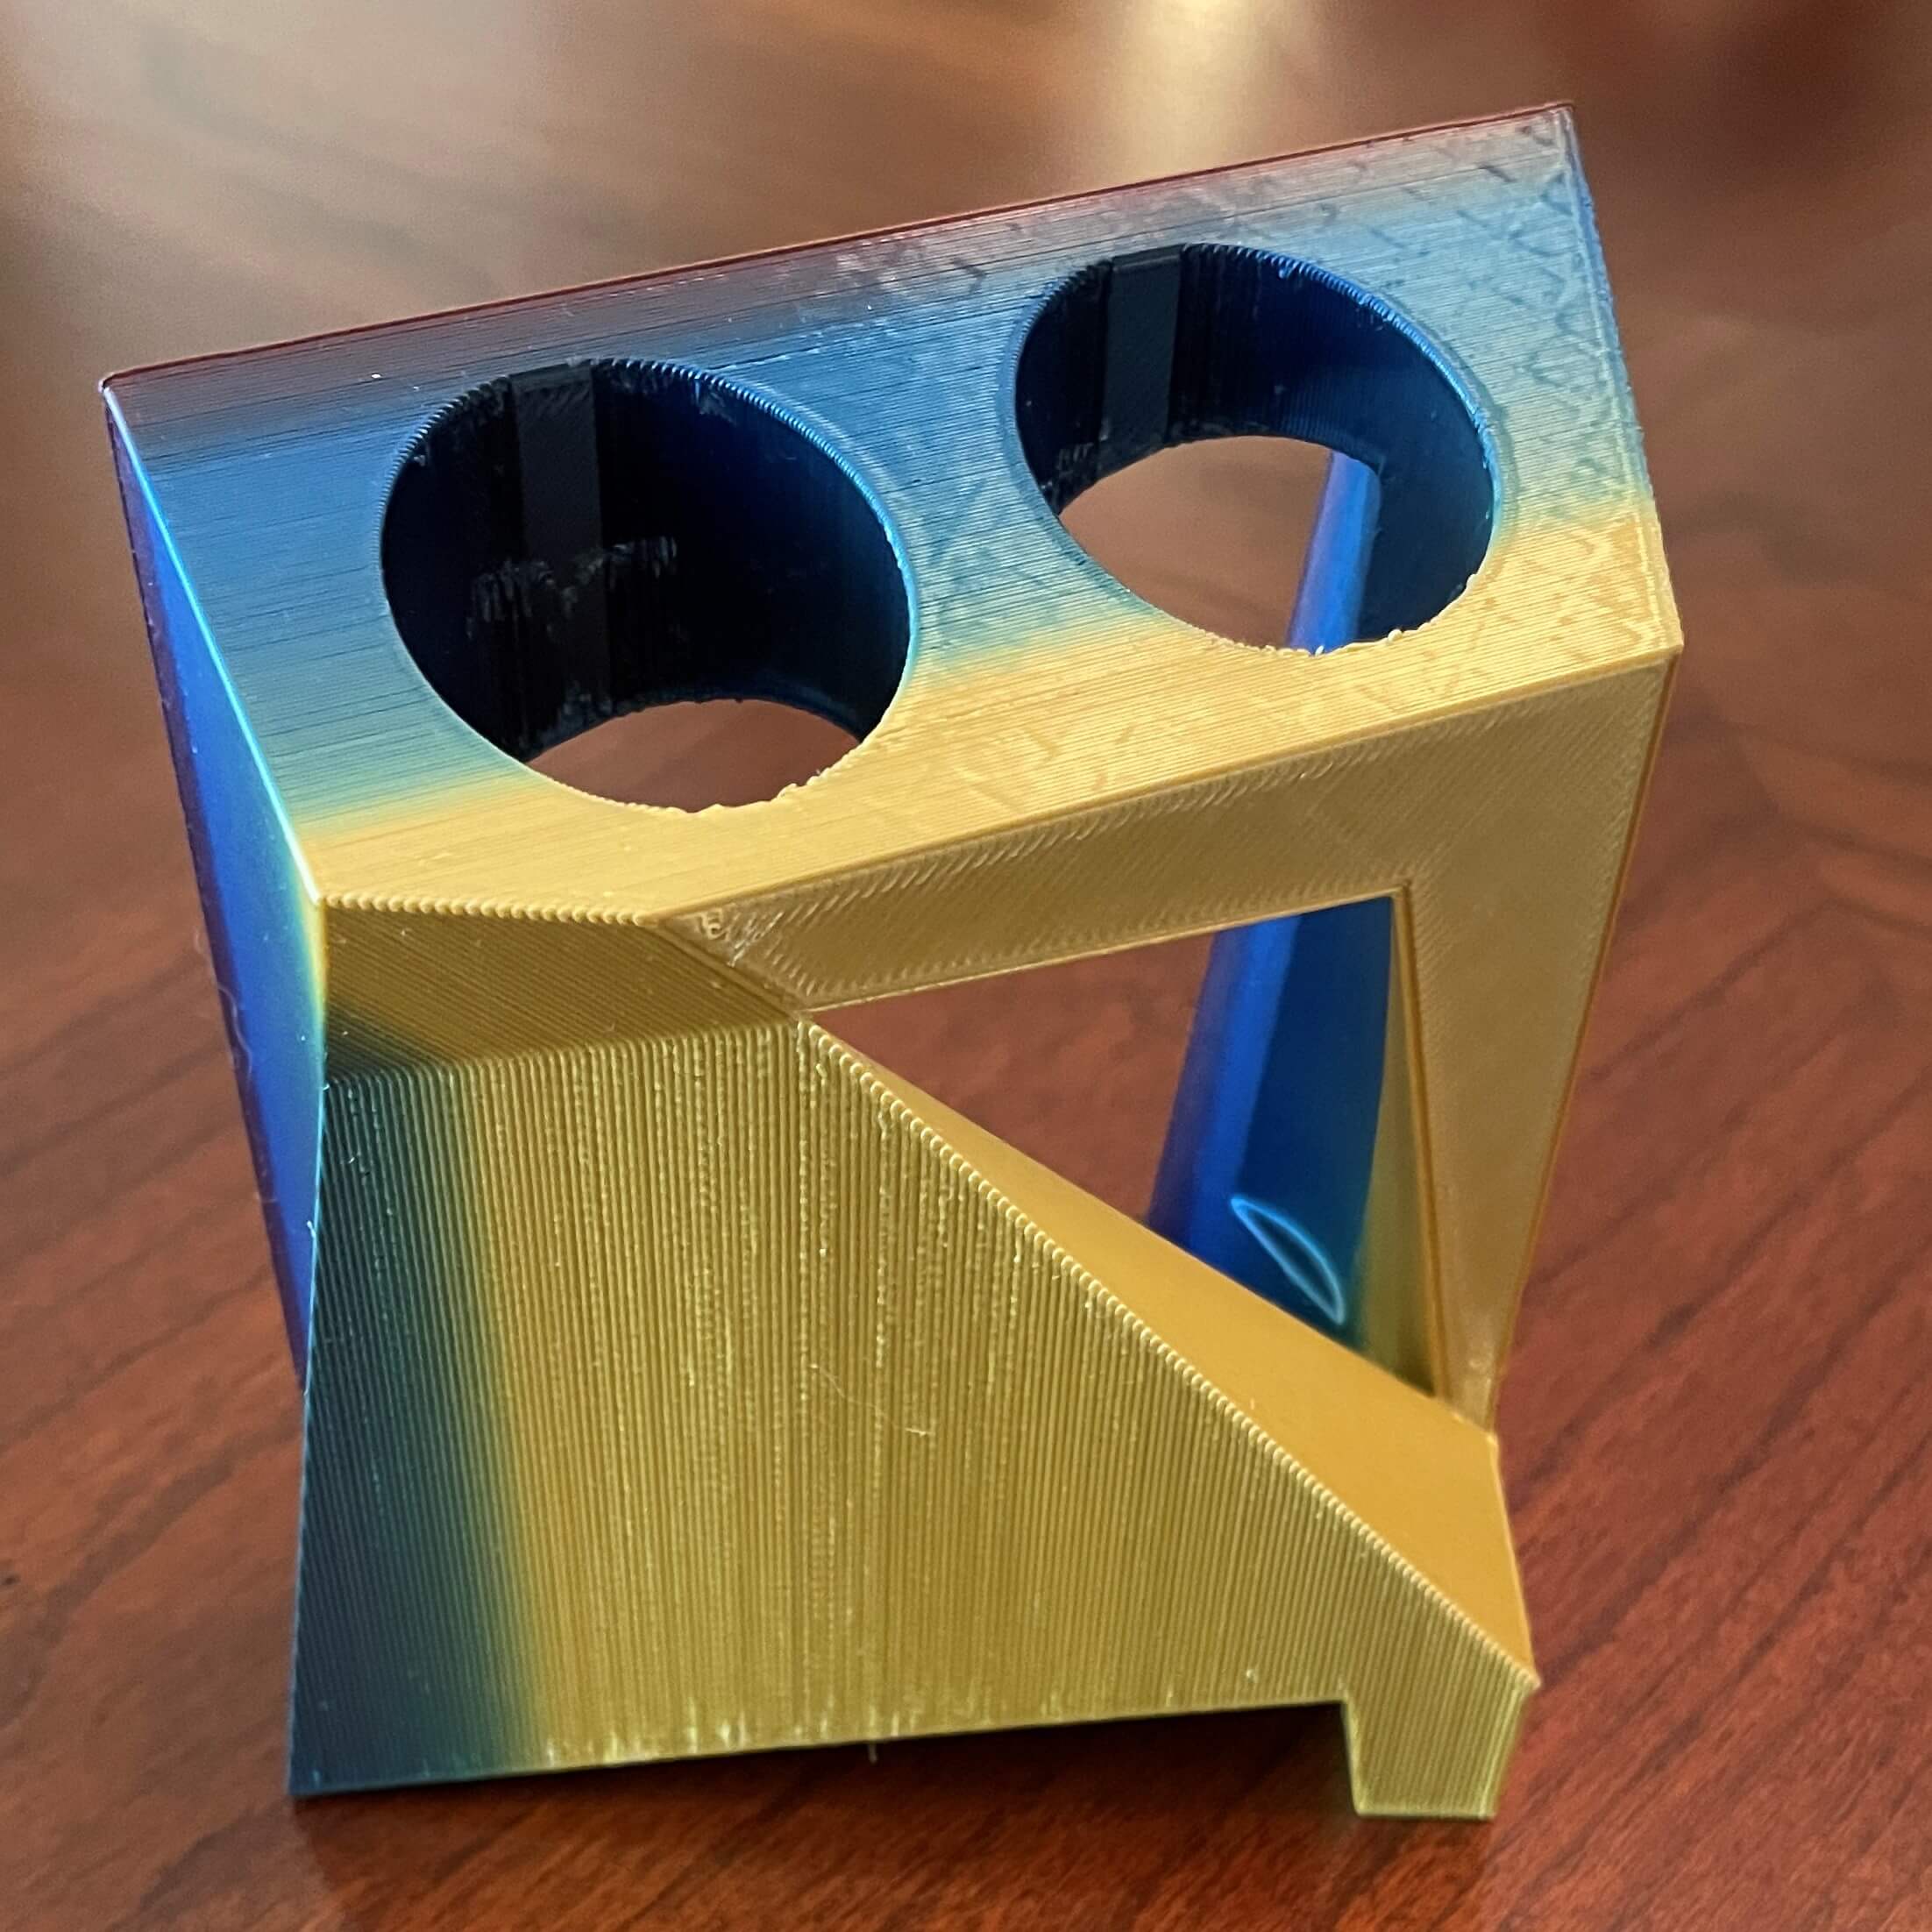
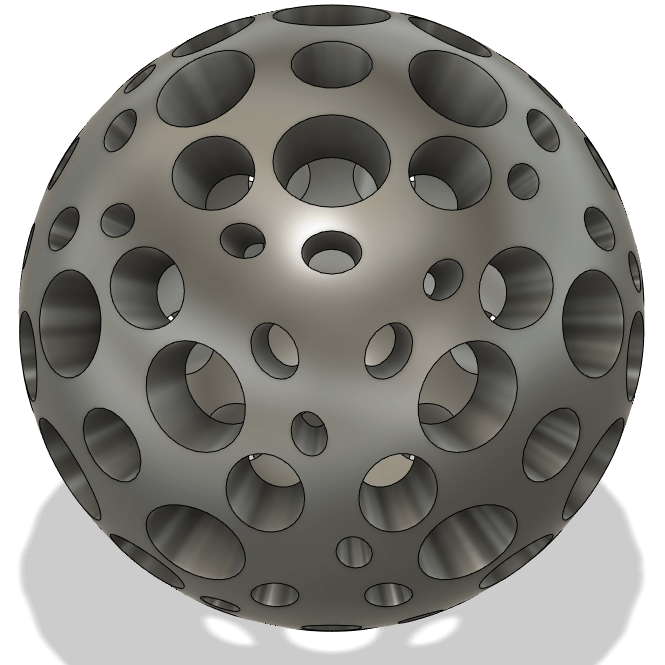
Above are the pictures of my 3D printed toothbrush holder and cat toy (not to scale). I used the same color-changing filament for both, as I really like how the filament gives a gradient effect. They aren't anywhere near perfect, but the quality is pretty decent for my 3D printer. I talk more about each down below.
Toothbrush Holder
My first design was the toothbrush holder. I wanted to create something that was functional and looks good. With the use of a shiny, color-changing filament, I achieved a really nice purple-to-gold gradient color. The main reason it didn't turn out great was because the support structures needed to print the overhangs fused with the part itself. This meant that I had to use way more force than normal to take out the supports. I used a pick and my hand as a hammer, which I know I shouldn't have brute forced it, to try to pry off the fused supports. I cracked it. There are pictures of the fused supports further below.
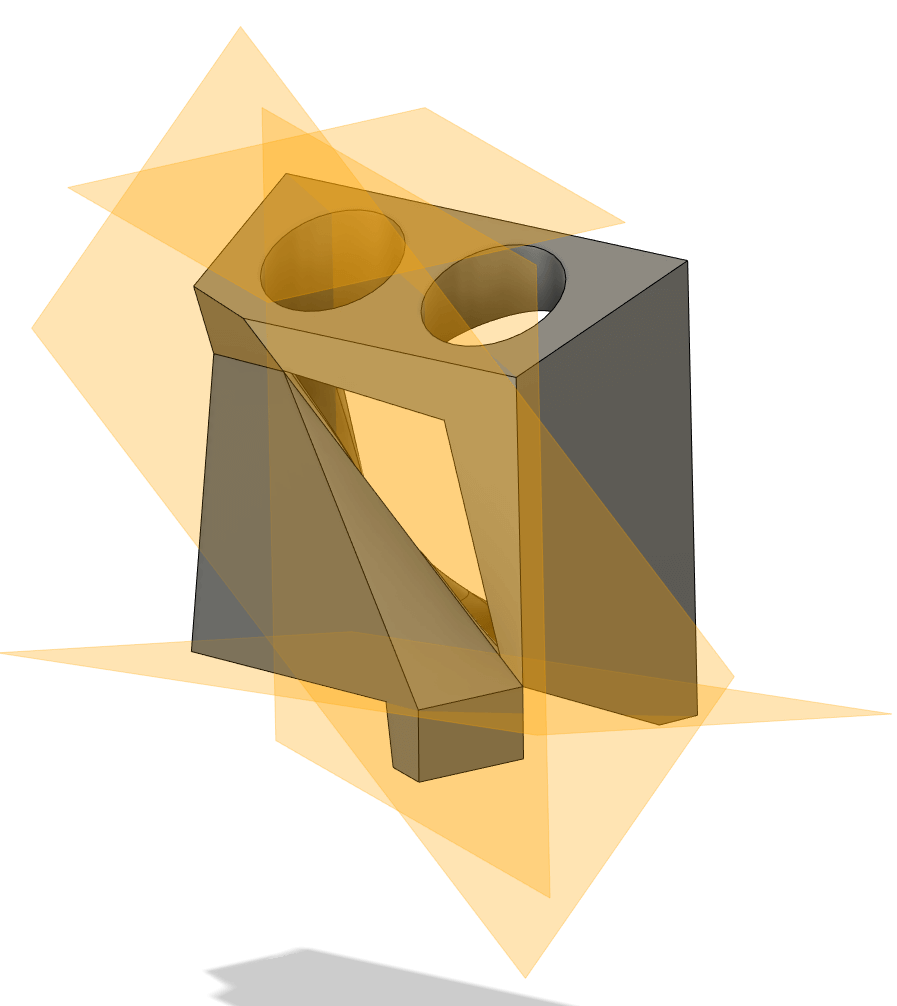
I embeded a Fusion 360 viewer for the toothbrush holder below. You can look around to see the back and bottom, places where there had to be support structures.
Although I didn't continue to work on this toothbrush holder, I still like it nonetheless. It has a really cool shape and looks even better 3D printed out.
Making the holder wasn't too challenging. As seen below, I used a bunch of 3-point planes and created various shapes on them to later extrude, loft, and fillet.
When extruding sketches, I mainly used the "intersect" and "cut" functions to create the geometric shapes. I created the holes on top by simply extruding circles and using the "cut" function.
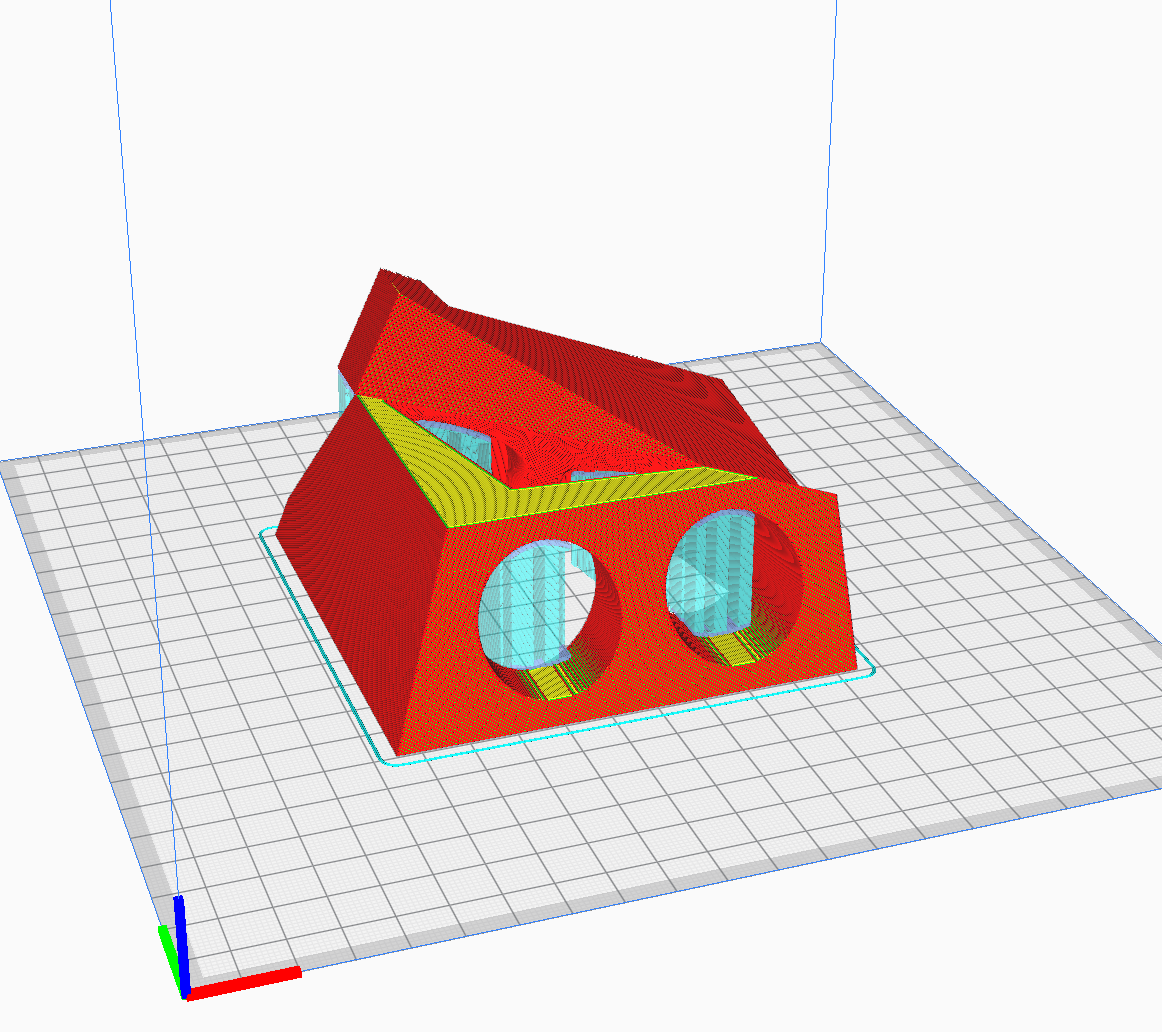
The slicer I used for this— and have been using for the past 4 years— is Ultimaker Cura. I just like how Cura has the print settings laid out, and because I've been using it for so long, I know where all of the settings I use are.
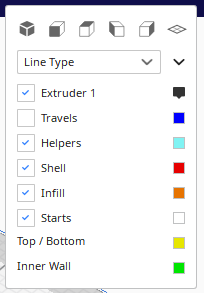
To the right is a picture of the toothbrush holder in Cura. The different colors represent different parts of the print, like supports, top, shell, etc (I talk more on this later).
Like I said before, the biggest problem with my print was the supports, as seen as light blue on the picture to the right, fusing with the actual part, making the supports impossible to remove safely and neatly. This is probably becuase I used a support roof and floor, meaning it above and below the actual supports, a raft countoured to the certain face was created.
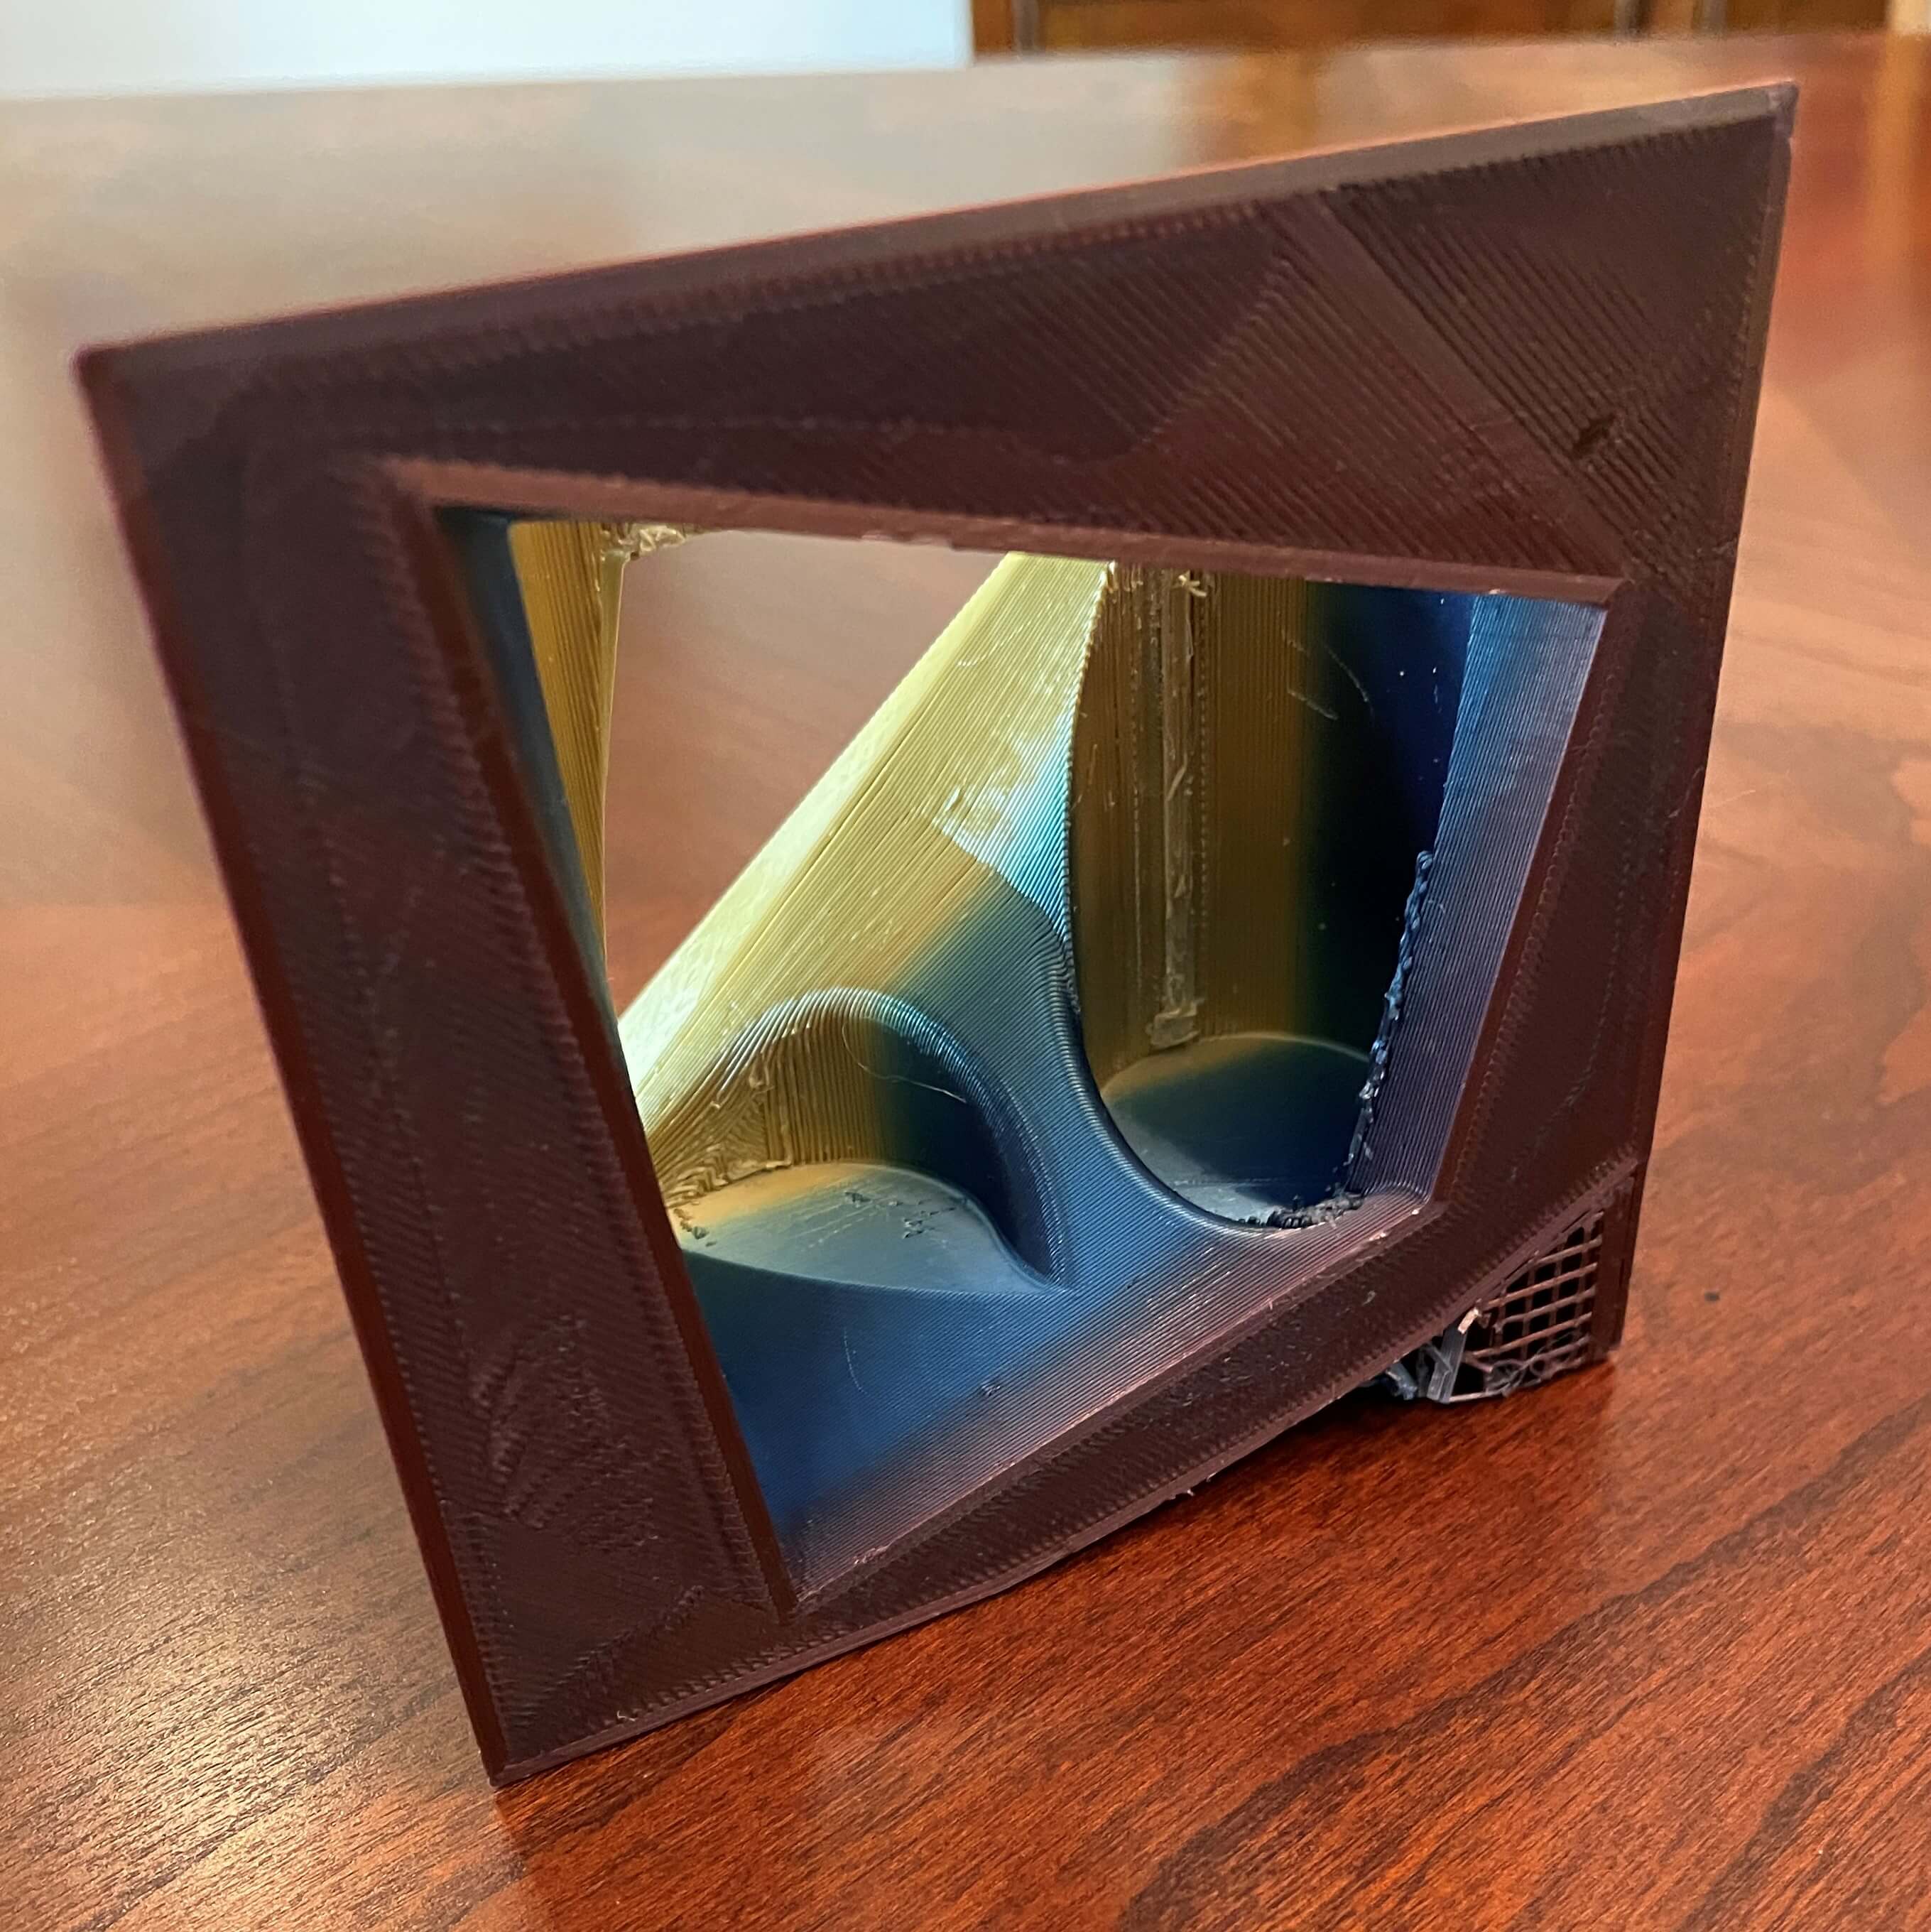
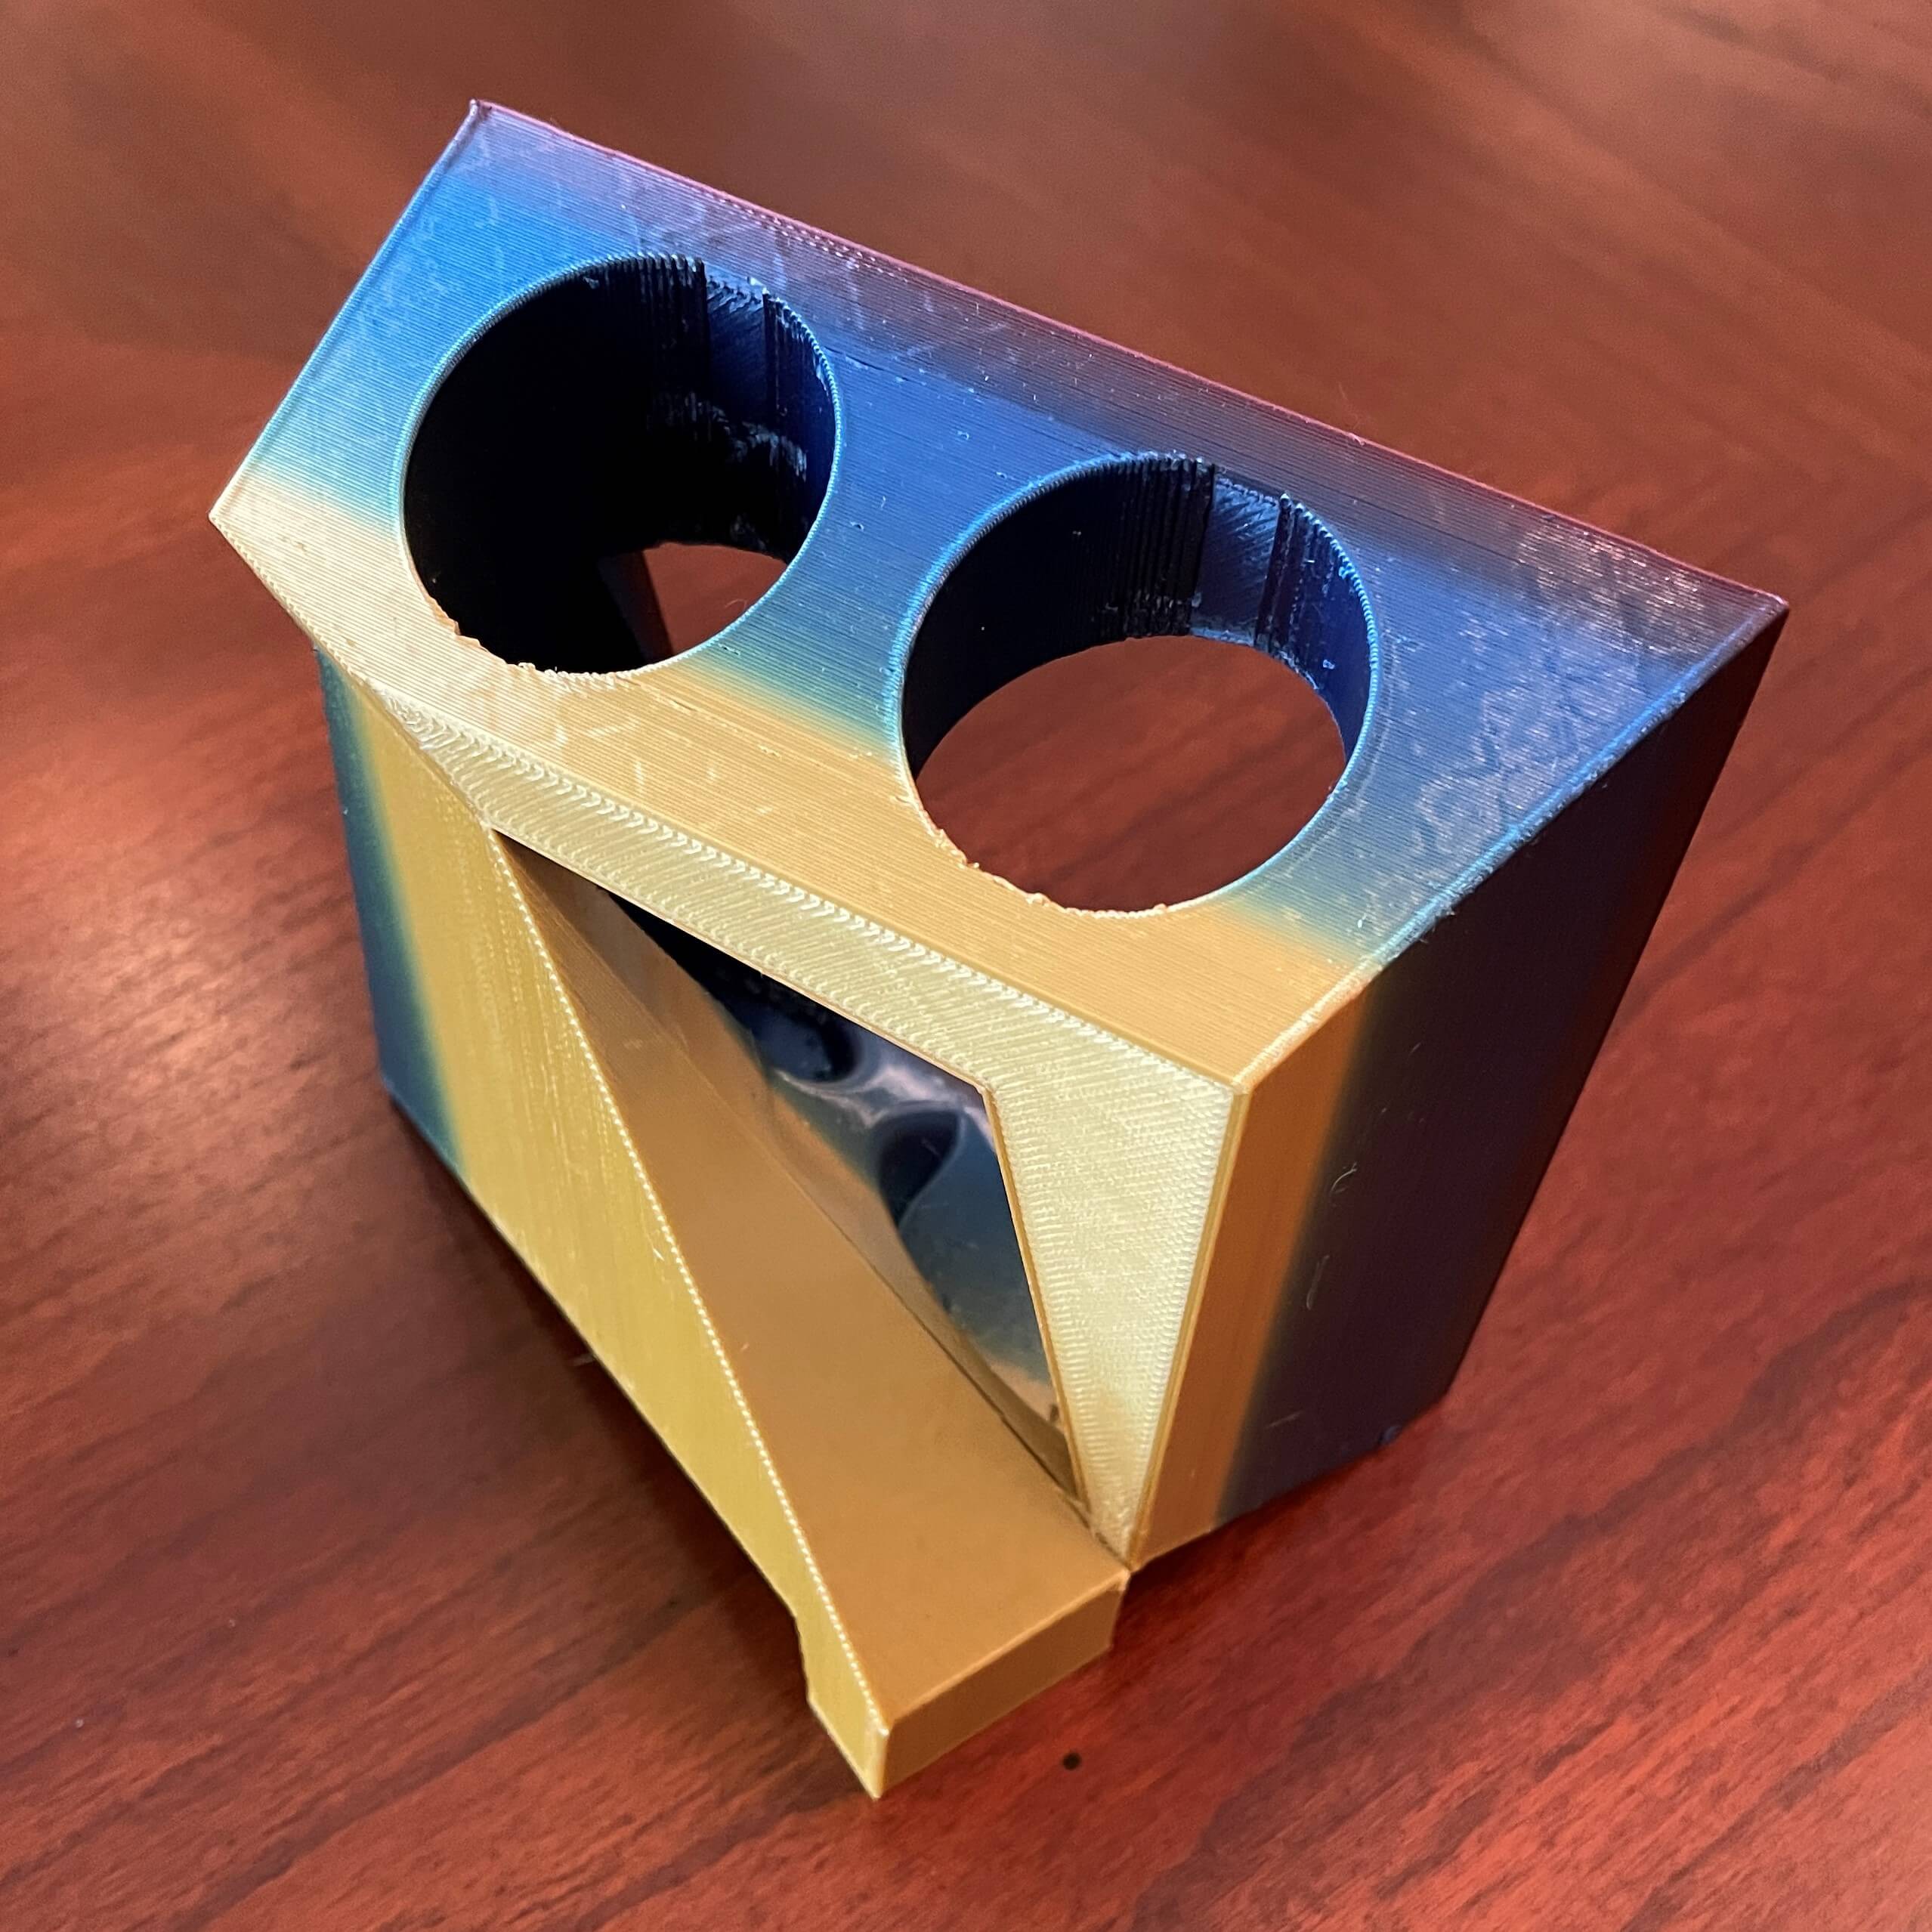
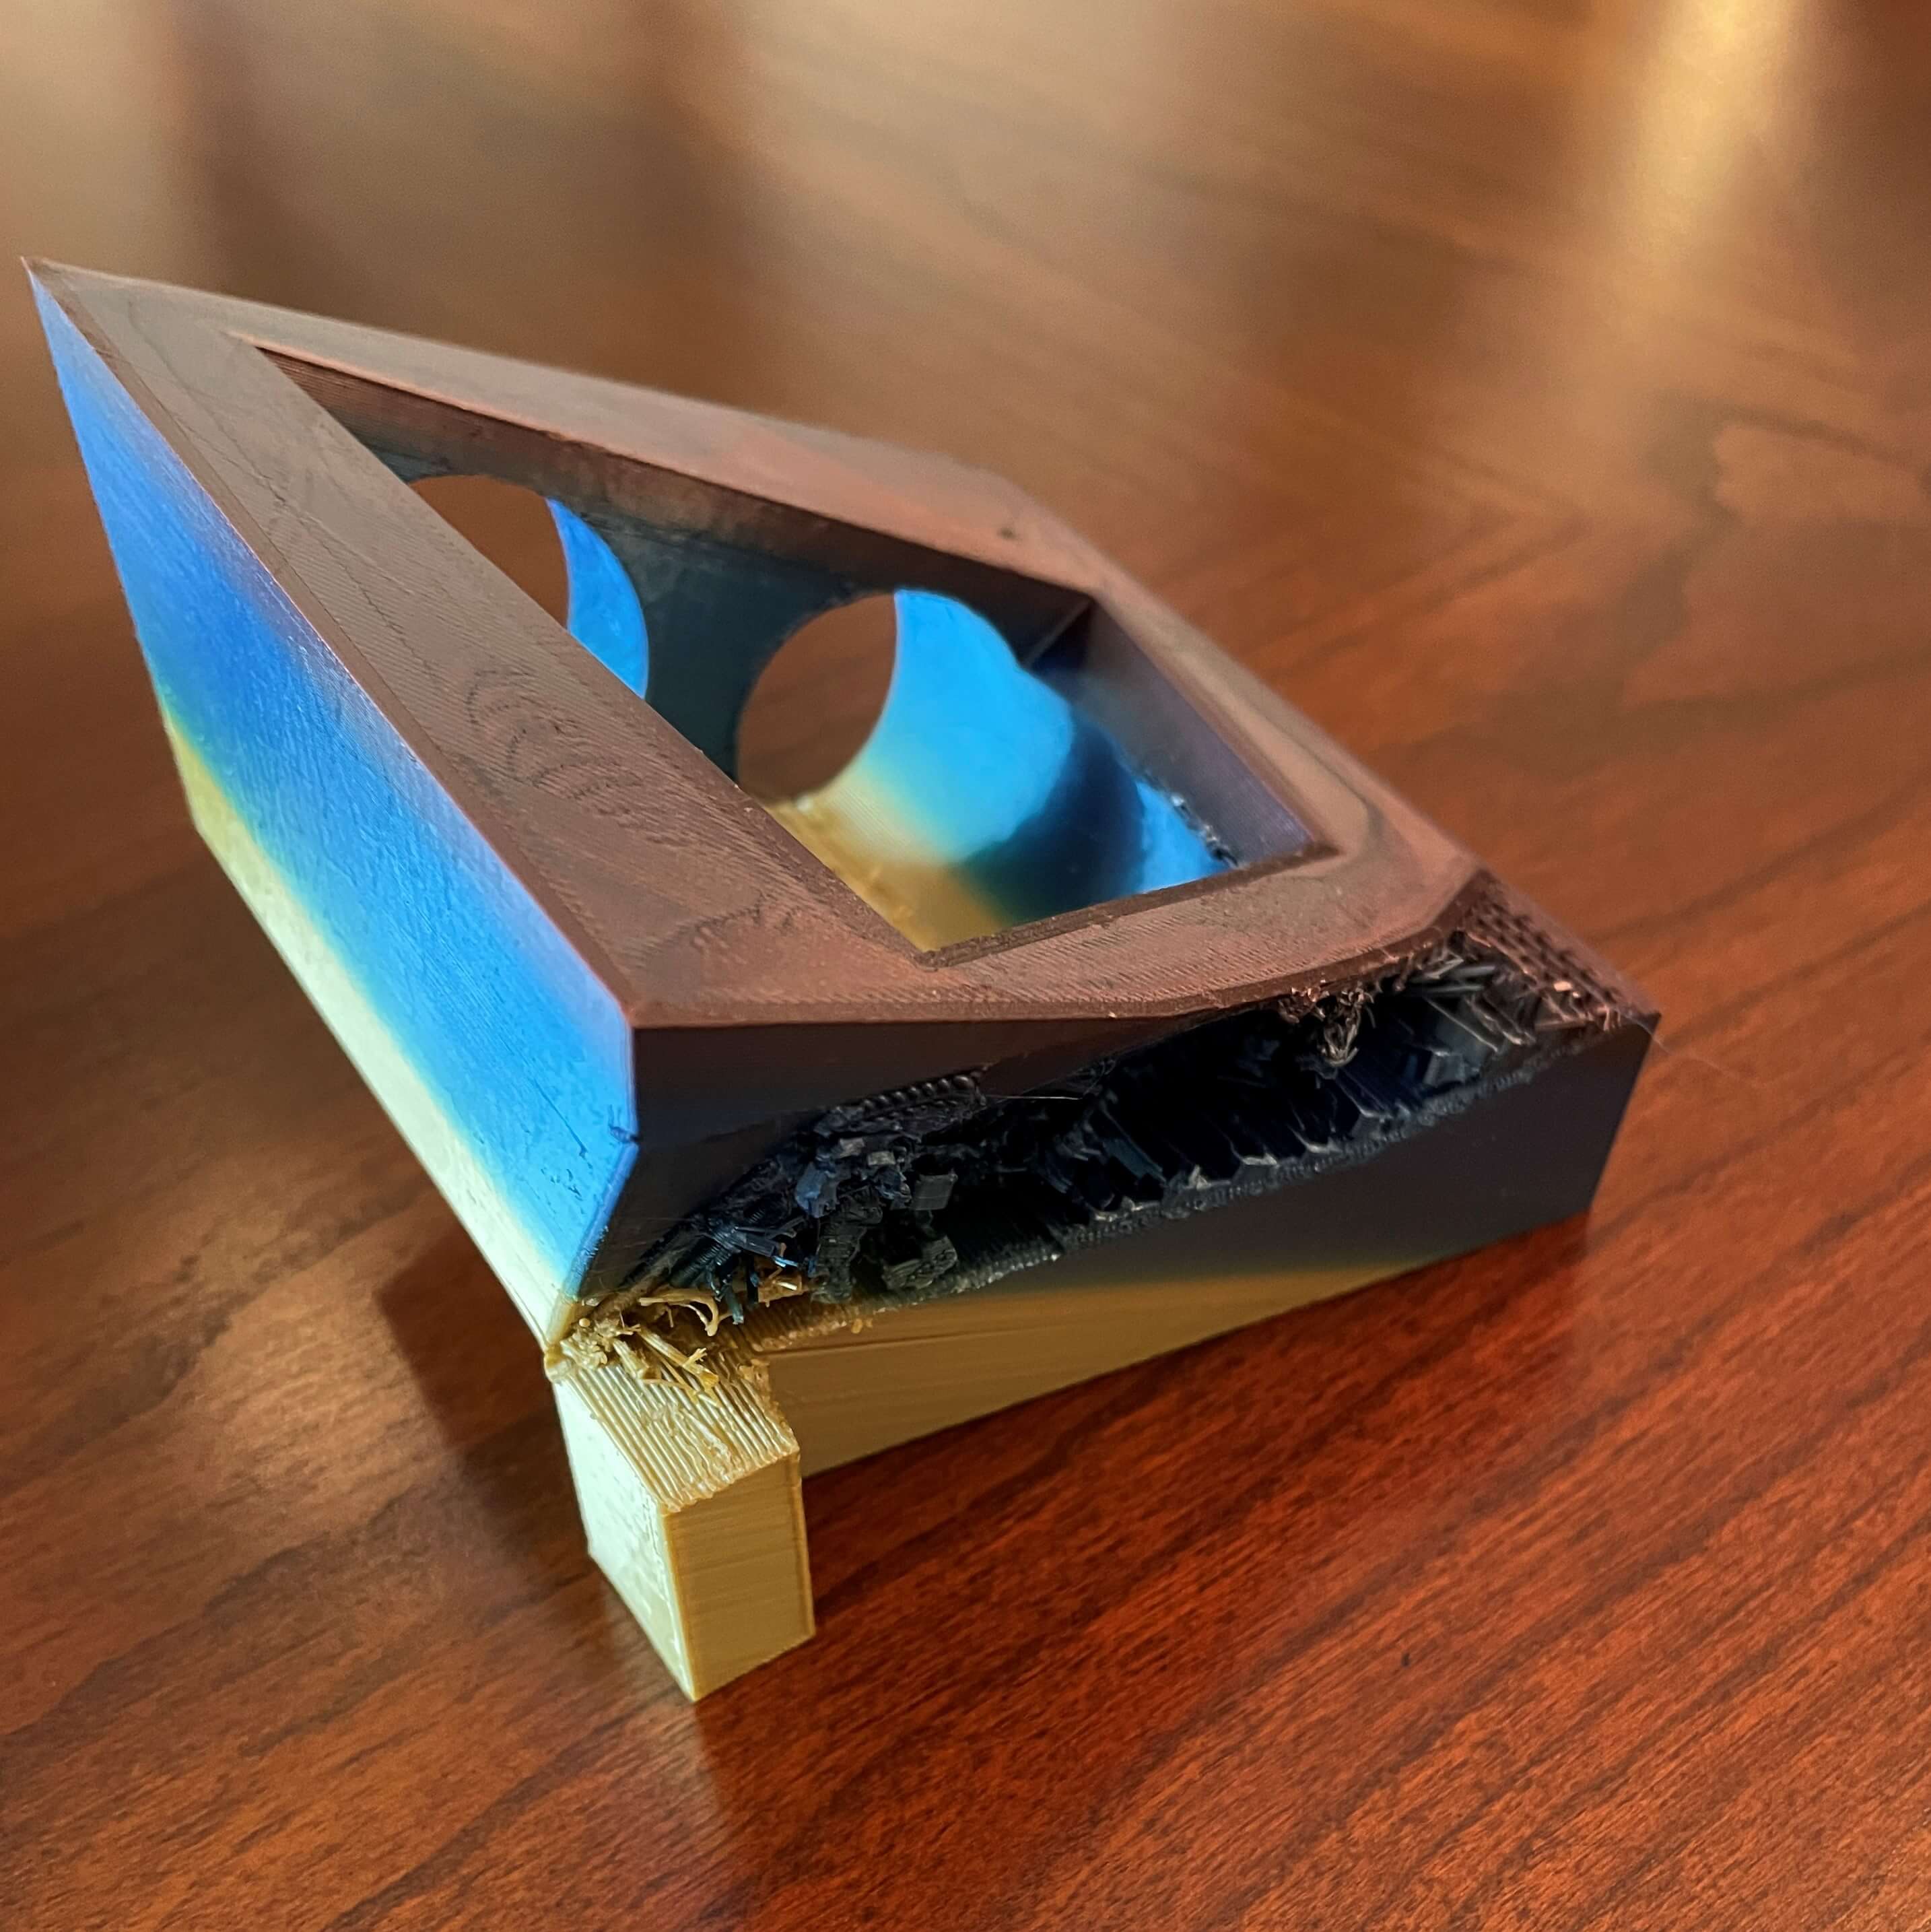
Above, there are three pictures showcasing different problems with the final 3D printed toothbrush holder. In the picture on the left, you can see some of the supports on the bottom that I couldn't take out. Also, there are still supports stuck to the inside of the round extrusions, seen on the yellow parts. Also, the blue edge came out really rough, as that's where the bottom of the supports were.
In the middle picture, at first glance, it looks normal. However, after looking more closely, there are very obvious issues. One is that the infil is showing through the top. This isn't really that bad, but it doesn't look that good. For my Cura settings, I used two outside walls and a 15% infill overlap (default is 30%), as this has been a problem I've come across before. Also, the biggest problem, if you look in the yellow section, just between the main body portion and the outside "leg" that juts out lies a crack that runs through basically the whole bottom of the print.
The picture on the right shows the supports on the bottom that I couldn't remove. This completely ruins the aesthetic and poses a potential safety risk because the leftover, half-cut supports are really sharp.
Cat Toy
I scrapped the idea of the toothbrush holder and made a cat toy. I took inspiration from already existing cat toys, where two plastic halves of a sphere are placed together with a bell inside. This was the perfect model for this assignment because it's physically impossible to place the bell, in my case ball, on the inside with the outside plastic part being one whole piece.
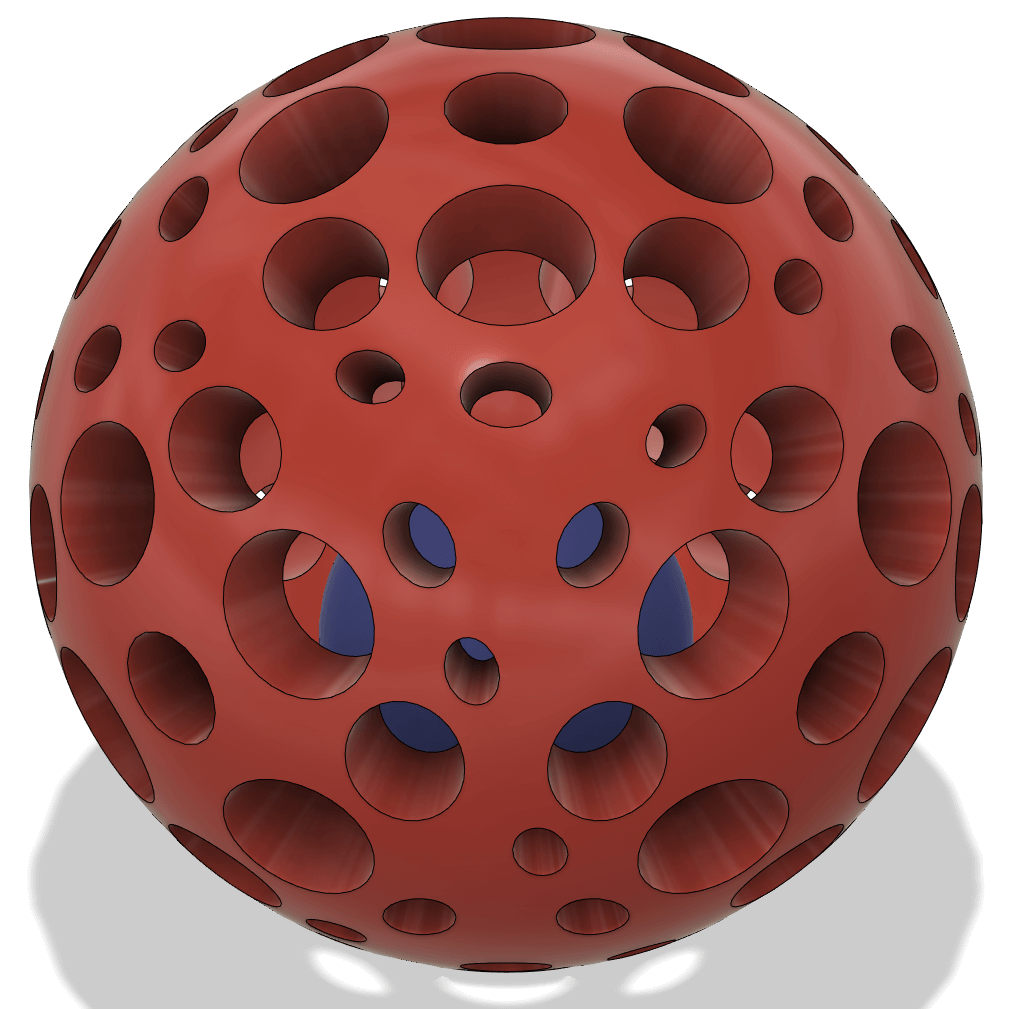
The reason the toy in the embed is red and blue and not yellow, like it is in real life, is because it's easier to see the ball on the inside and it looks cooler than a yellow toy. Also, I would've definitely printed the toy out in red and blue if I had a dual extruder 3D printer.
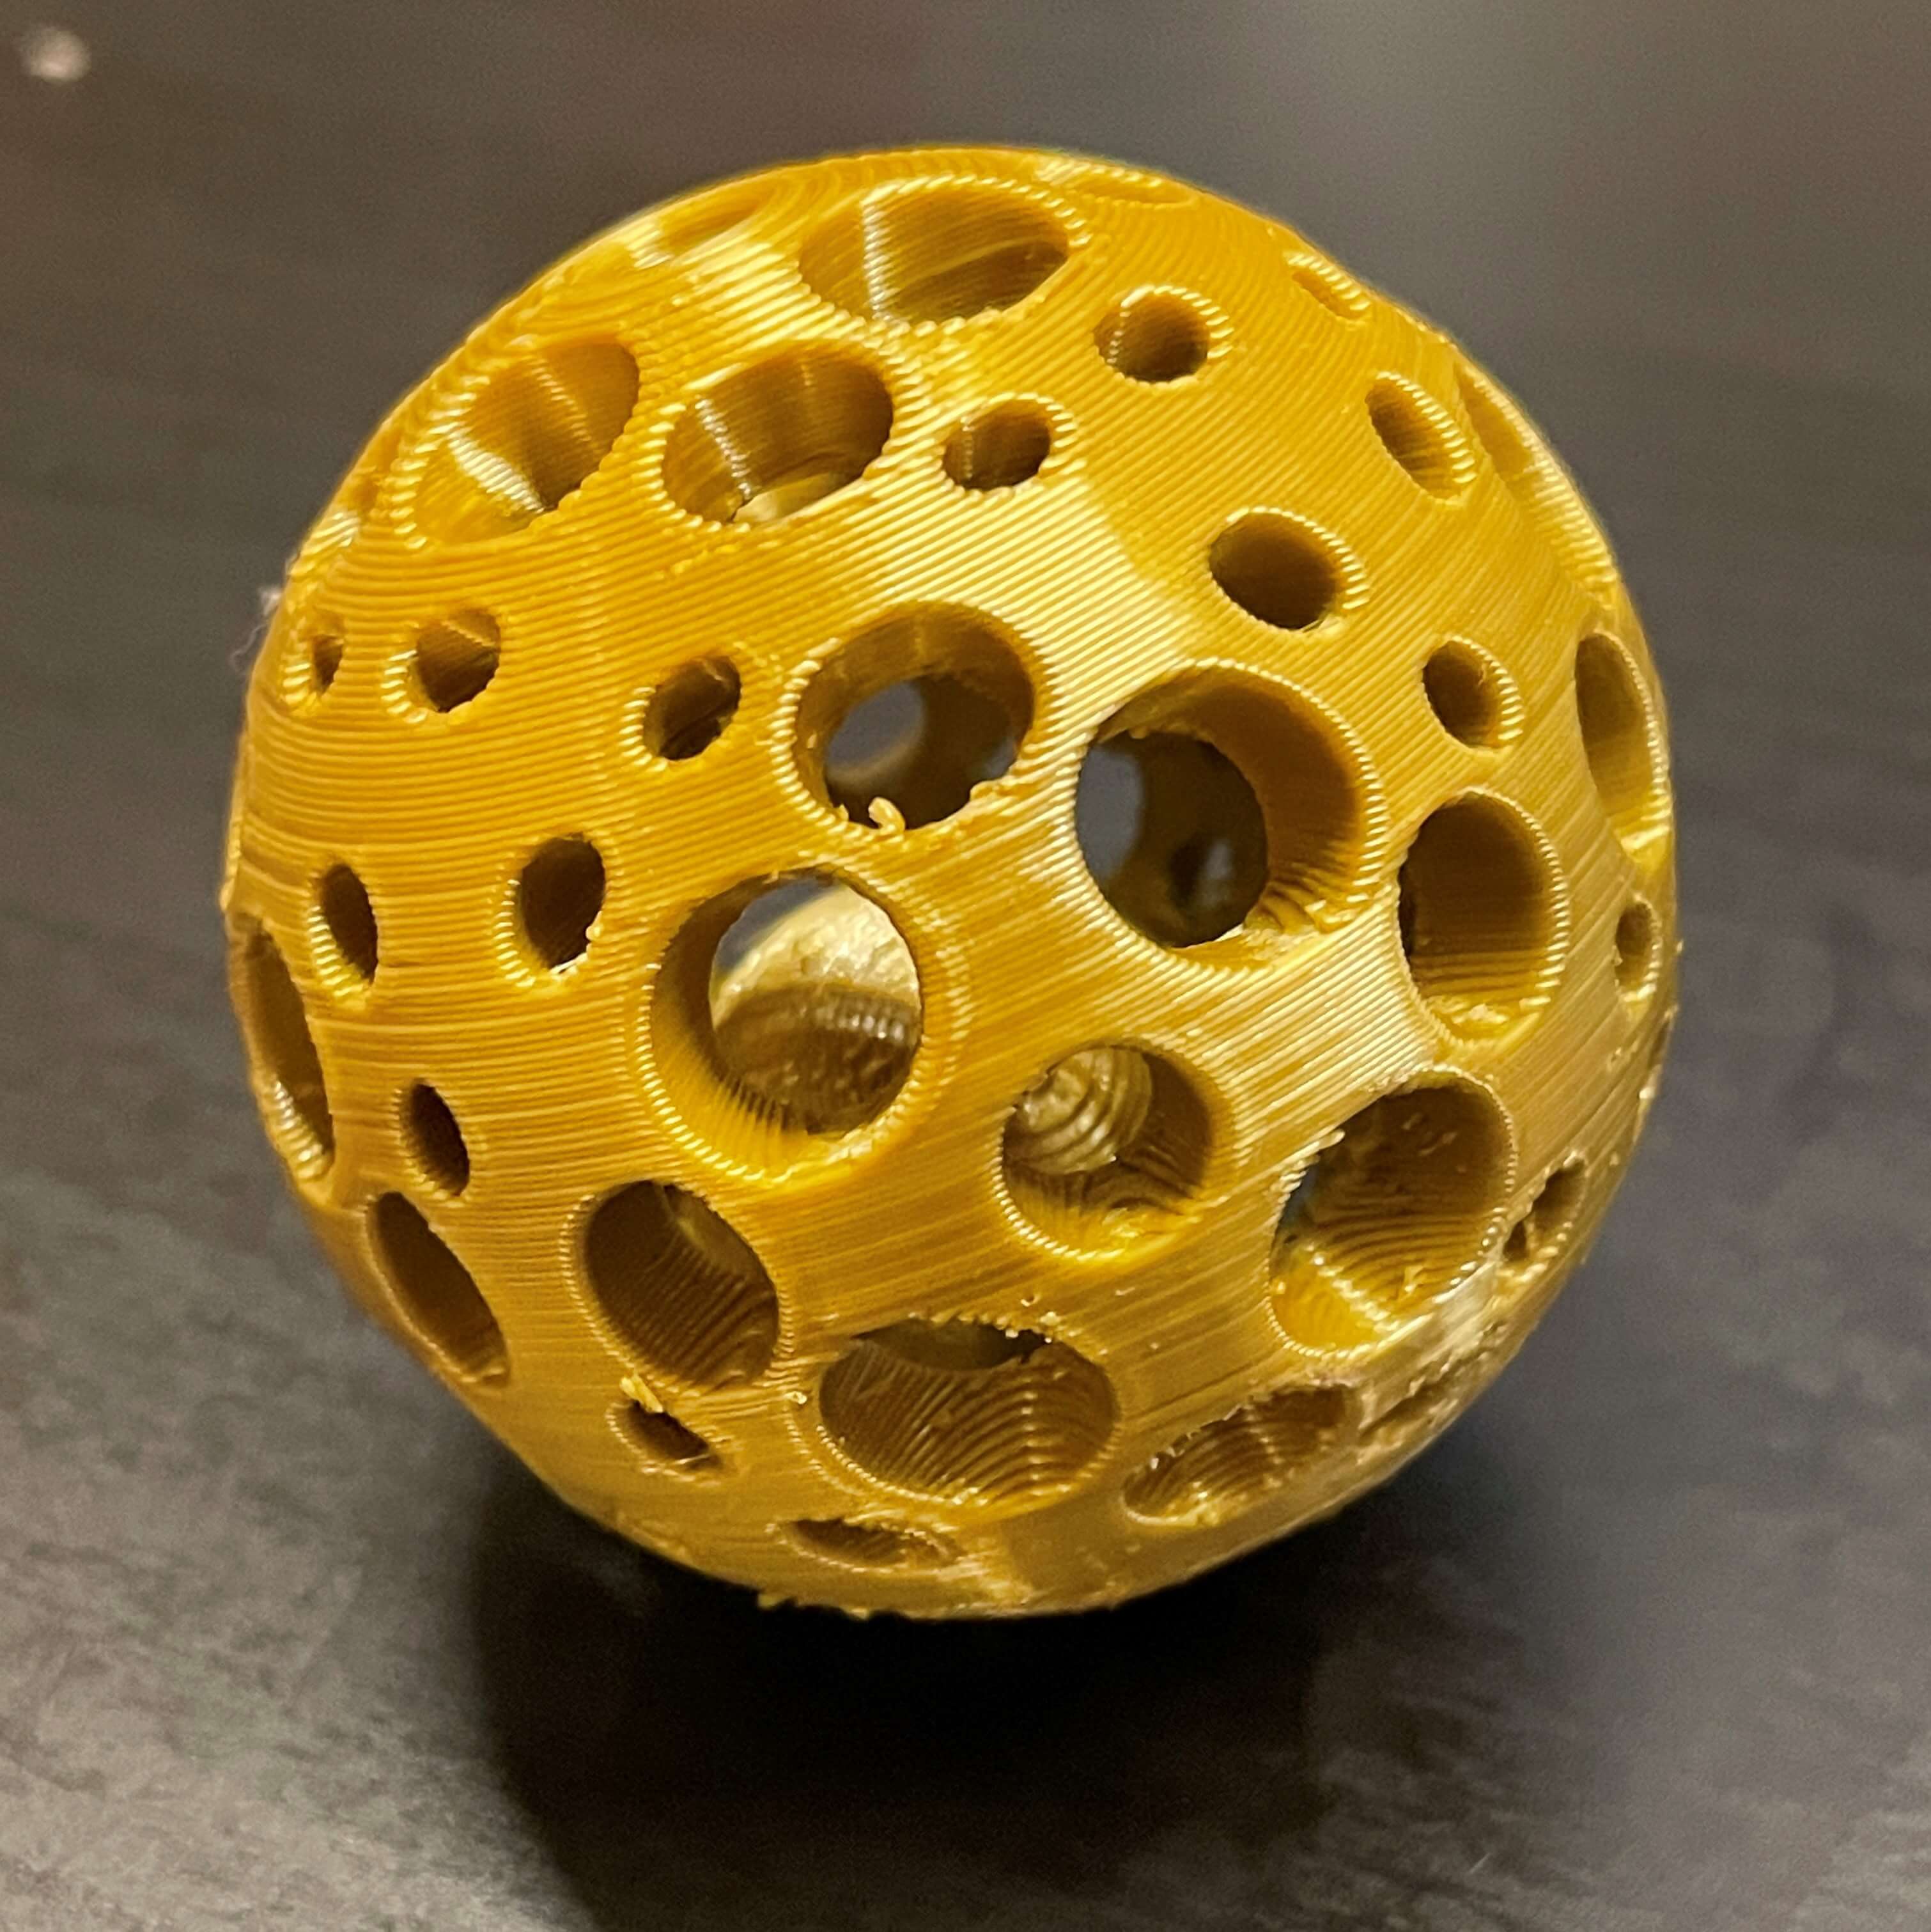
The cat toy overall turned out much better than the toothbrush holder did. Still, it had quite a few imperfections.
As seen below, the general print quality turned out pretty good, but there are a lot of bubbles on the surface from leftover filament from the retractions. I tried to take as much off as I could, but there are still a lot visible.

To make this toy, I used new loft and surface texturing tricks that I learned from the YouTube video embeded below. I talk more about the design process in the next section.
Cat Toy Design Process
My idea was to mimic the look fo a wiffle ball and add another ball on the inside. This was definitely easier said than done, but it wasn't too challenging.
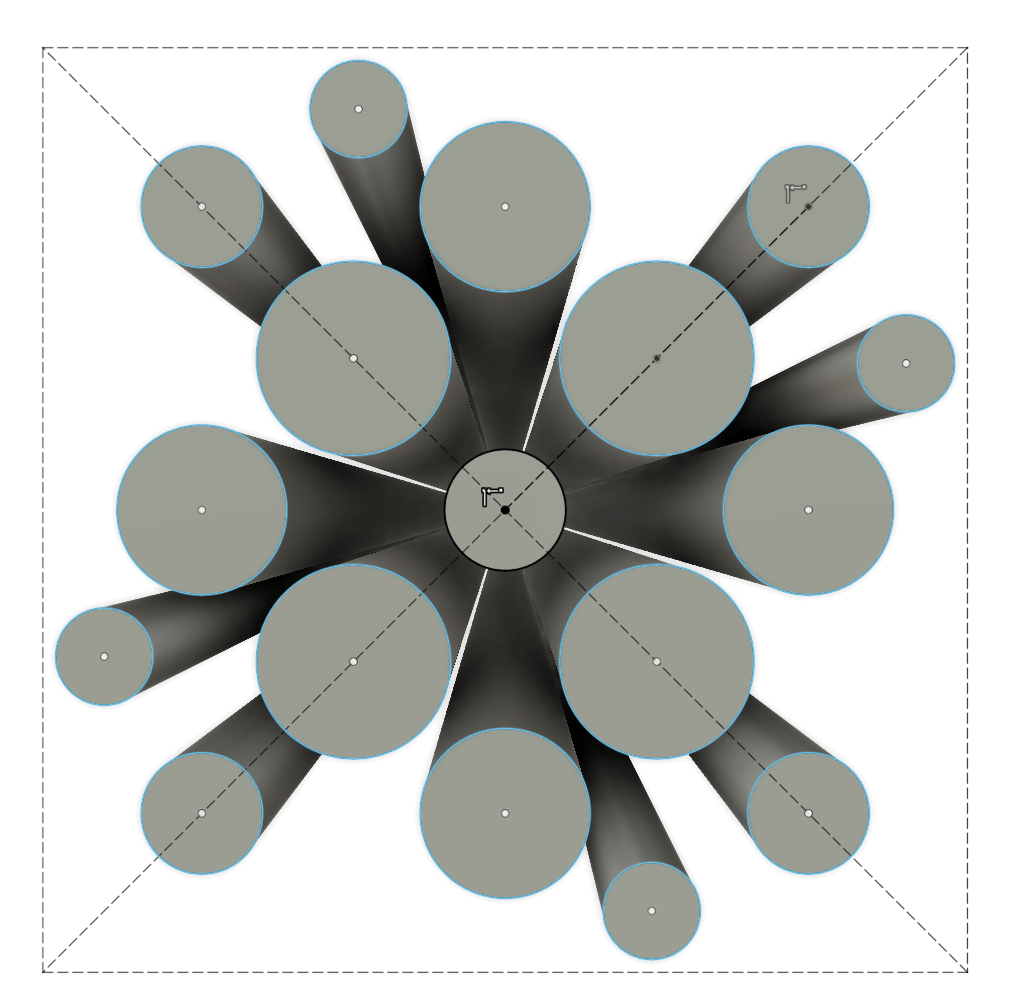
The first step was the create the hole pattern that I wanted. I created a plane that was 0.75 inches away from the middle (the radius of the sphere) and made a sketch on that plane. I drew out various sized circles inside a square that encompassed the circle, so 1.5 by 1.5 inches.
Next was the new loft trick that I learned, which was to loft each circle to the center point. I never knew that you could loft to a point until I watched the video I embeded above. This was really tedious because I had to individually loft each circle. The final result was a bunch of circular cones that all touched the center point.
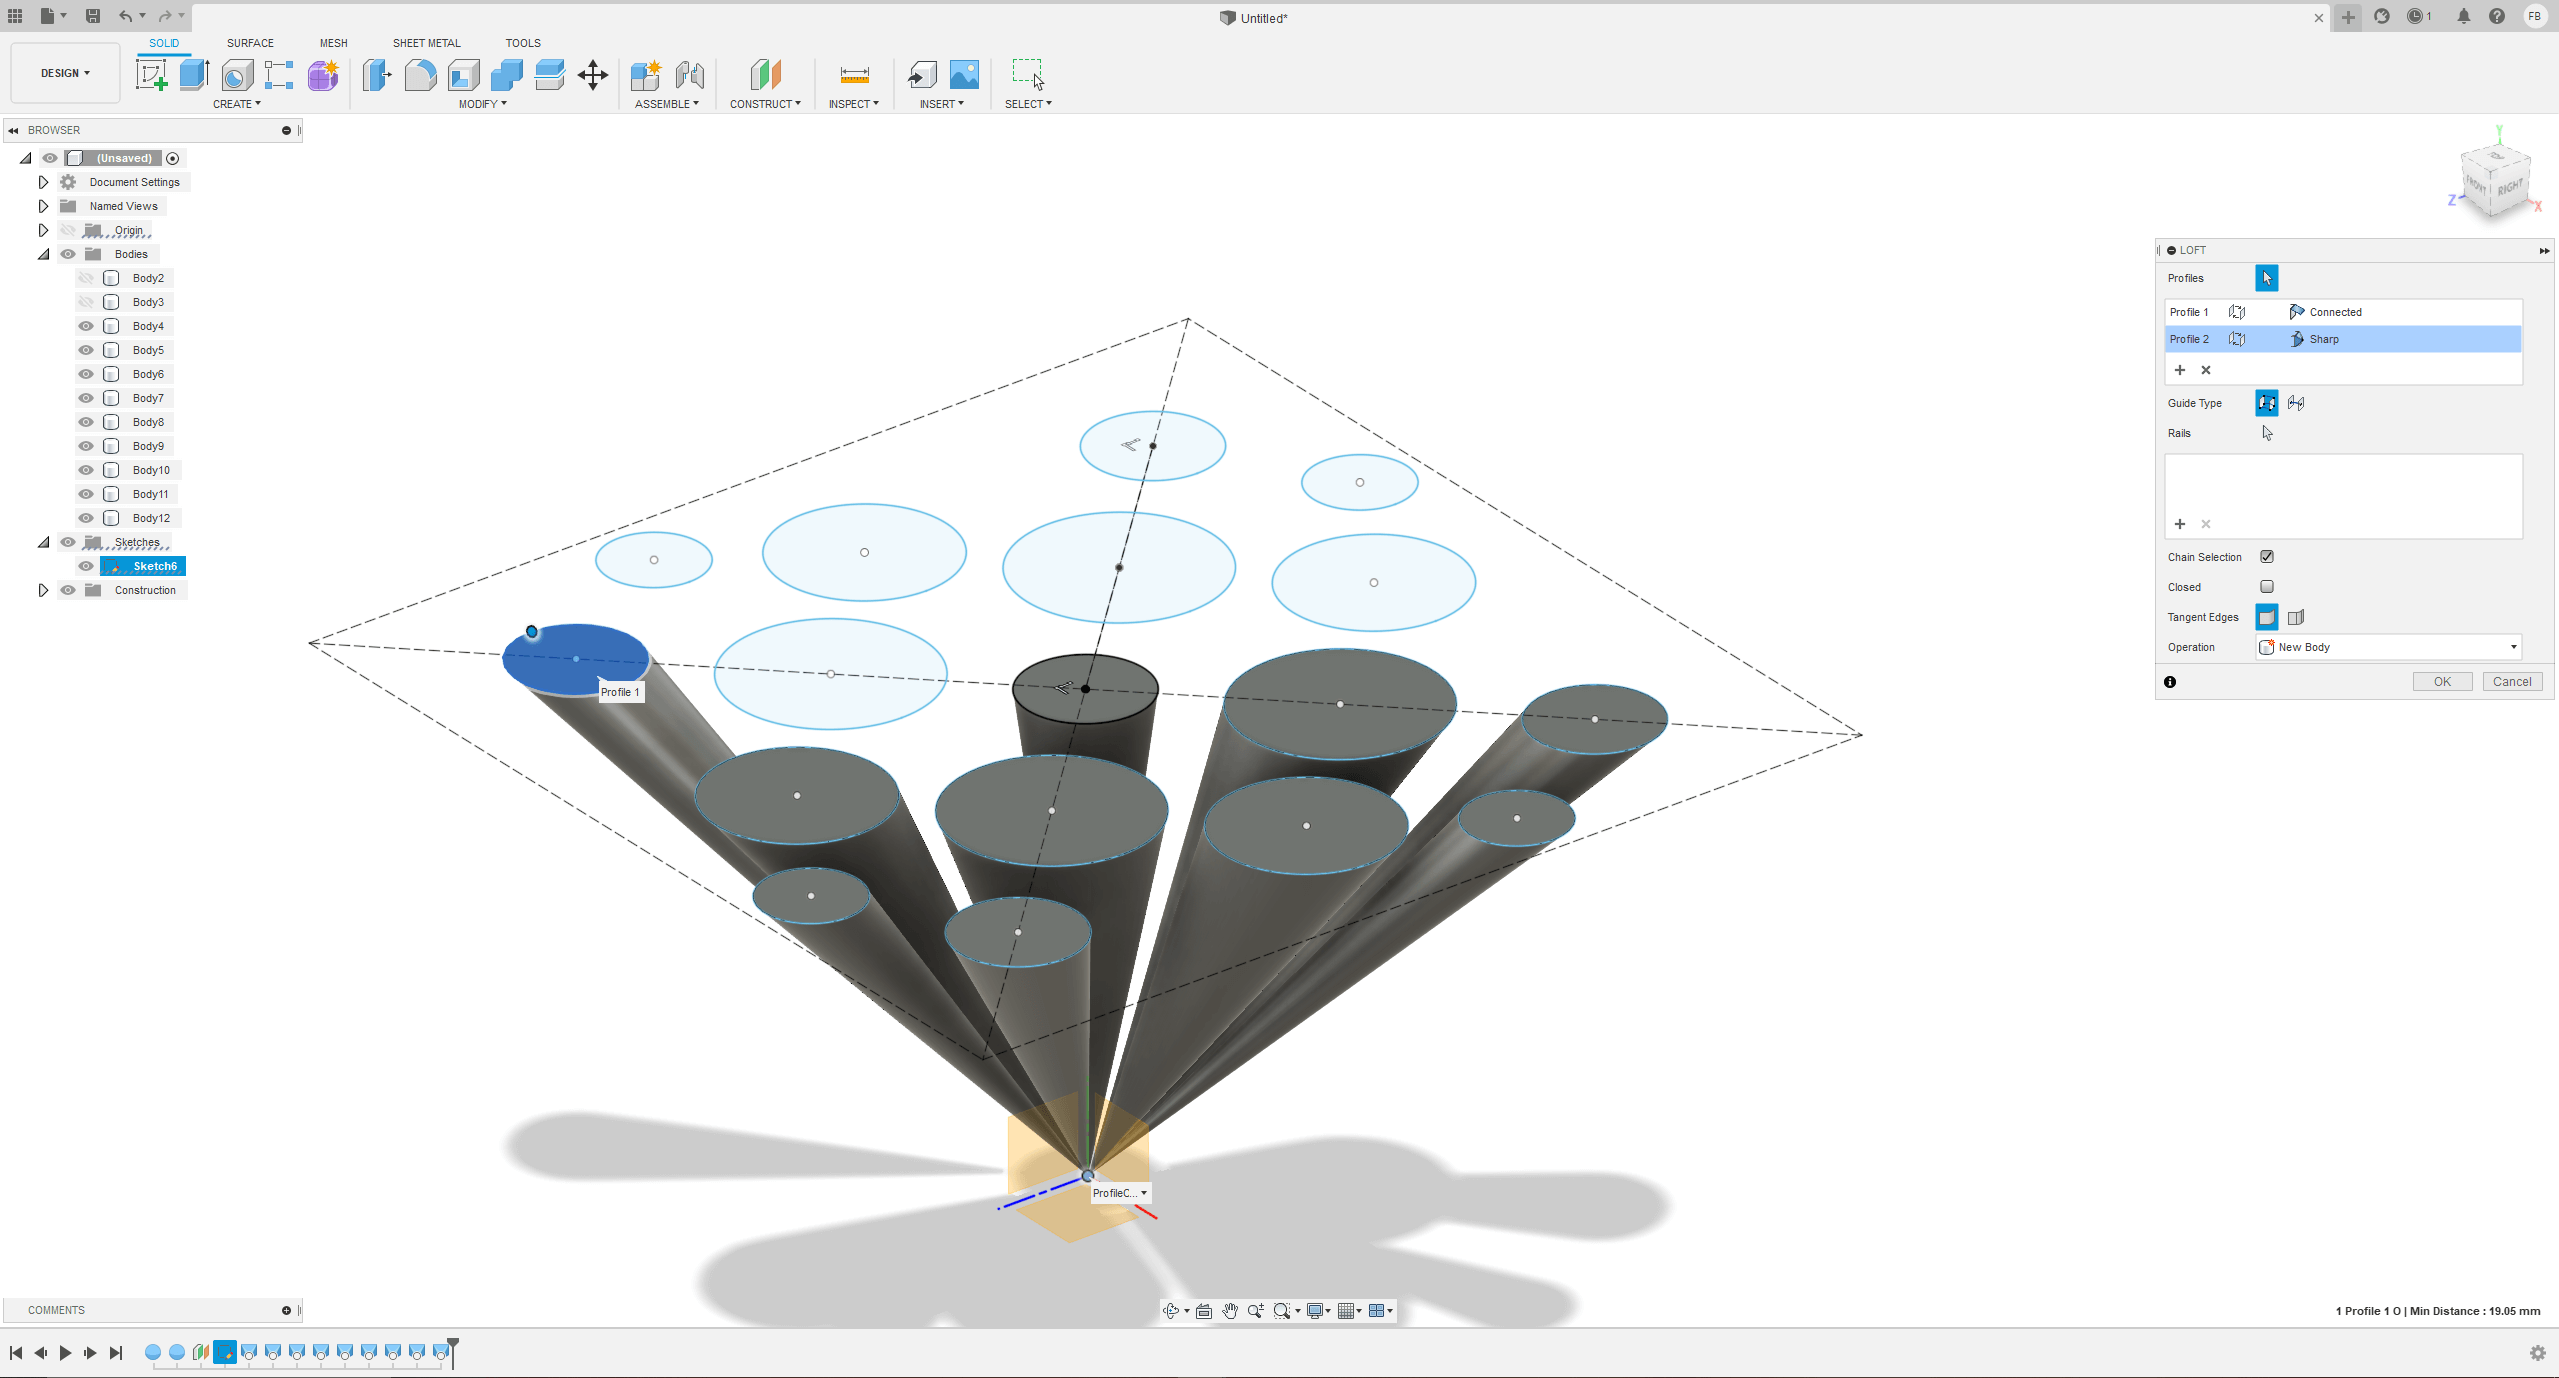
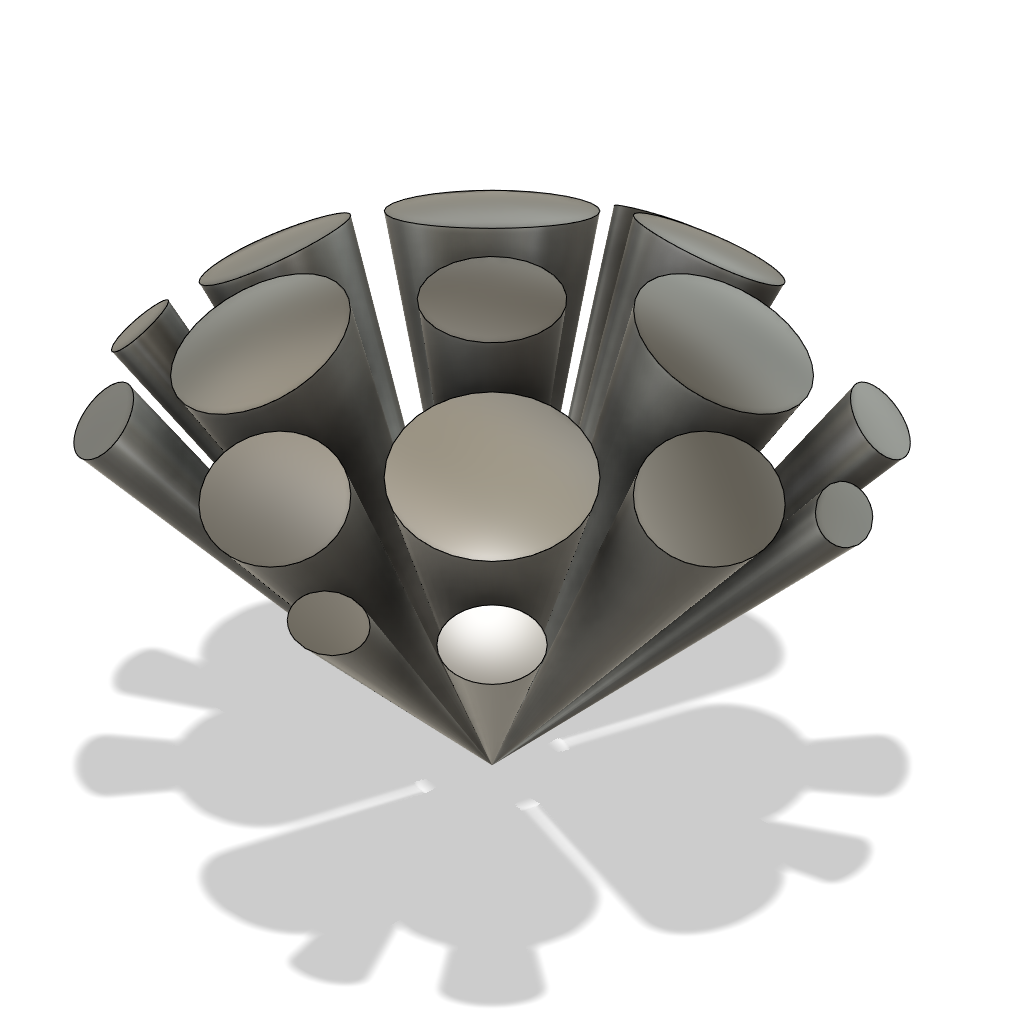
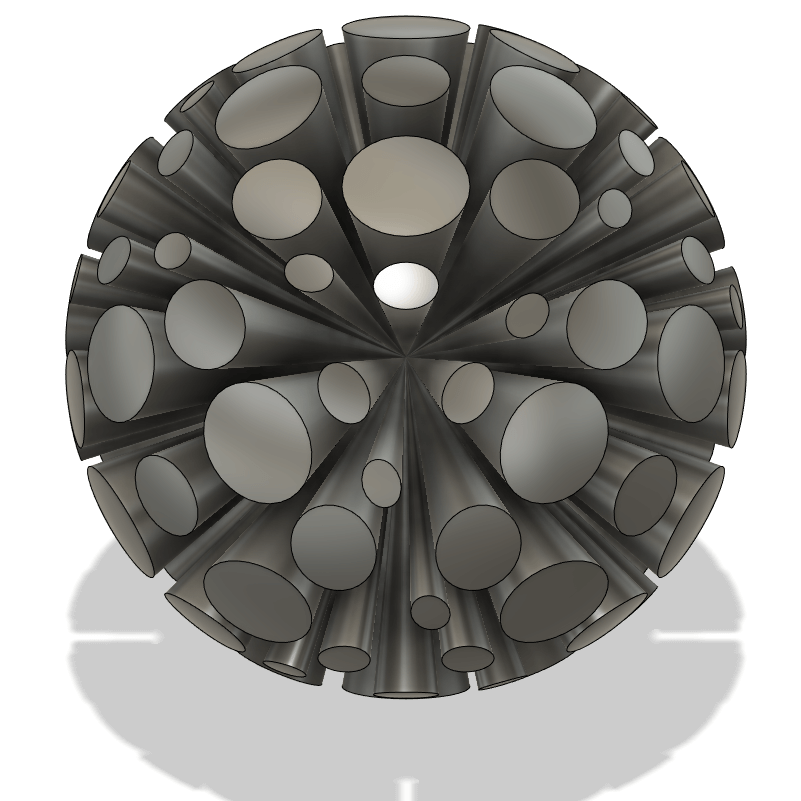
The top view of the lofts can be seen in the first picture in the row above. Then, I created a sphere with a radius of 0.75 inches, so the surface of the sphere touched the sketch of the circles. I then used the combine tool with intersect to round the lofts, because before, they were just flat against the sketch. This can be seen in the top middle image.
I then combined each of the lofts into one body so it would be easier to use. After than, I used the circular tool to essentially copy and paste the cone loft group around the circle. This is shown in the top right image.
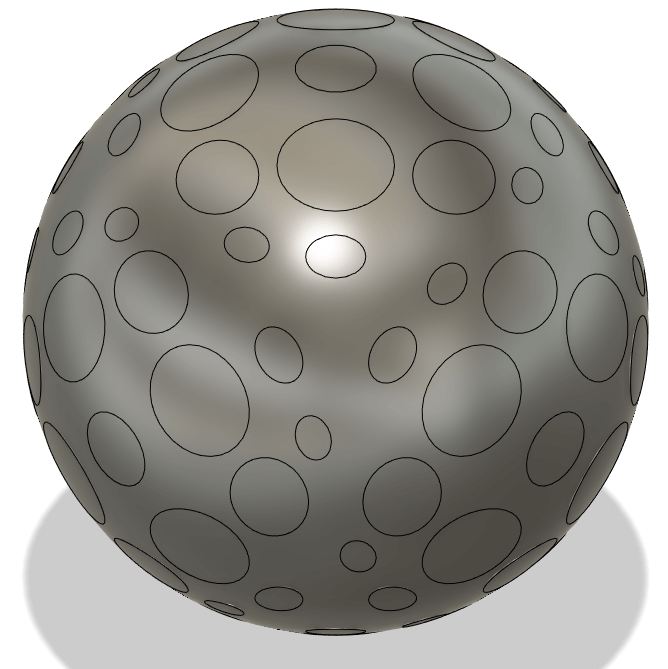
Then, as shown in the first image in the second row, I created another sphere with the same radius of 0.75 inches. This is because I used the first one to intersect with the cone lofts, so I can't use it again. I also used the "shell" tool on the sphere to make the inside of the sphere hollow. The shell thickness is 4 milimeters.
Then, I used the combine tool again. This time, instead of using the intersect function, I used the cut function to cut out the loft holes from the sphere. This created the final outer shell of the toy.
The last step was to make the ball on the inside. I did this by just making a small sphere on the inside, almost touching the bottom part of the shell. I also added the red and blue color to make it look cool. And that's pretty much all I did for the design process.
Cat Toy Print Process
Lastly, I finished the cat toy assignment by 3D printing it out. I documented what I did on cura and my 3D print results below.
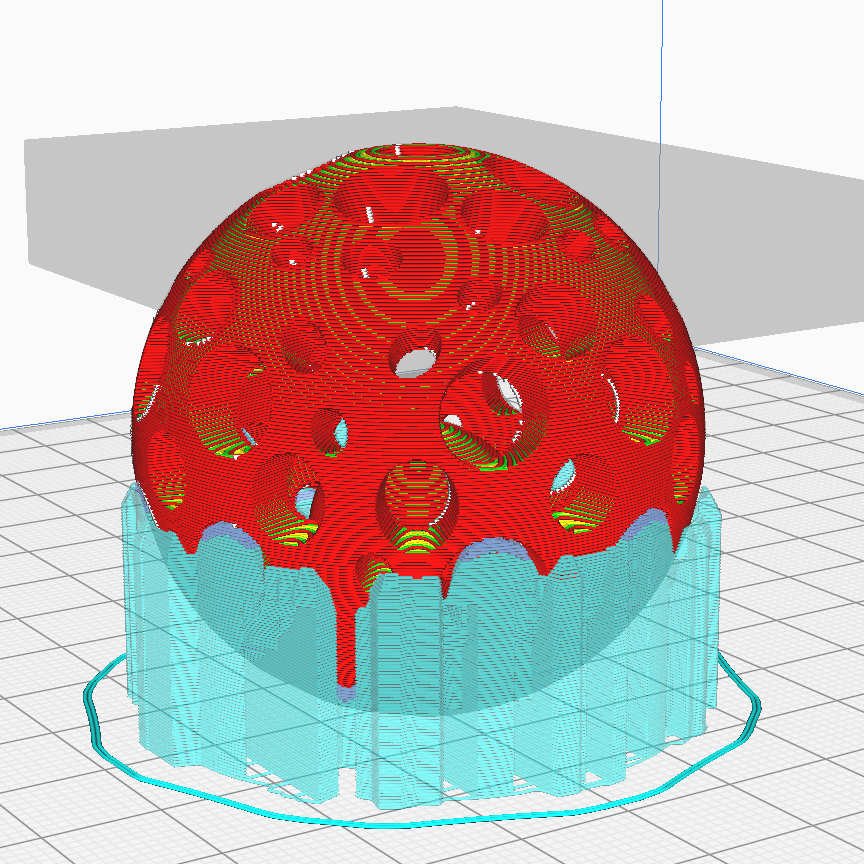
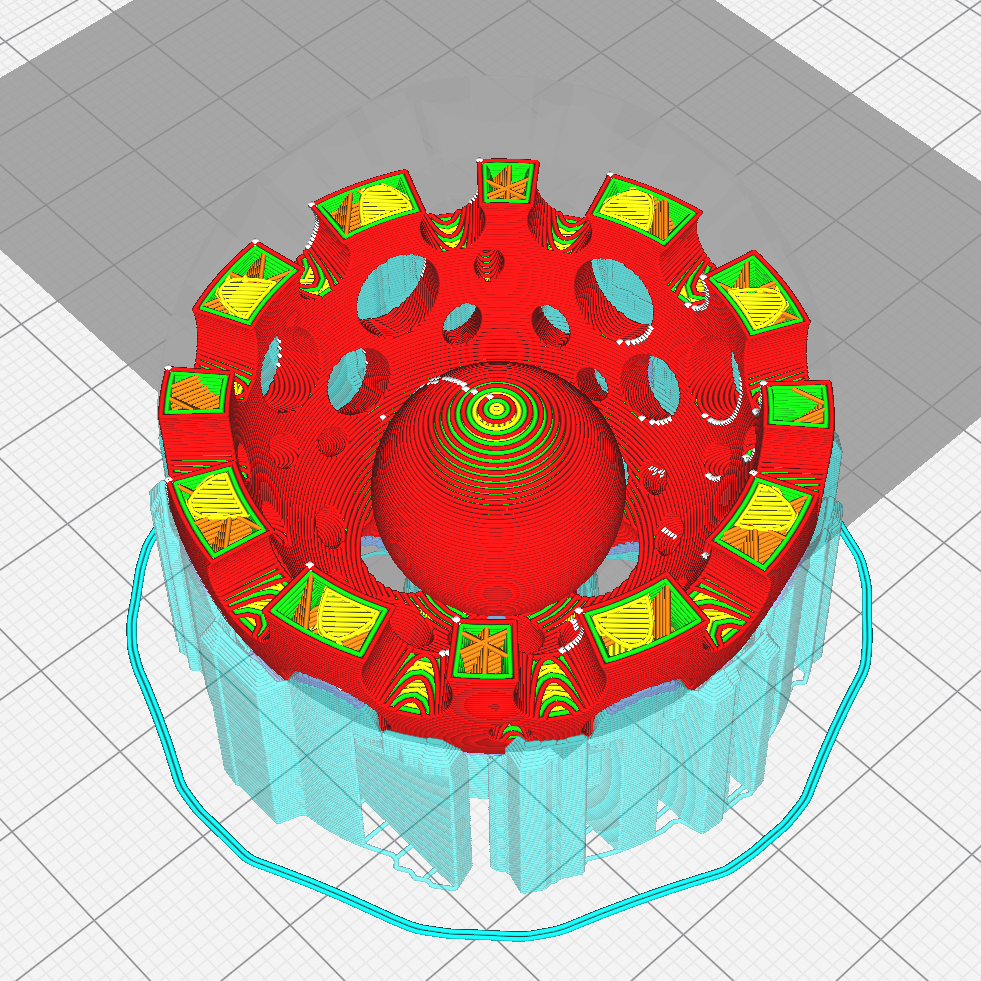
I first exported the cat toy on Fusion 360 as an STL file. Then, I imported the STL file into Cura. After that, I oriented the toy in the proper direction, making sure that the ball on the inside was orientated in a way where it was clsoest to the bottom as possible. Because of the spherical shape, the toy needed to be printed with supports. The supports are shown as light blue in the image above. One of the key functions of the supports was to hold the ball on the inside up, as it had no supports in the model. I also changed the wall count from 2 to 4, just to make it more sturdy. That's all I did on Cura. I exported the file onto an SD card and went to my 3D printer.
Download my cat toy STL file here
Download my cat toy gcode file here
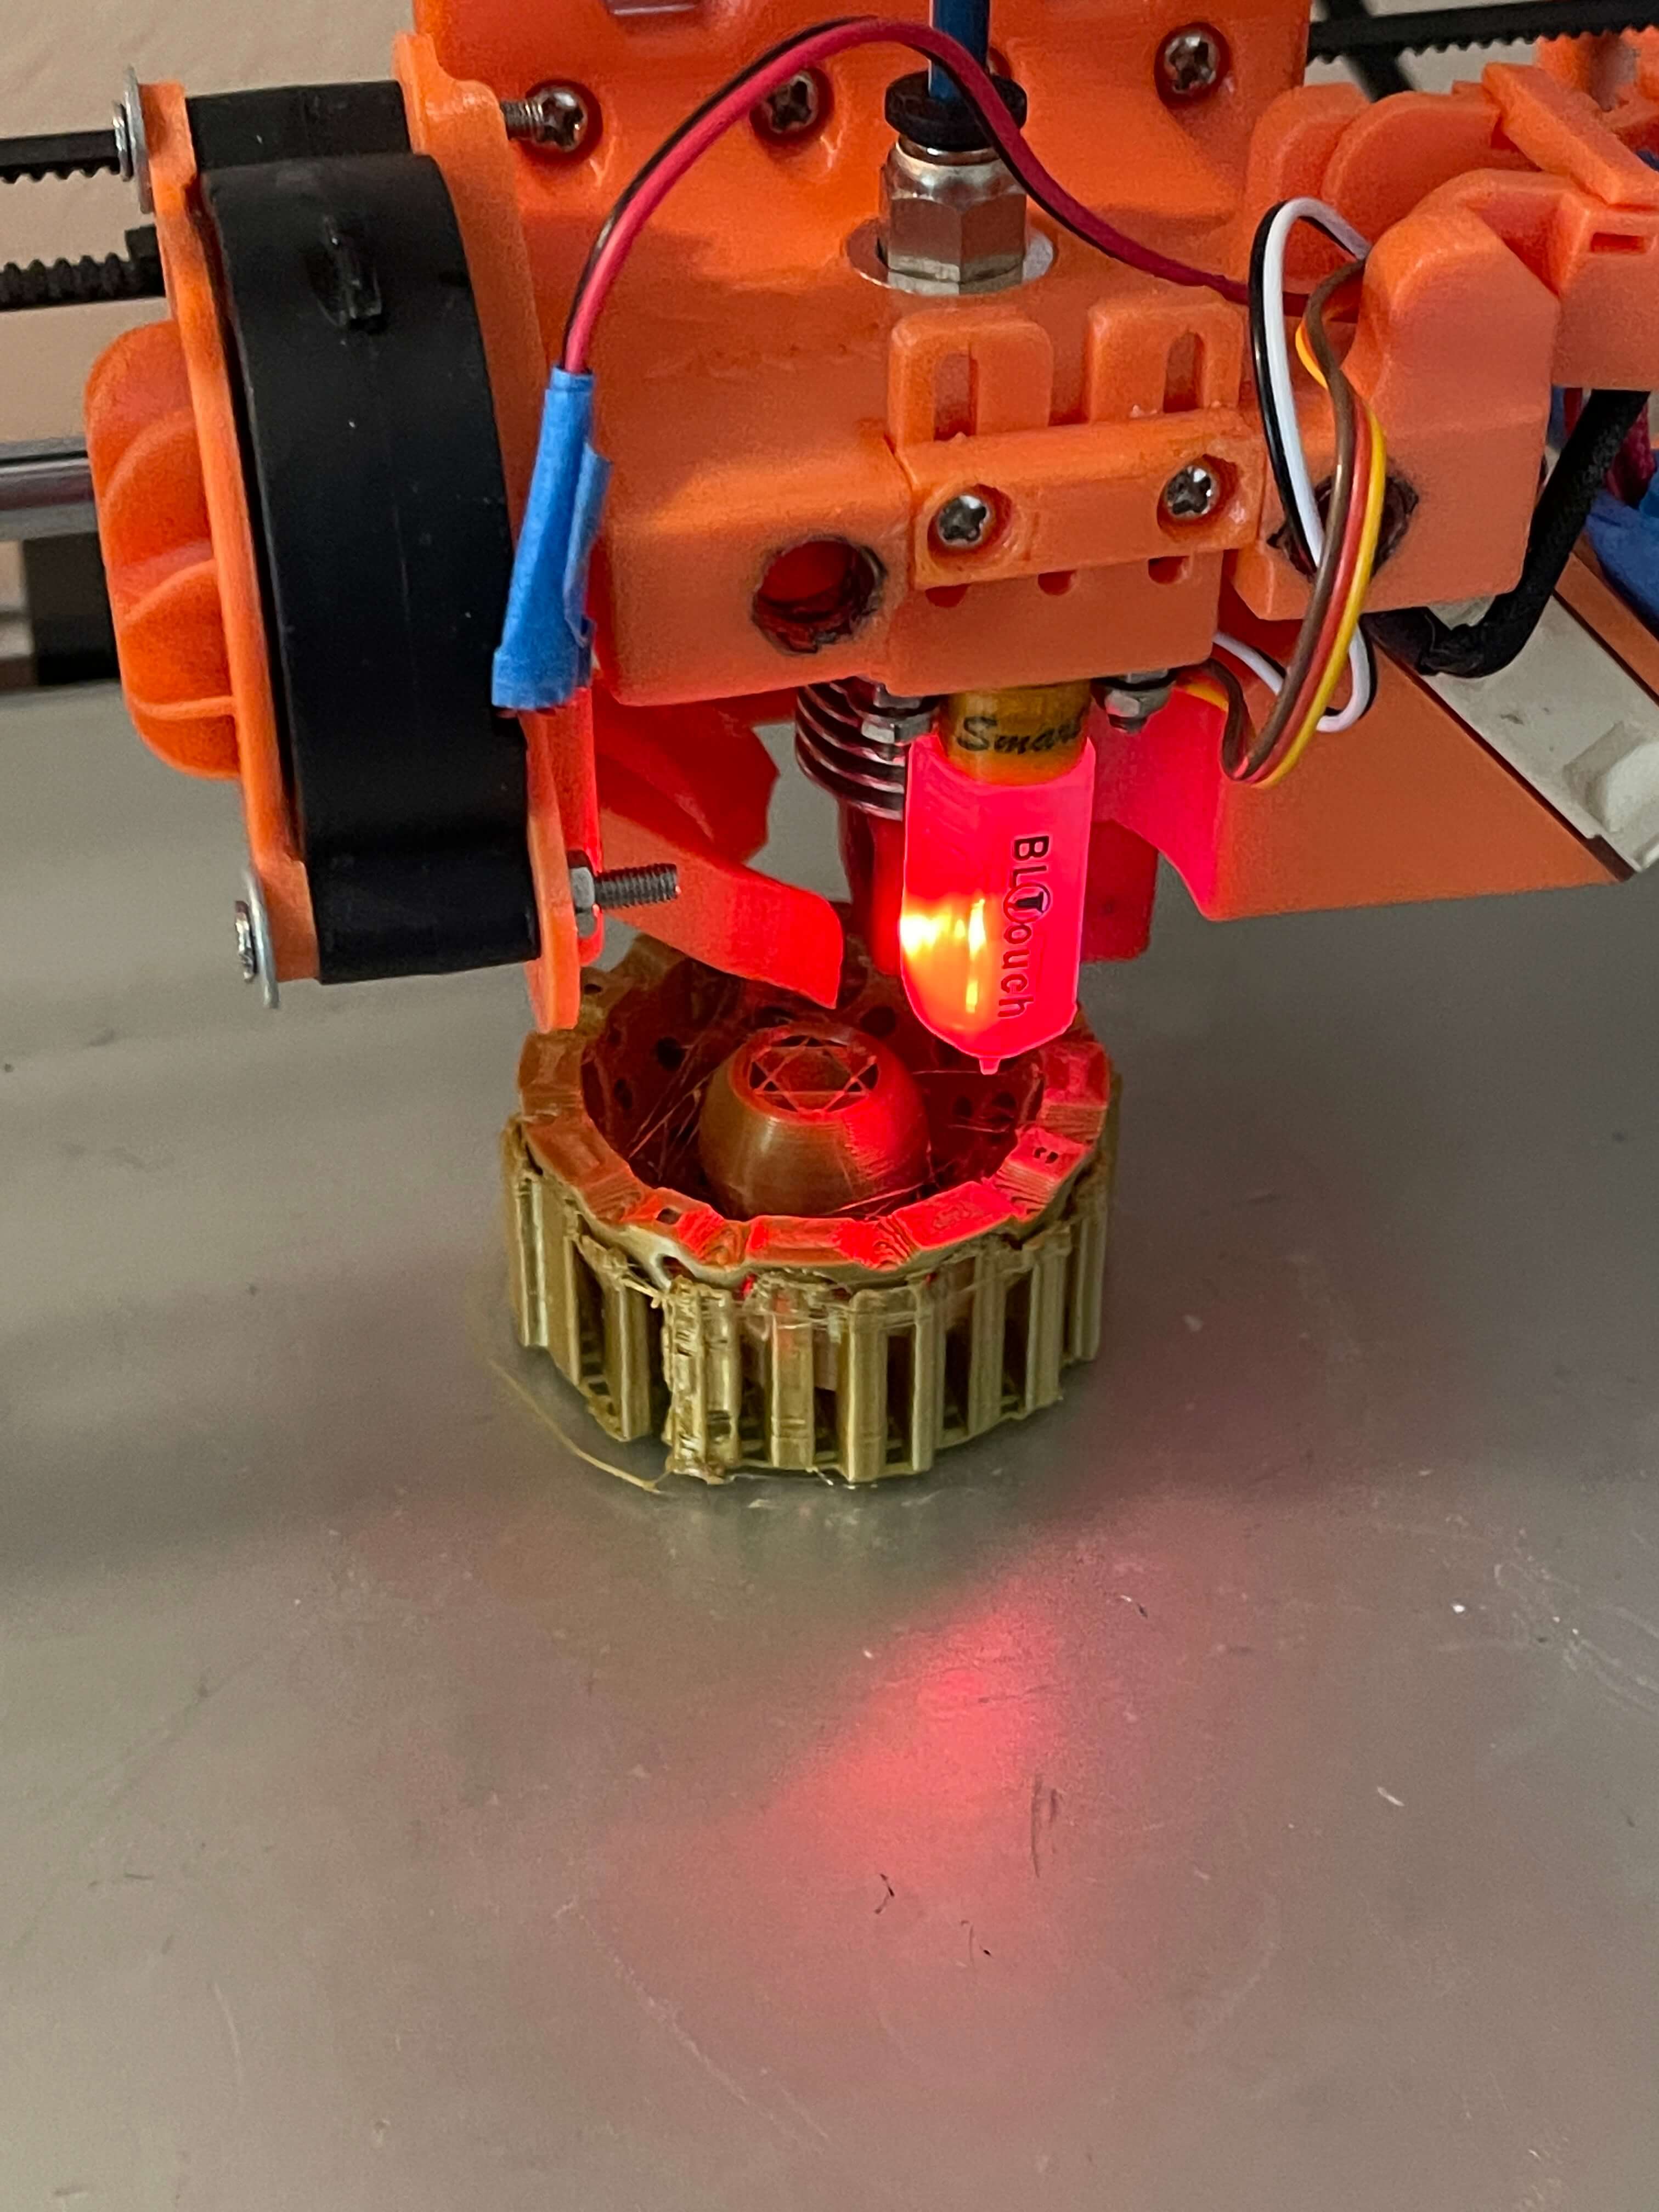
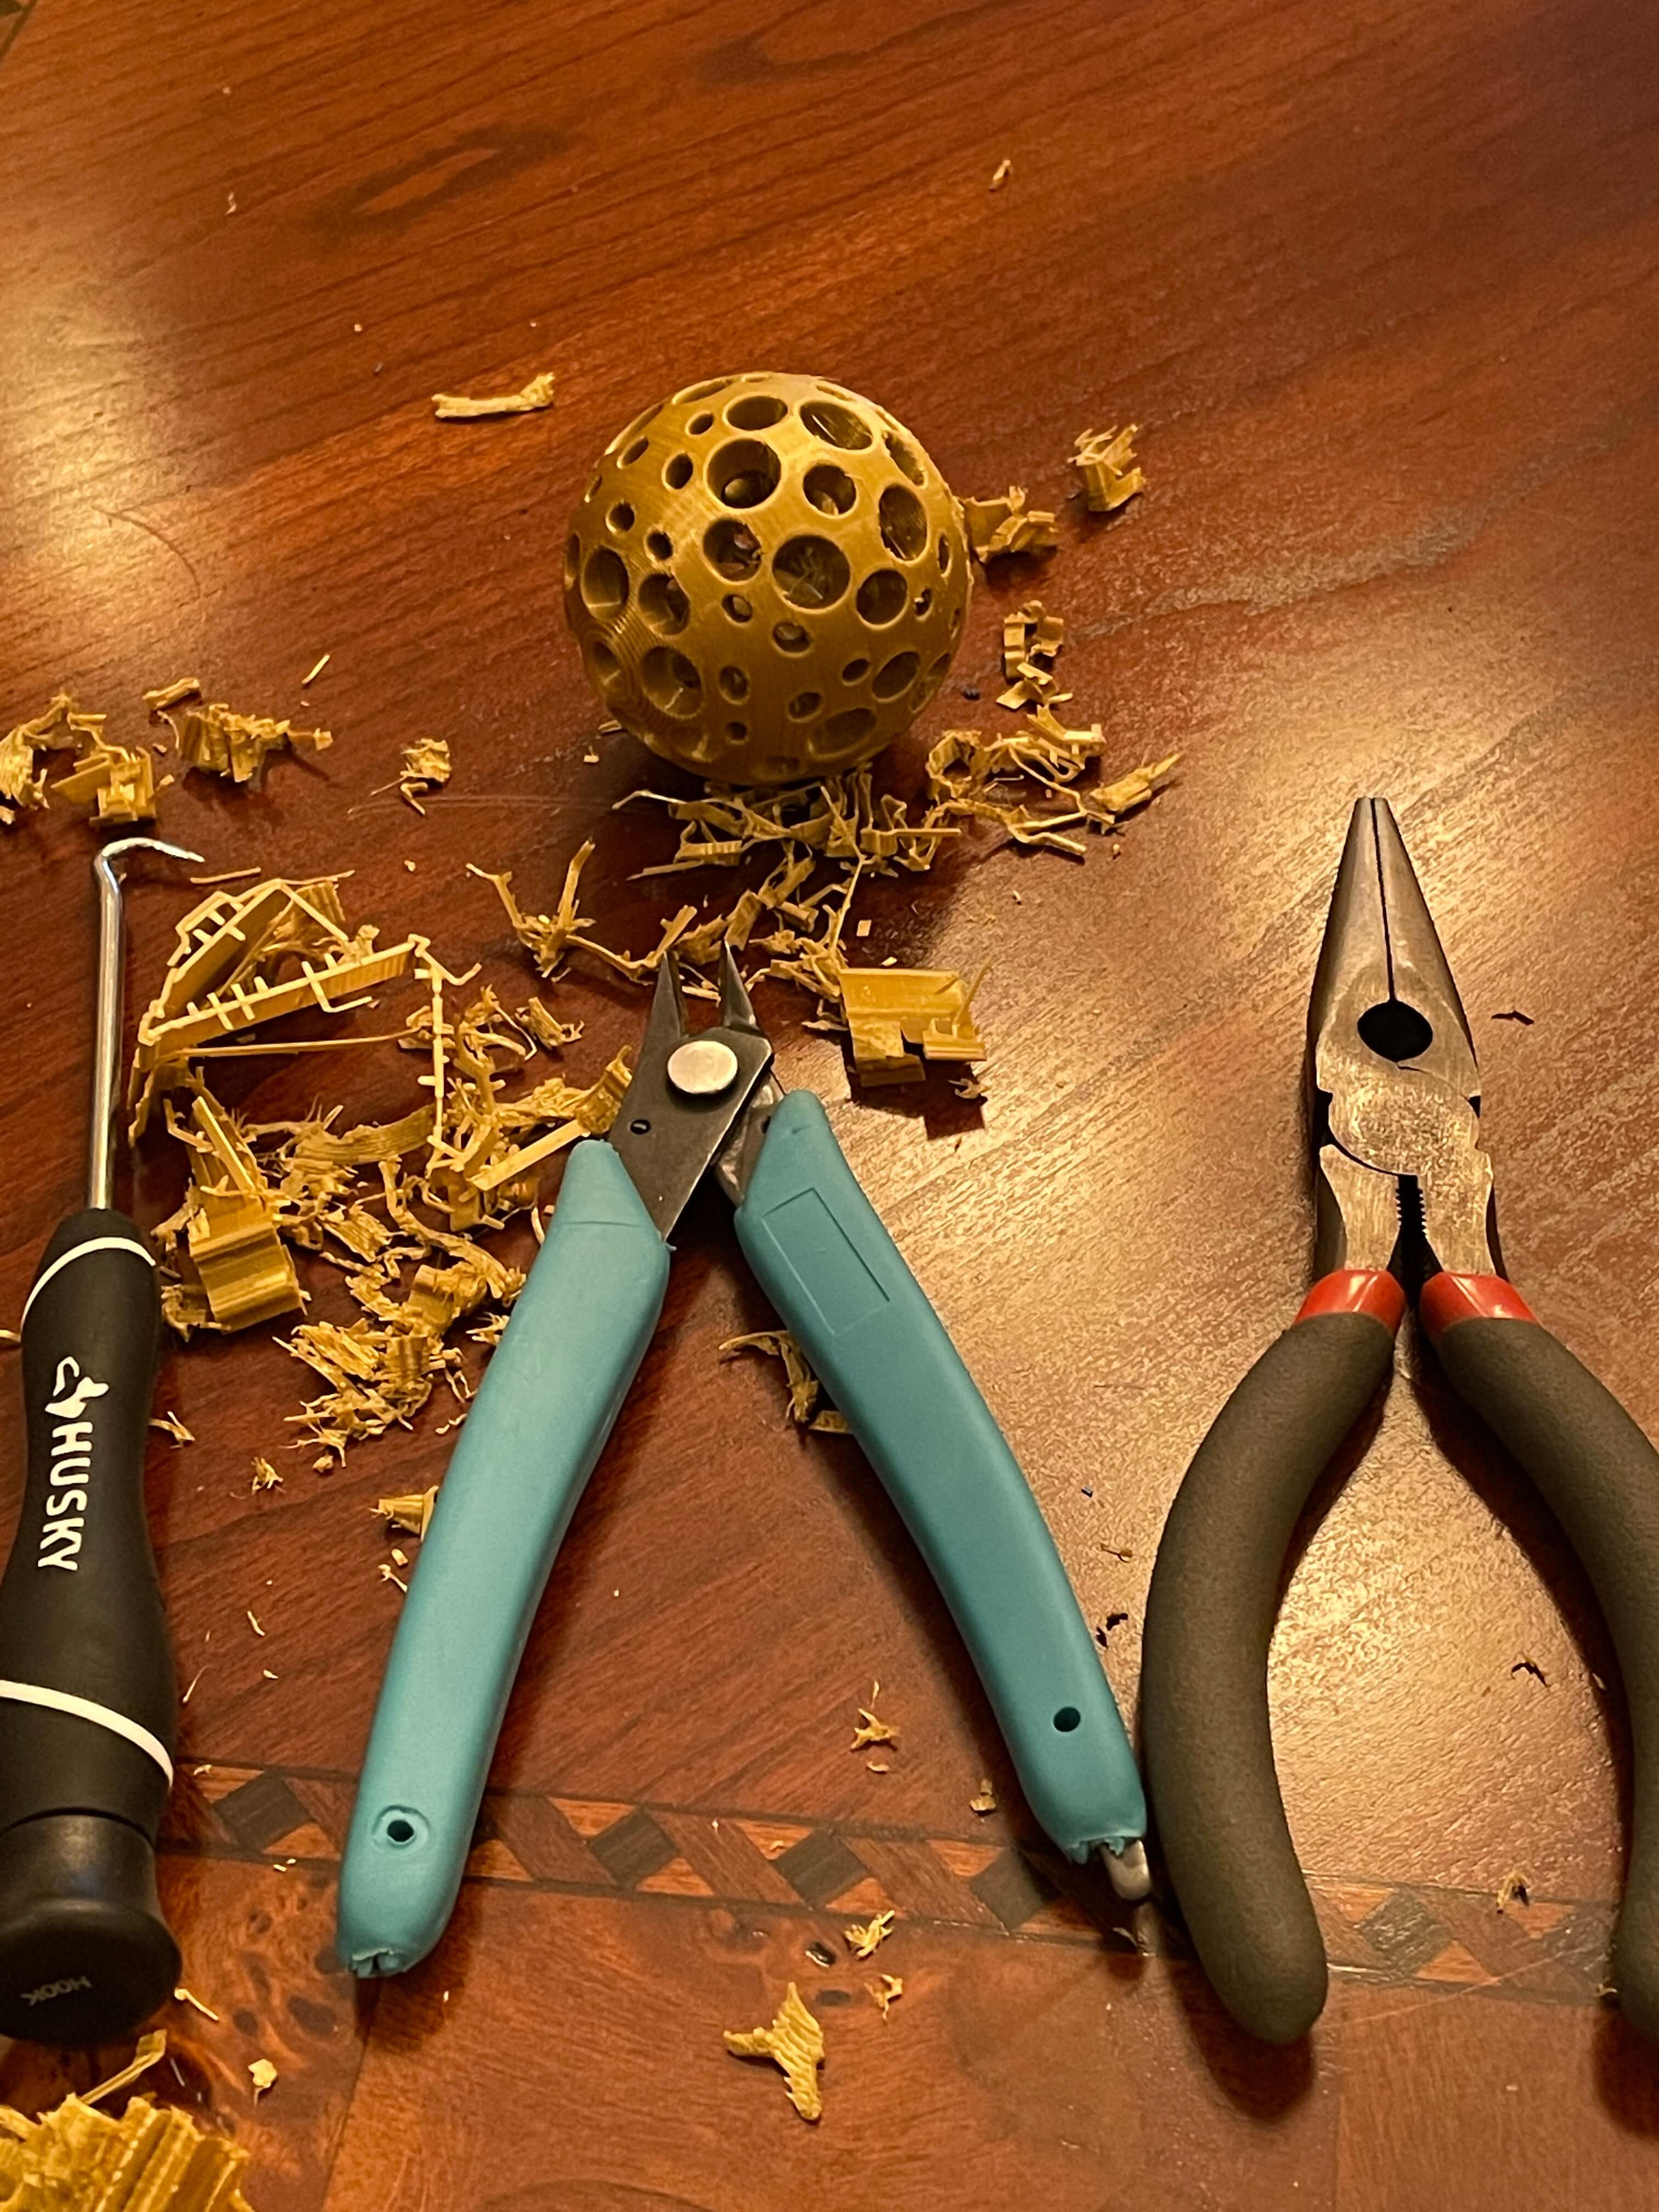
In the first picture above, the toy shell and the ball are being printing simultaneously. This is exactly why making this toy in one piece with subtractive methods is physically imposible. It was pretty cool to watch print, but one problem was the supports. Like what happened with the toothbrush holder, the support structure issue continued to the cat toy. The tools I used to remove the supports are seen in the top right picture, but I still wasn't able to remove all of them.
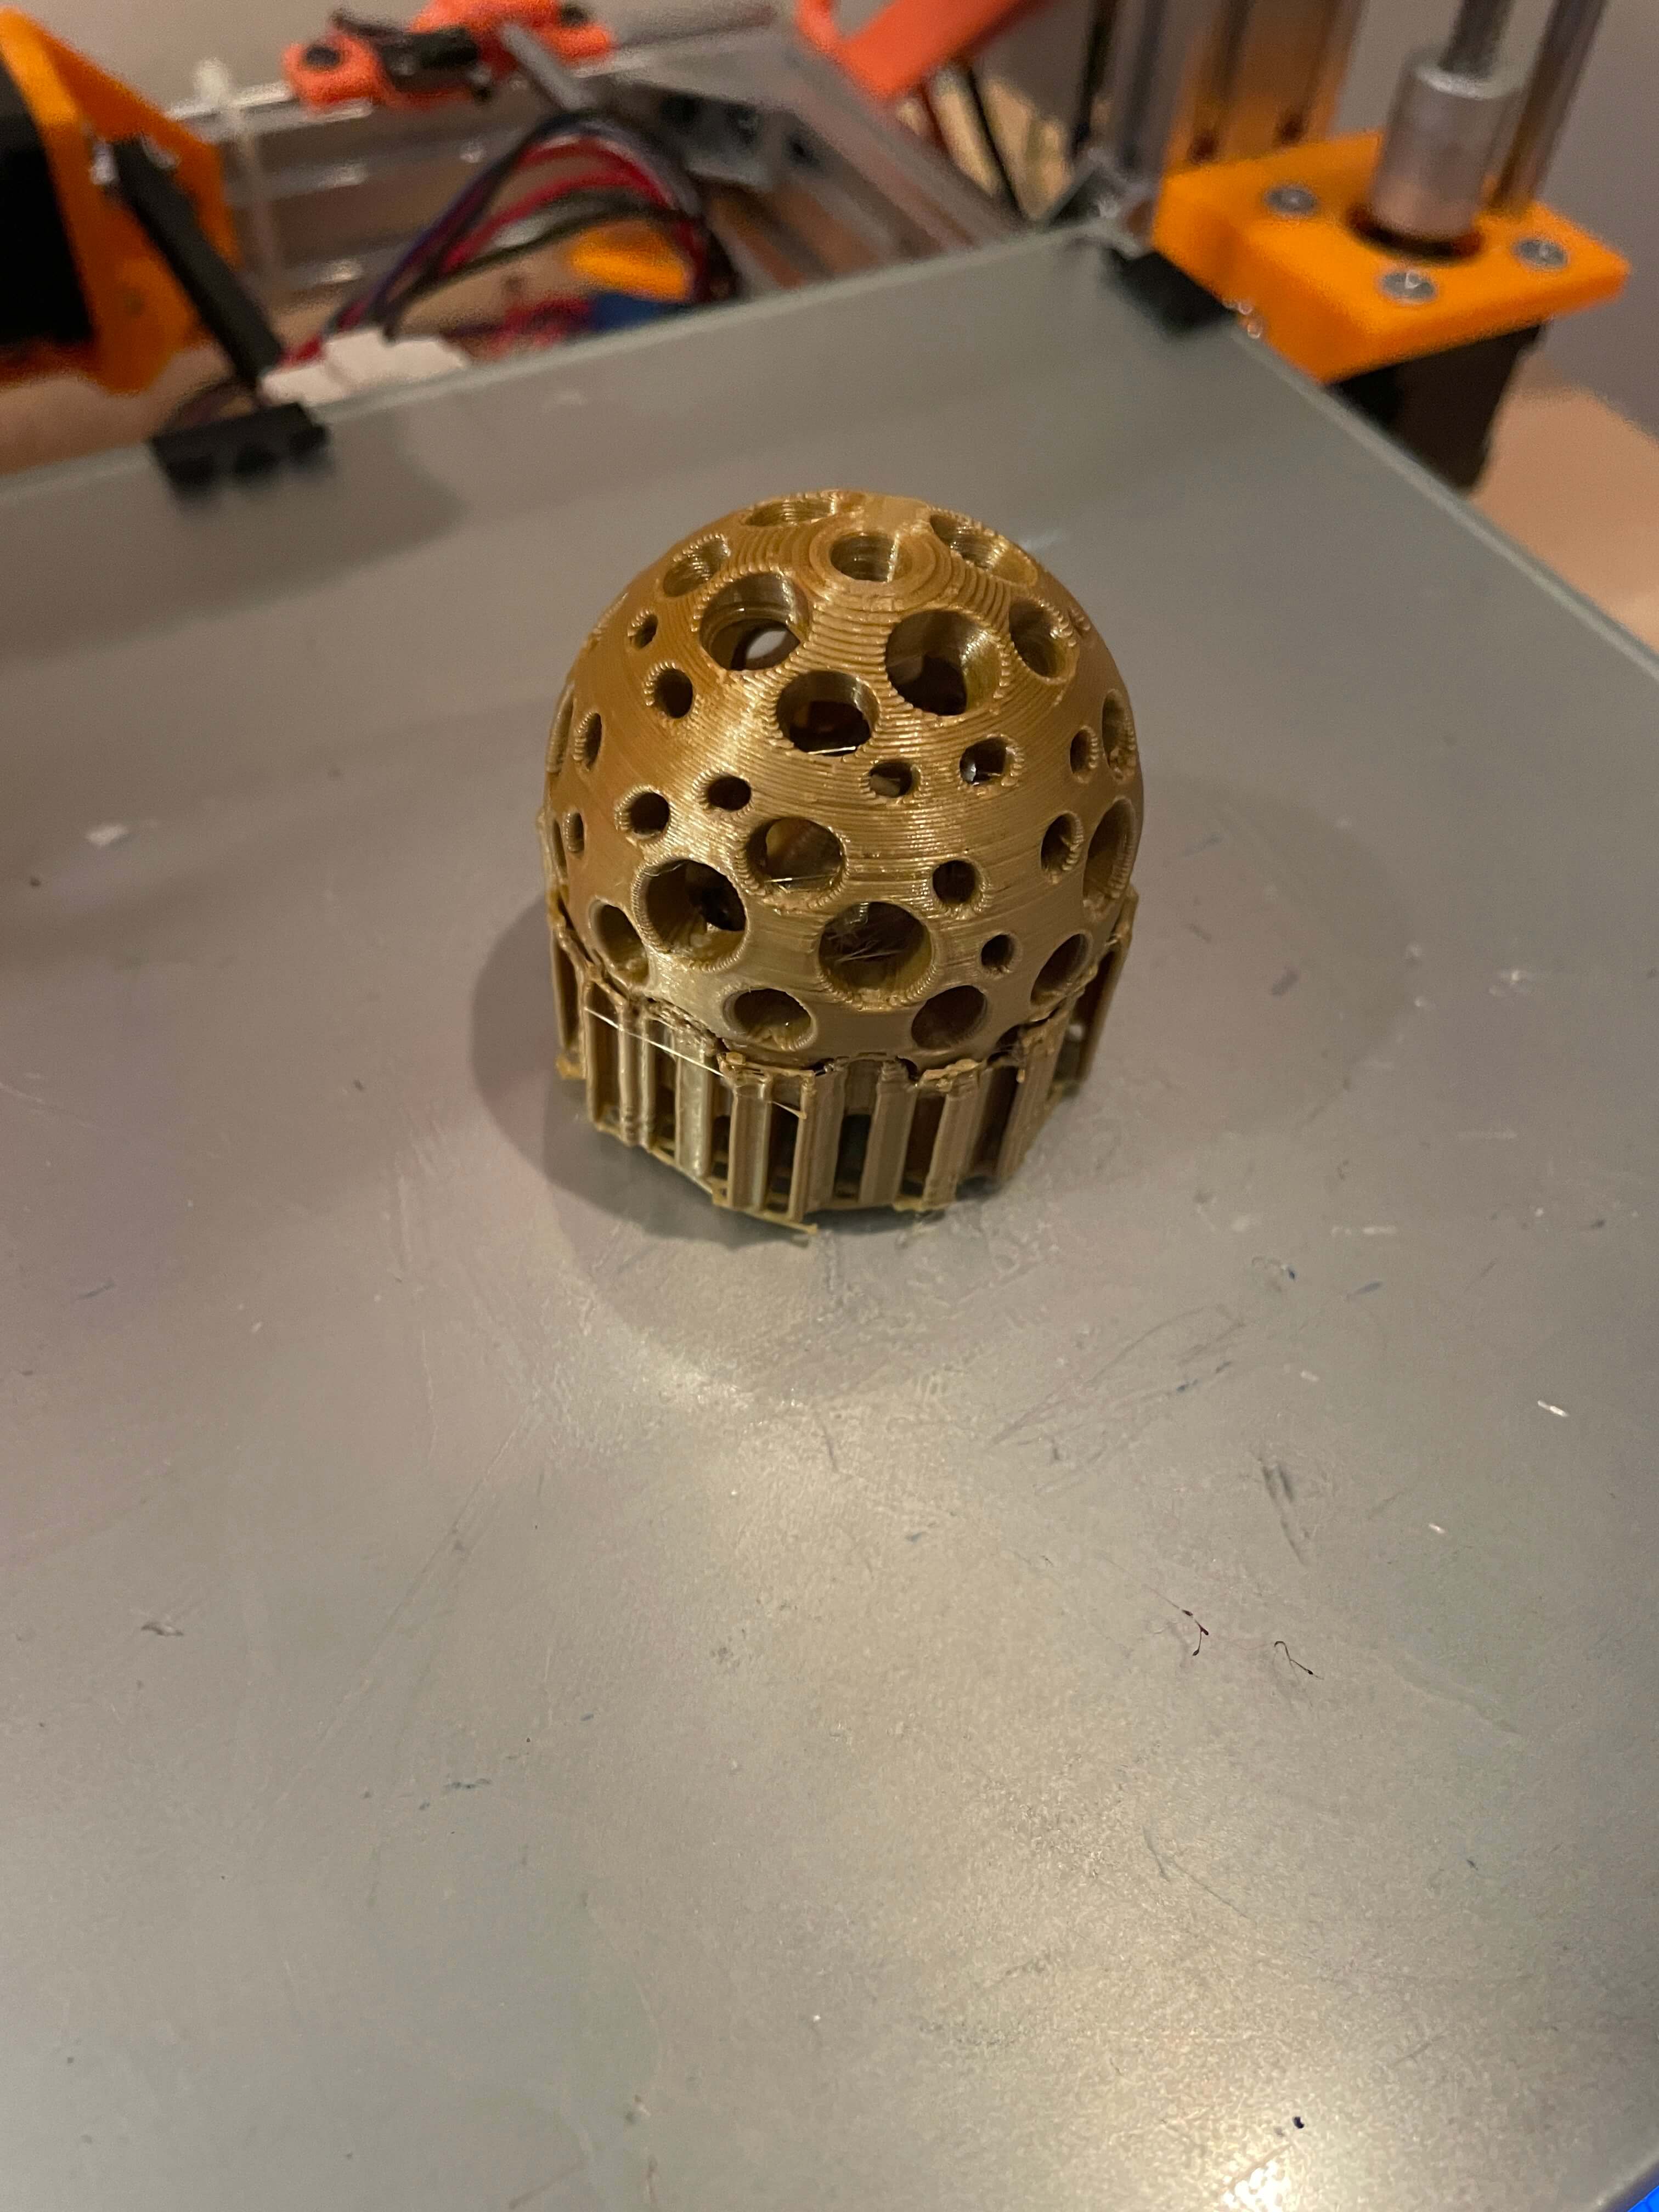
The final product was overall great. It turned out really well, other than the bottom where the supports were, but other than that, it looks just like I modeled it.
In the gif to the left, near the end of the gif, you can see the filament stringing that occured on the inside of the shell, which I couldn't remove. This was another issue that I faced during the 3D printing process. I tried to get rid of the stringing by using a hairdryer and a lighter to heat up the inside to fray the strings, but it was barely successful.
To the right, the gif shows the ball on the inside bouncing around when I shake the toy. Because of the limitations on support structures on the inside of the toy, the ball on the inside isn't a perfect sphere. But, it still moves around fine and makes noise, which is the whole point of the ball.
Of course, the assignment would not be complete without testing it. So, I had the toy tested on two test subjects. The videos of the test subjects in action are embeded below.
The results are shocking. Test subject 1, the white cat, informally known as Loki, had interest in the toy for about 12 seconds. After the 12 second time frame, test subject 1's thoughts drifted back to "eat, sleep, and repeat." Similarly, test subject 2, the brown and white cat, informally known as Marble, had an interest span of about 5 seconds. Test subject 2 did smell the toy but did not interact with the toy any more.
All jokes aside, the tests were pretty much fails. But, I still think it's a neat cat toy and a great fidget toy.
Photogrammetry
I didn't have much success with the photogrammetry part of the assignment. I used numerous apps, and figured Qlone to be the the best suited for accurate scanning. However, the scanning was very erratic and caused many problems throughout the scanning process. I wasn't able to fully scan an object, although I'll try doing it again. Below, there is a video of the Qlone app working normally and one where it isn't working.
What I Learned
» How to create surface objects on a sphere
» How to use the combine tool to join and cut
» How to create objects within objects
» How to 3D scan objects and rooms