What To Do
1. Create a website and make a page with a proposal for a possible final project.
2. Read Chapters 1-3 of Making Things Move and note down interesting facts.
3. Research local fab labs and makerspaces.
What I Did
To begin with, I was a little overwhelmed that we had to create a basic website using html and css, as I have had no prior experience using either of the two. However, I found a relatively easy to use template from here, and I imported and personalized it. The best part is that it's completely free (this isn't sponsored). With a lot of help from w3schools, I was able to create the bare-bones of a somewhat-working, basic website. My website so far has some important features like images, a working navbar, hyperlinks, etc. There are still many things I don't know to do, like what most of the stuff in the css folder means, but I'm sure with a lot of time and patience, I can learn the basics of CSS too.
I also researched local makerspaces. Although there aren't any that are very close to where I live, there are really good ones closer to Chicago. One of them is Fox.Build: Makerspace, Hackerspace, Coworking located in St. Charles, Illinois, which is about 40 minutes away from my house. Unfortunately, there aren't any day passes, as all of their price listings are for monthly memberships. Although, I think that if I reach out to them and ask about day passes, we can work something out. It's no major concern because I already have a few power tools and a 3D printer at home, so I can easily make do with what I have.
Website Building
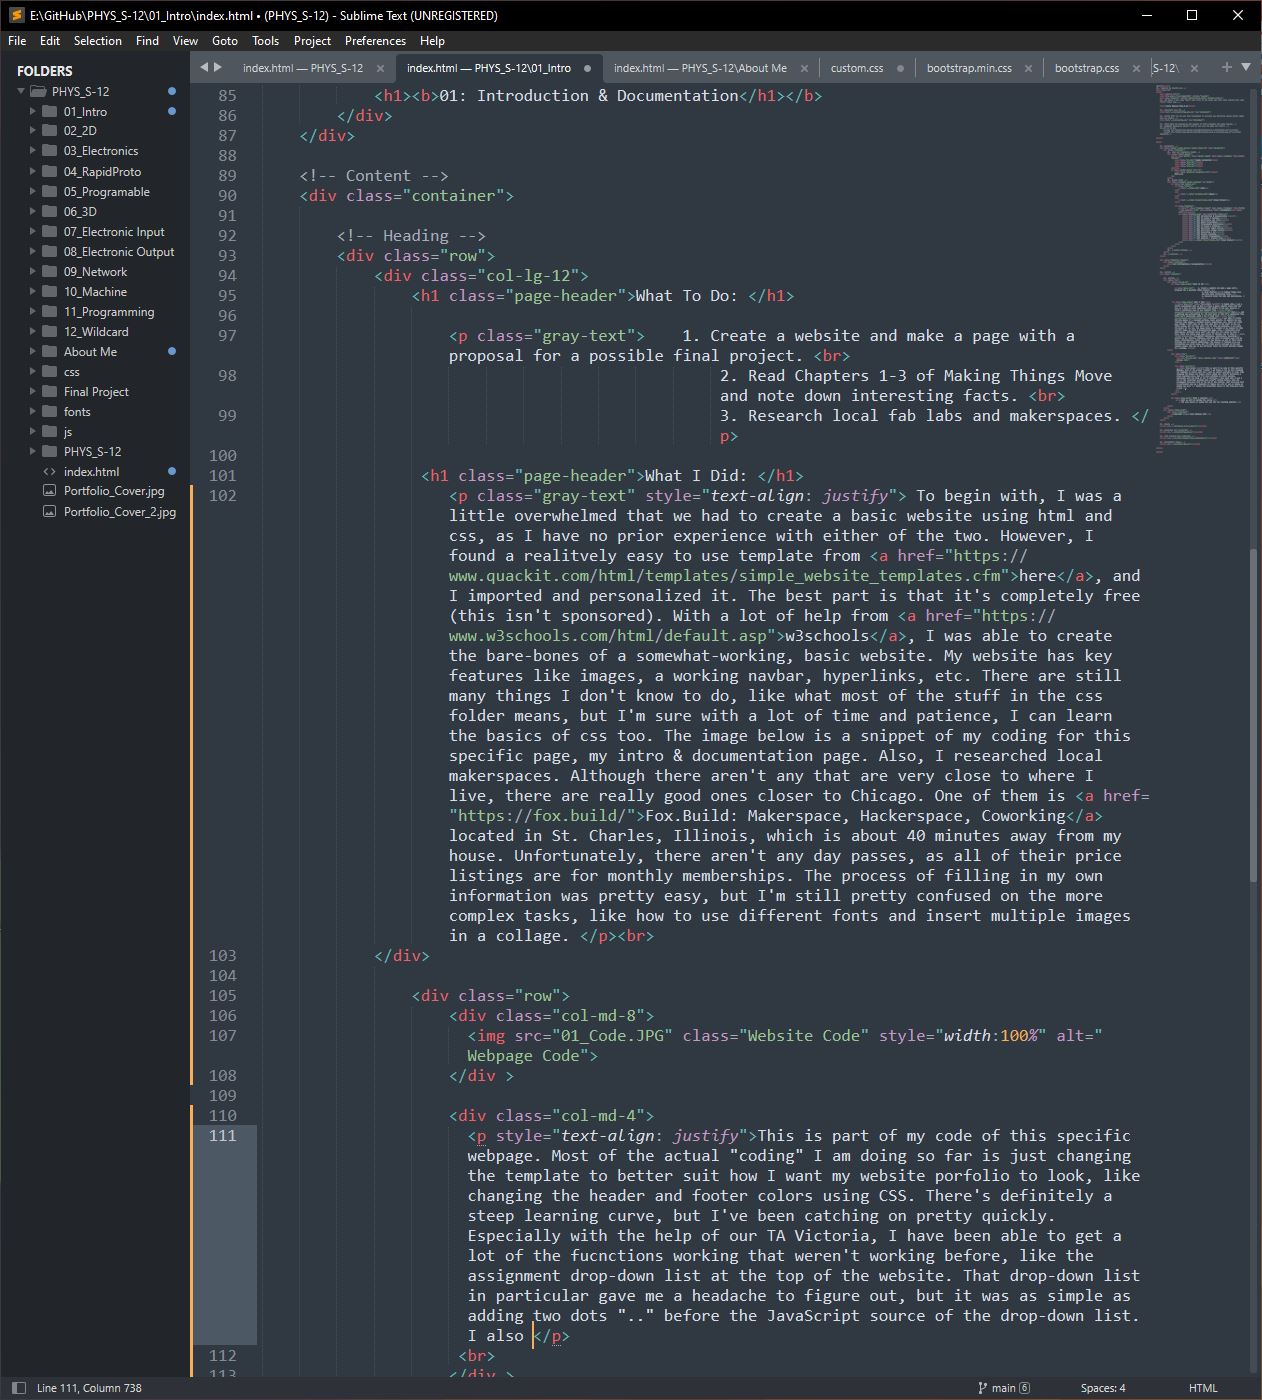
The code-editing app we are using is Sublime Text. The code in the first image is edited on Sublime Text and is part of my code of this specific webpage. Most of the actual "coding" I am is just changing the template to better suit how I want my website porfolio to look, like changing the header and footer colors using CSS. There's definitely a steep learning curve, but I've been catching on pretty quickly.
With the help of our TA, I was able to get a few fucnctions working that weren't working before, like the assignment drop-down list, which is at the top of the website. The drop-down list in particular was a headache to figure out, because it just wasn't working properly. The solution was as simple as adding two dots ".." before the JavaScript source. Adding one dot "." means that the source is in the parent folder of the current index. Adding two dots ".." means that the source is two folders outside of the current index.
I also organized my folders so that in the future, when I want to add something to a certain assignment's page, it would be simple and easy to do. The folder list is on the left-hand side of the Sublime Text application. The actual code is on the large section to the right of the folder list. In the image, you can actually see the what these paragraphs I'm writing look like in HTML code.
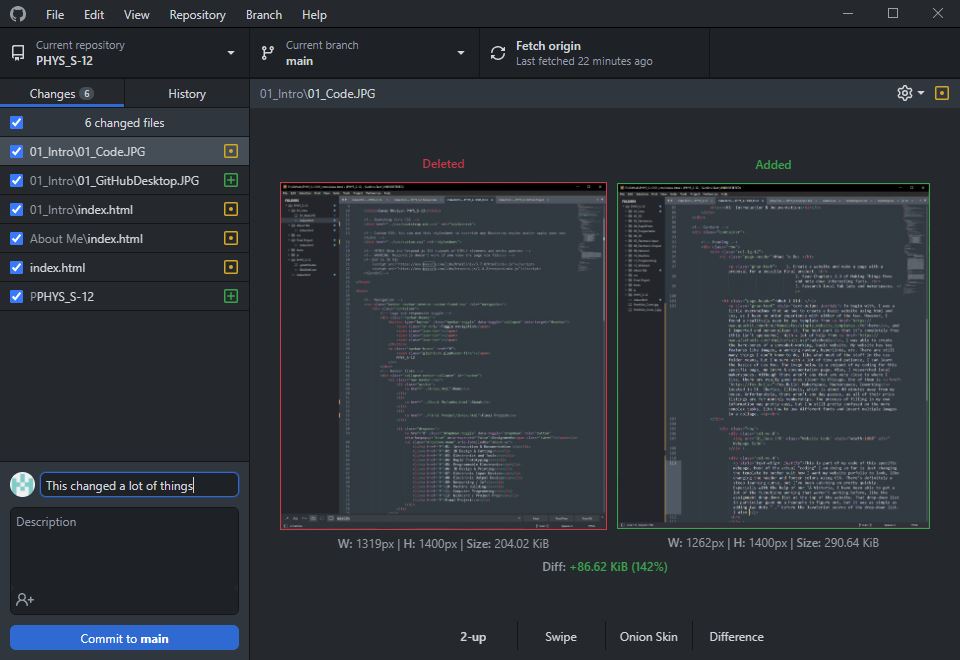
The second image is of the GitHub Desktop application. Whenever I change my code in Sublime Text, it only changes my website when I locally view it (opened through the index file). So, I use the GitHub Desktop app to push any of my changes that I made in the code to the actual website. All I have to do is open the app after I have edited the code, write out a summary of the changes I made, and then click "Commit to main." And just like that, I can easily update my website whenever I want. Also, in the app, you can see everything that was edited, so you know exactly what you're changing.
There is also a way to make a "branch," which is a diversion from the main. So, if I wanted to test a few things but didn't want to edit my main website, I could make a branch and safely test out new code.
Final Project Idea 1: Automatic Fish Feeder
Although there are many automated fish feeders in the market right now, I want to put a twist to it. Firstly, I want to power it with the flow of the water itself. Now the best way to do this is to have some sort of a small turbine just below the filter spout, where the water if flowing the fastest, and connect it to a battery. Then, I want to be able to control the feeder wirelessly, whether that's on my computer or on my phone using bluetooth or a wifi connection. This way I can set up a schedule to automate the feeder. Building on the wireless connectivity idea, I think it would be really cool to somehow make the schedule be based on the sun. So when the sun starts to rise, the feeder will drop a few pellets. Likewise, when the sun starts to set, it will drop a few pellets again. I'm not sure exactly how I'm going to do this, but I think it would be a really cool idea if it worked.
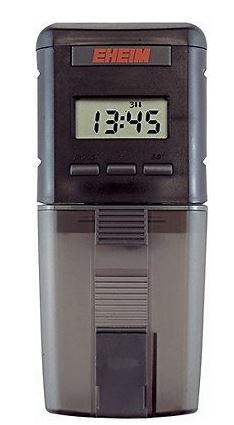
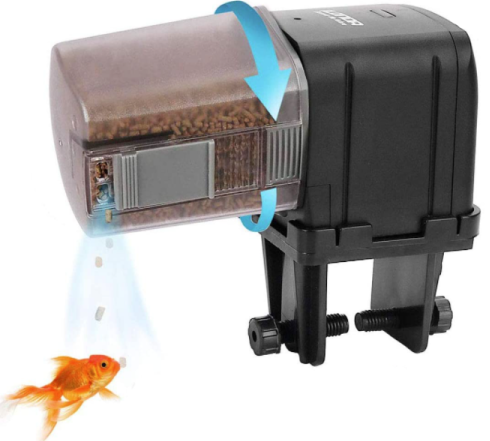
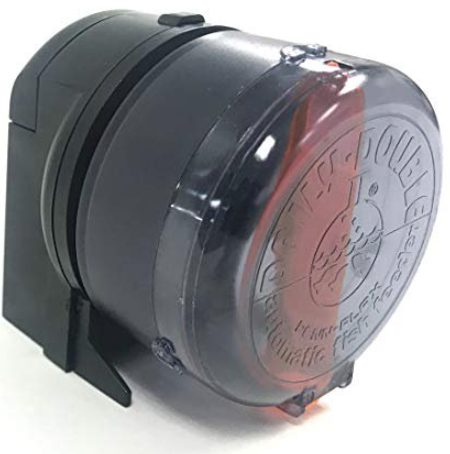
Below are some pictures of automatic fish feeders. The first image and the third image show feeders that I have tried, the Eheim Everyday Fish Feeder and the Aqua Culture Daily-Double II Automatic Fish Feeder, and the middle image shows how the feeders work. A drum that carries the food rotates when the timer hits the set feeding time. I think it would be a good idea to replicate this drum mechanism for my final because it works well.
Final Project Idea 2: Automatic Dry-Erase Board Cleaner
This idea is a little bit far fetched, but the premise is that once you finish drawing on a dry-erase board, the machine will automatically go to wherever there are marks and clean the area. The marks will be detected by a camera that is away from the board itself. But, I'm not exactly sure how the movement mechanism will work. One idea is that the machine is magnetic and there are moving magnets on the back of the board, so when the sensor detects any color on the board, the magnet will somehow move to that area. Another idea is a pulley system. If the board is used vertically, then the magnet idea work, but another idea using a pulley system to hoist a weighted eraser carriage may also work.
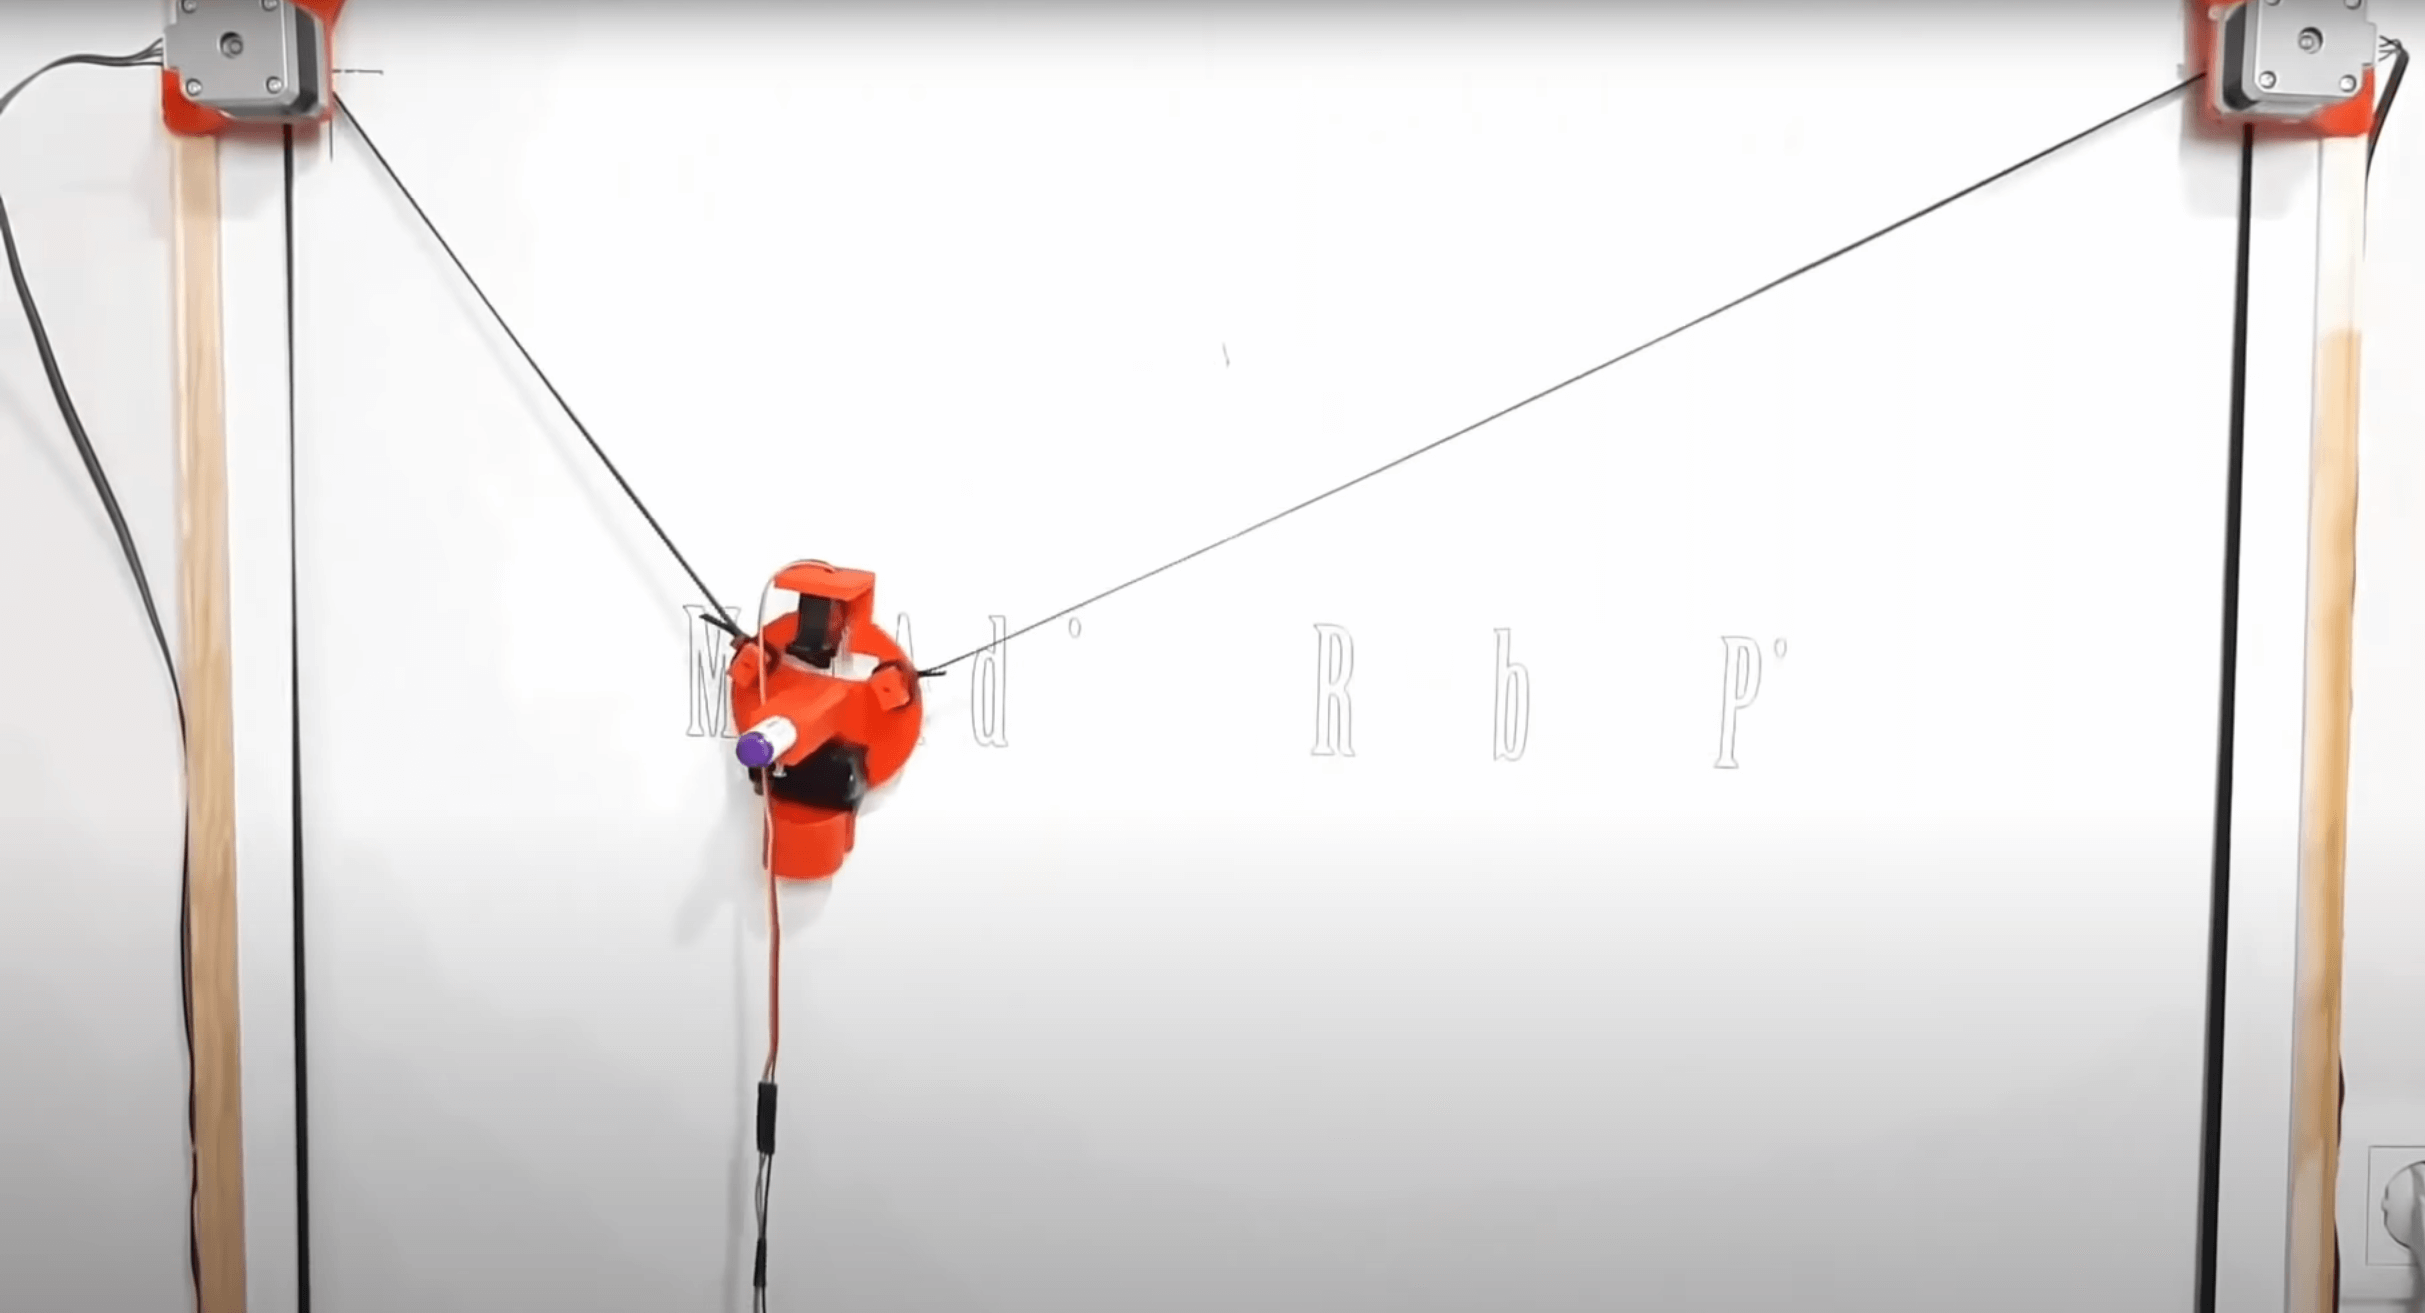
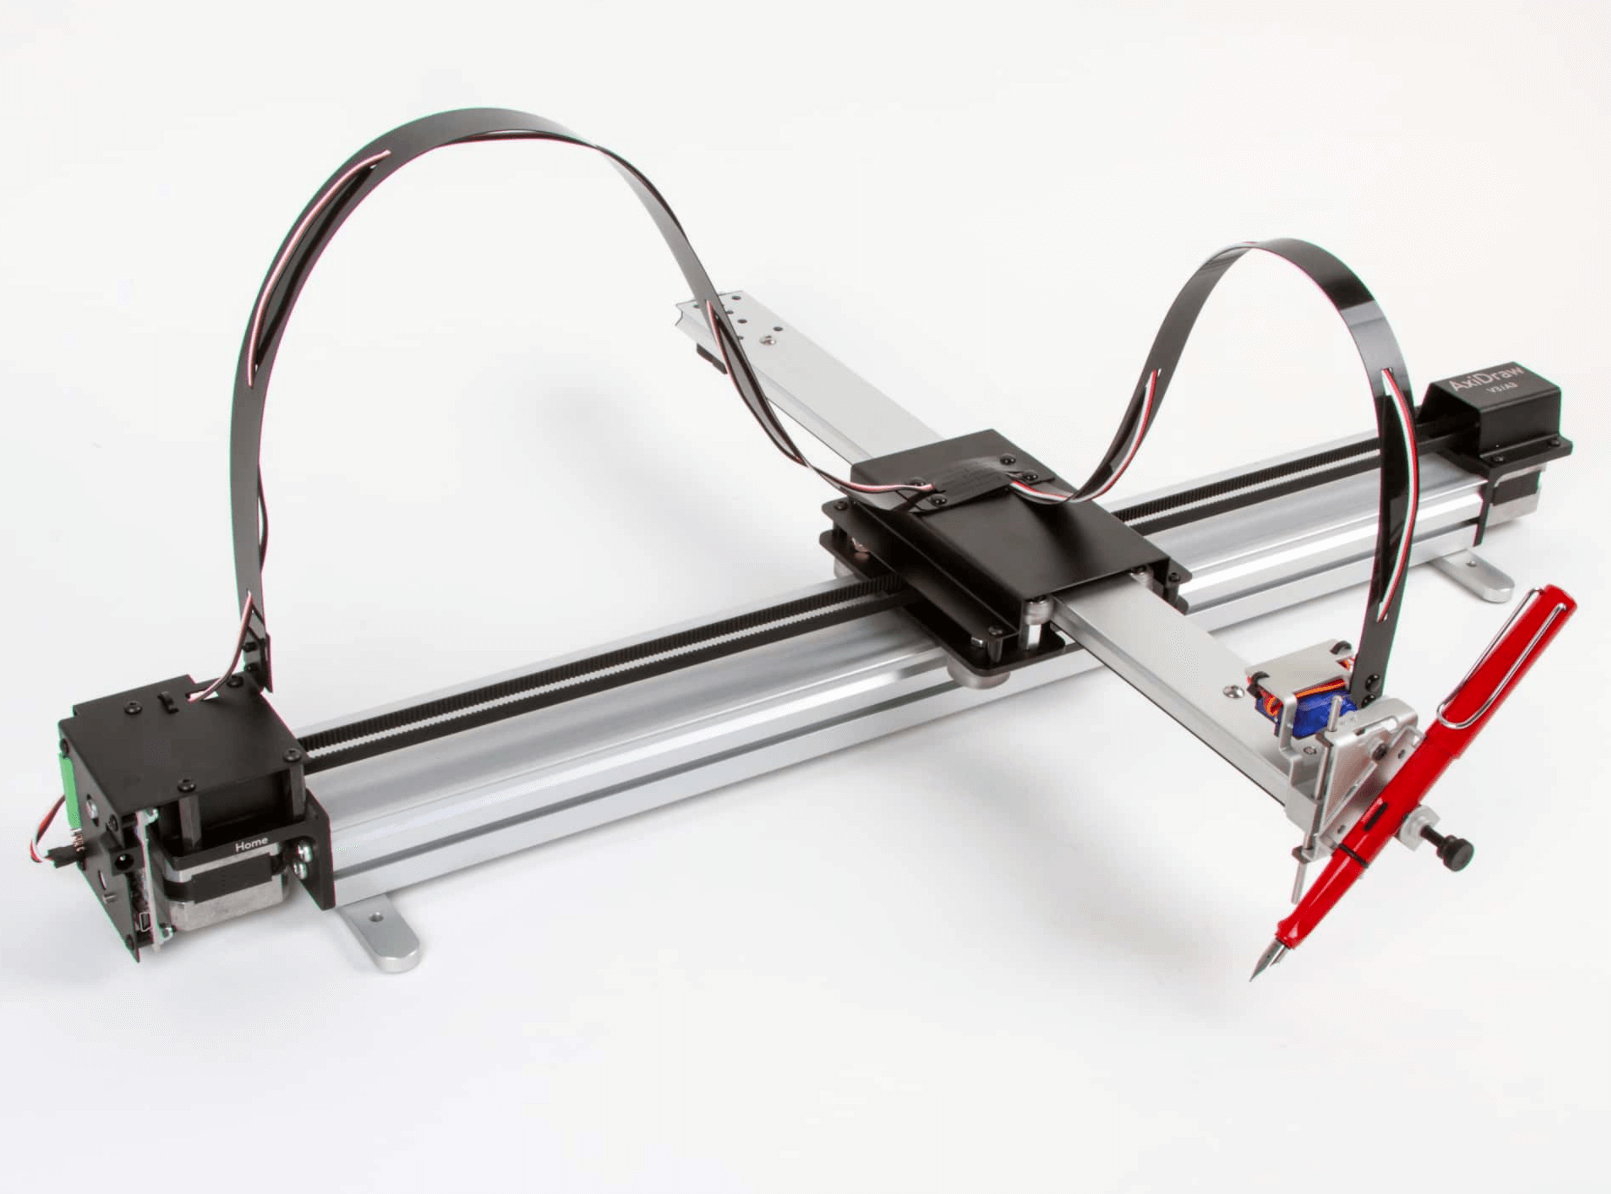
Below are images of drawing robots. The first one is an Arduino XY plotter made by MERT Arduino & Tech. It uses the pulley system using two stepper motors. I think this would be the best way to go about making a drawing robot, mainly because it has a fairly simple design and looks clean. The second image is of an AxiDraw drawing robot that uses stepper motors, a servo motor, and linear rails. This is the more expensive and complex option out of the two, but I think it would have the best results. Again, I want to make an erasing robot, not a drawing robot, so these pictures are just for inspiration.
What I Learned
» The basics of using HTML and CSS
» Basic HTML troubleshooting methods
» How to use key features of Sublime Text
» How to use key features of GitHub Desktop
» How to locally view my website
» How to upload my website to GitHub
» How to create new CSS classes
» How to create use HTML styles